What is News Hunt?
News Hunt is a powerful news aggregation platform built using the Laravel framework,
designed to deliver a seamless and
intuitive experience for news enthusiasts. The platform aggregates news from multiple
trusted sources using RSS feeds,
providing users with real-time updates and a diverse range of content, all in one place.
At the heart of News Hunt is user engagement. Visitors can explore news across categories,
bookmark their favorite
stories, and share them with others, fostering a connected and informed community. With its
clean and organized
interface, News Hunt ensures that users can easily discover and consume news that matters to
them.
The platform also features a robust categorization system, enabling users to filter news
based on their interests, such
as politics, sports, entertainment, technology, and more. Advanced search and sorting
options make it even easier to
find specific stories.
Built on Laravel, News Hunt leverages a scalable and secure backend architecture, ensuring a
smooth and efficient
experience for users. Laravel’s robust features support a fast and flexible development
process, enabling timely updates
and feature enhancements. News Hunt aims to be the go-to destination for staying informed,
offering a dynamic,
interactive, and user-friendly environment for exploring the news world.
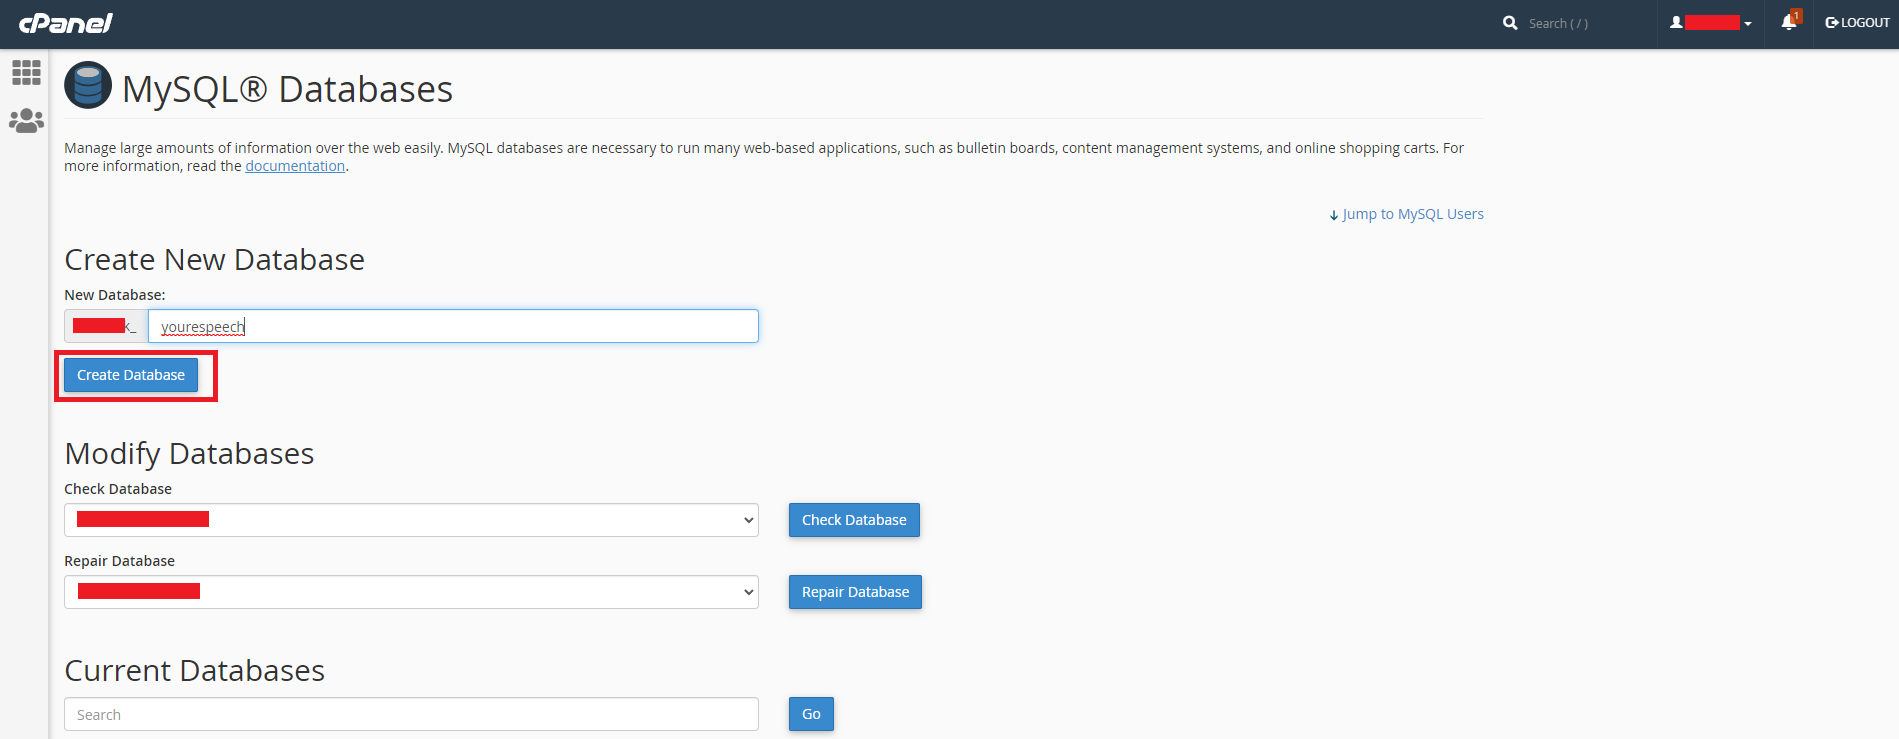
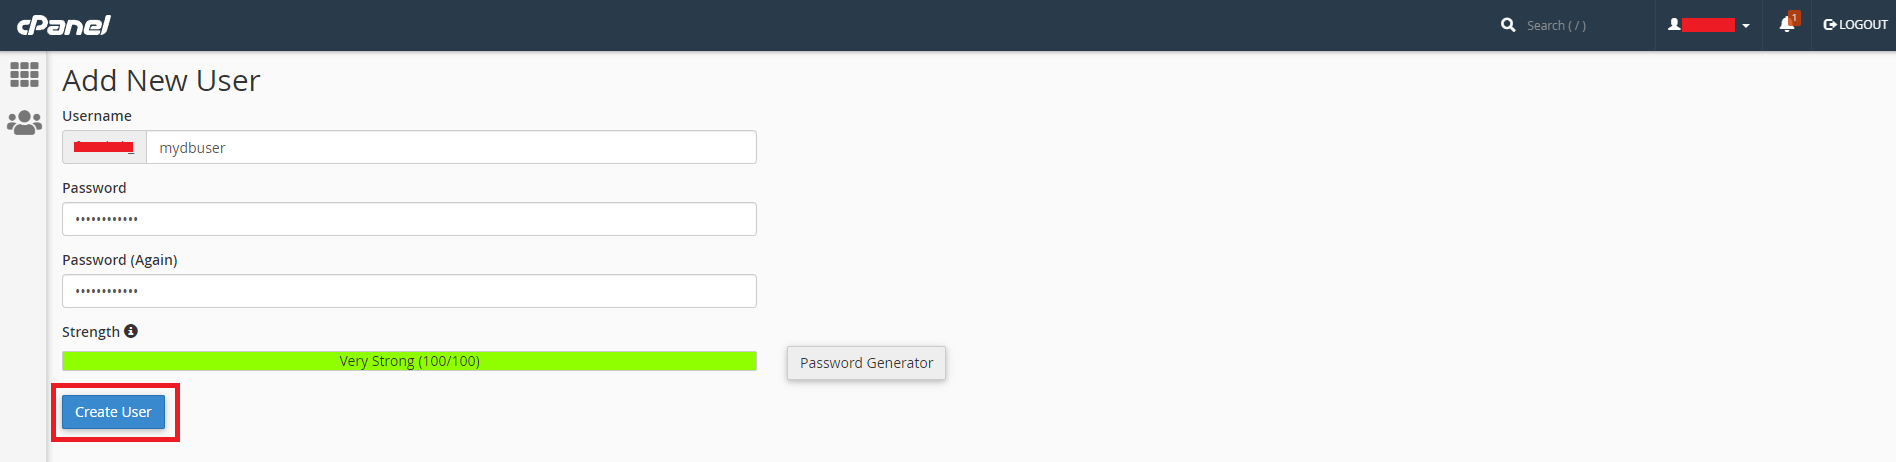
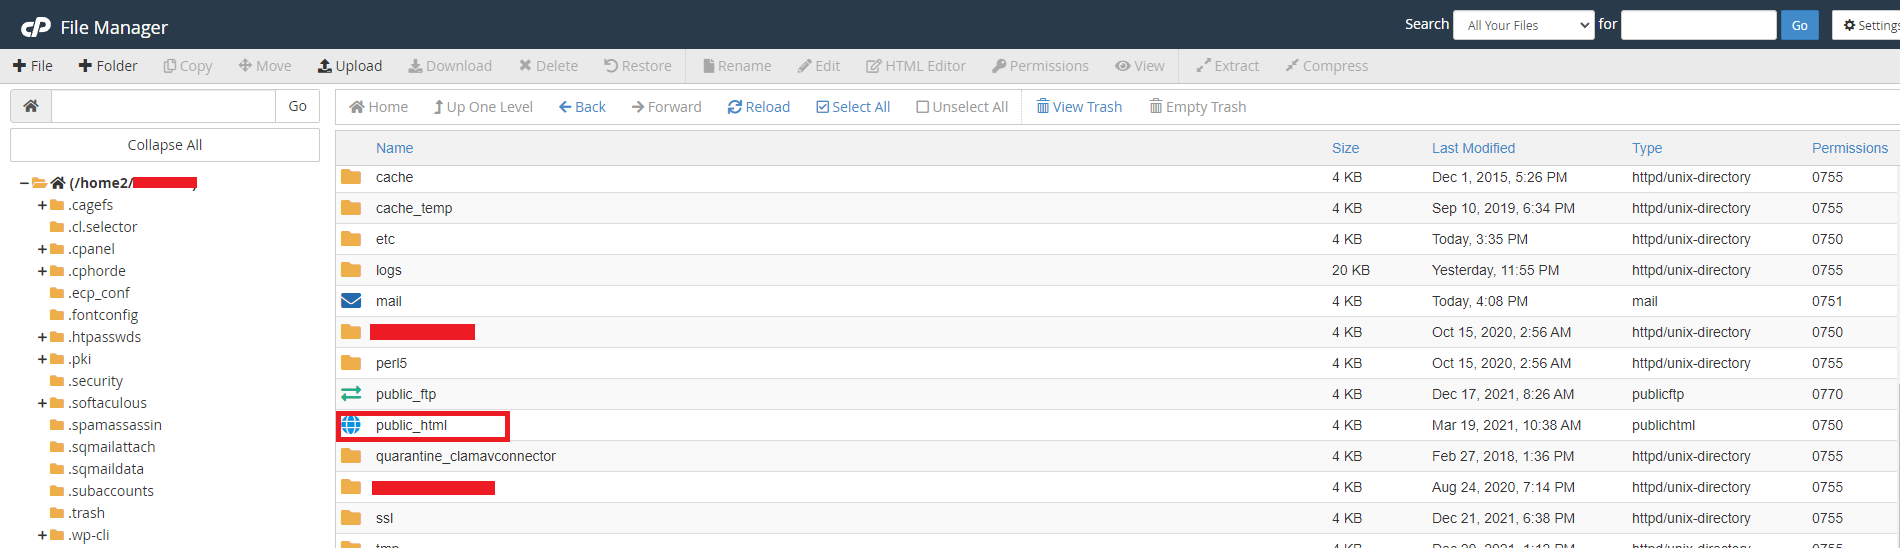
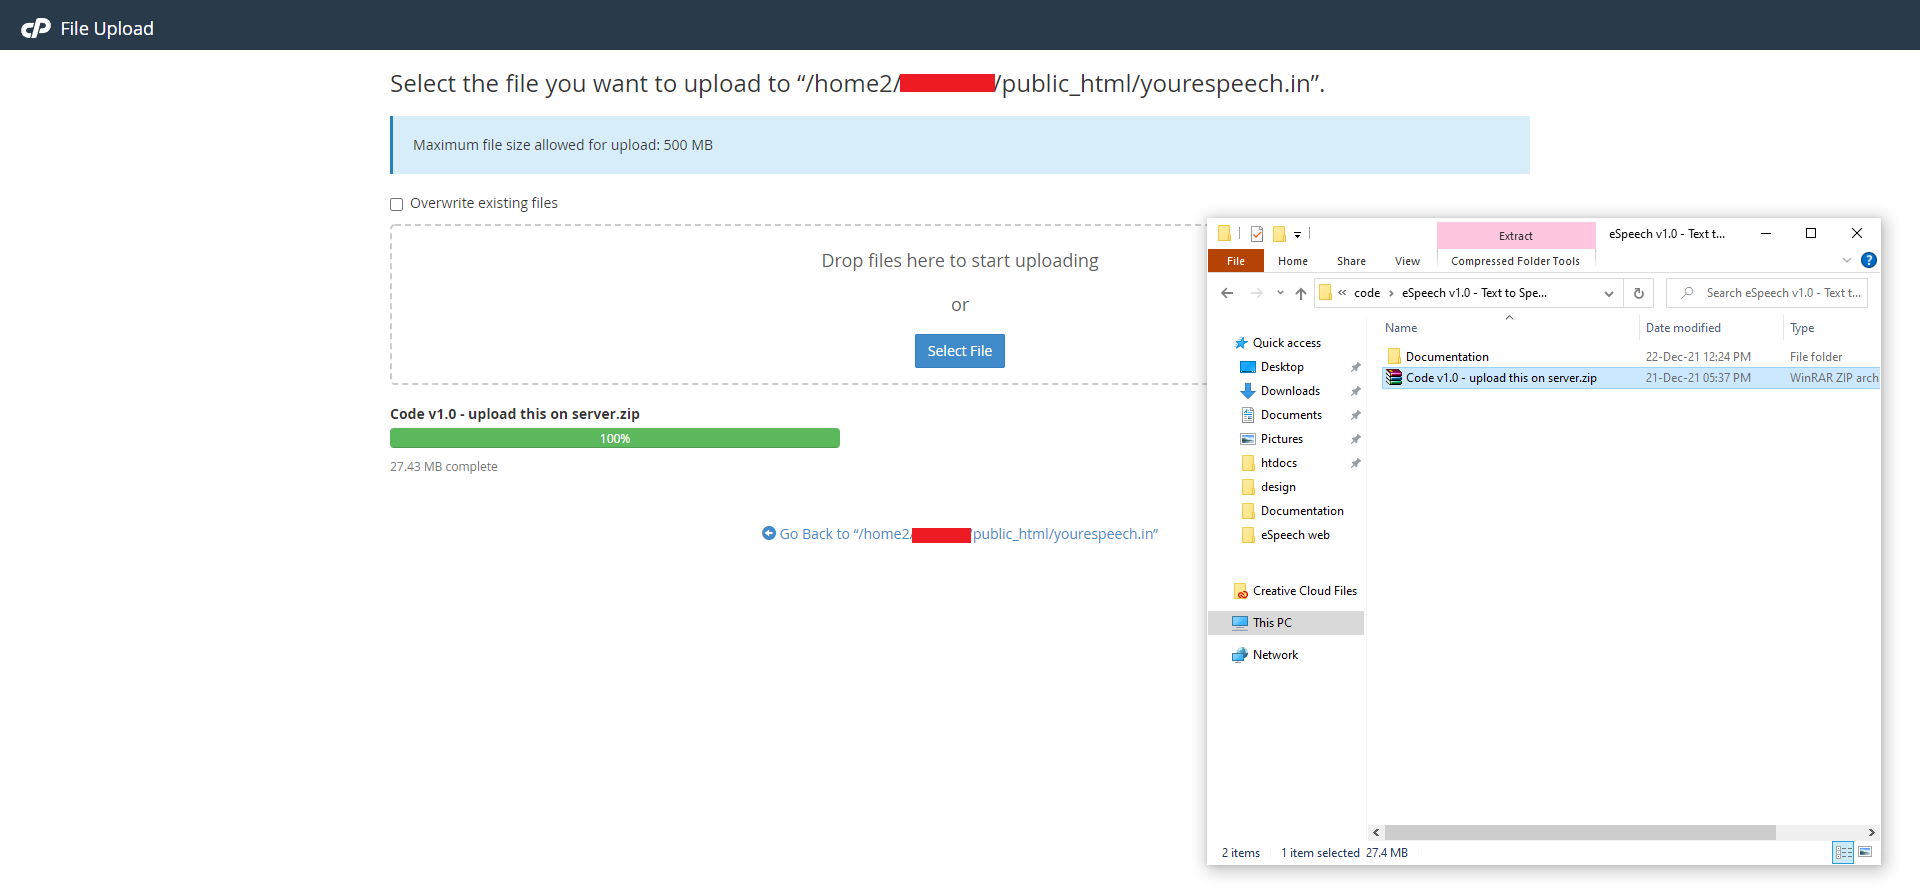
Now let's move on with Installation.
How news render in index page ?
Banner News Section ?
This news take by publish date of new which arrive from the rssfeeds. And there is also one more condition if you news does not contain image it will not show in banner section it take from where image is availabl if it is old news it will show.
Popular News Section ?
This Section contains news from the last 7 days most read news and then it show according to it's publish date.
Recomandation News Section ?
This sectiton is show news base on publish date latest new will show there. and also if news does not contain image news will not render here.
after that it will take latest news which hase image.
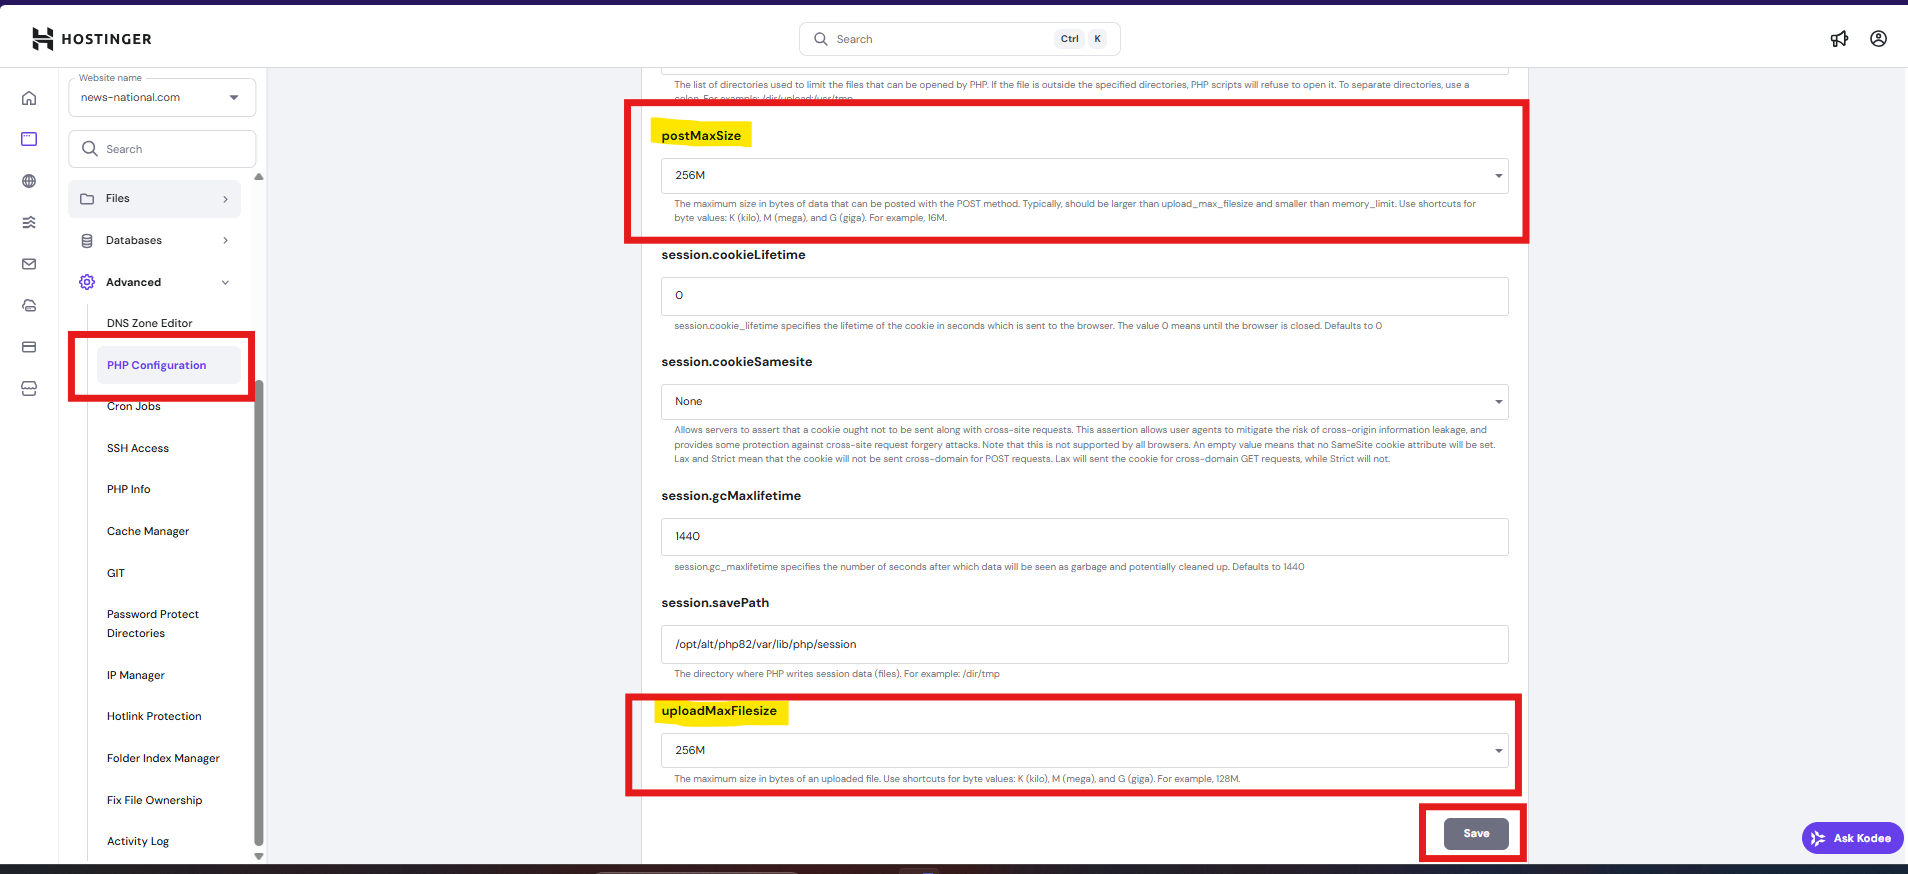
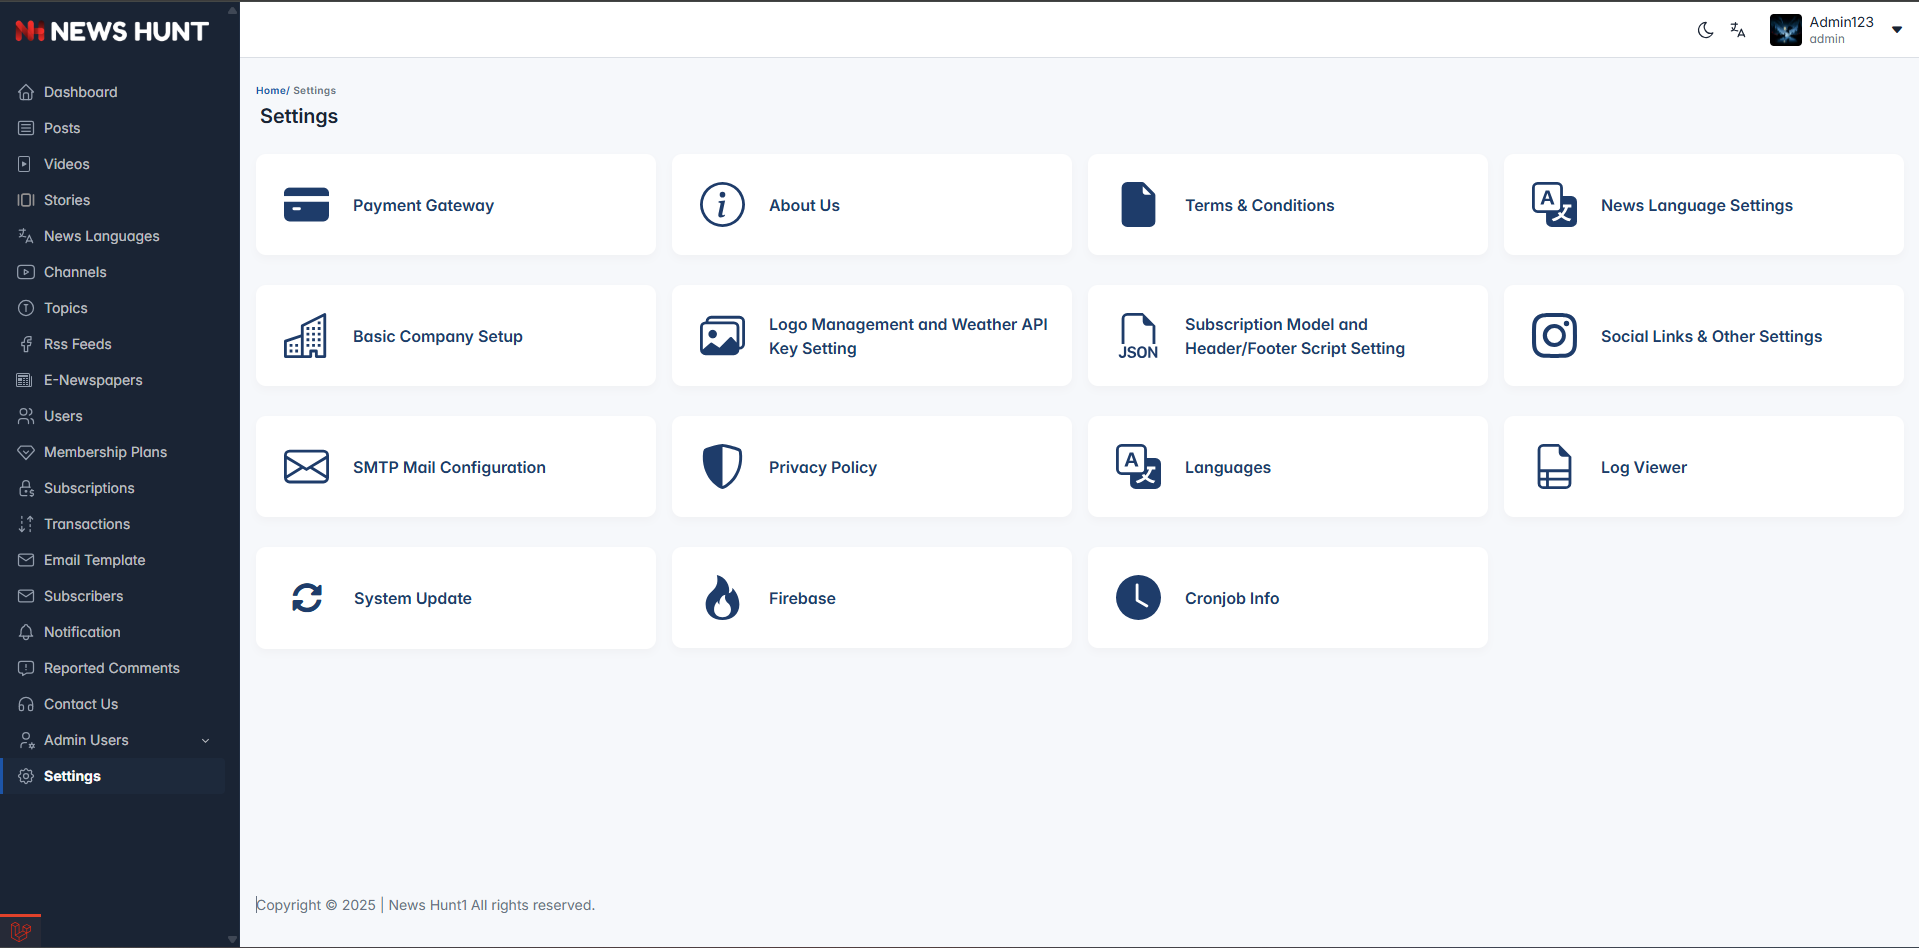
General Settings
All the General Settings like Company Title, Support
Name, Support Email, favicon, Half
Logo, Currency Symbol
Address, Description.
Just go to Settings -> General.
-
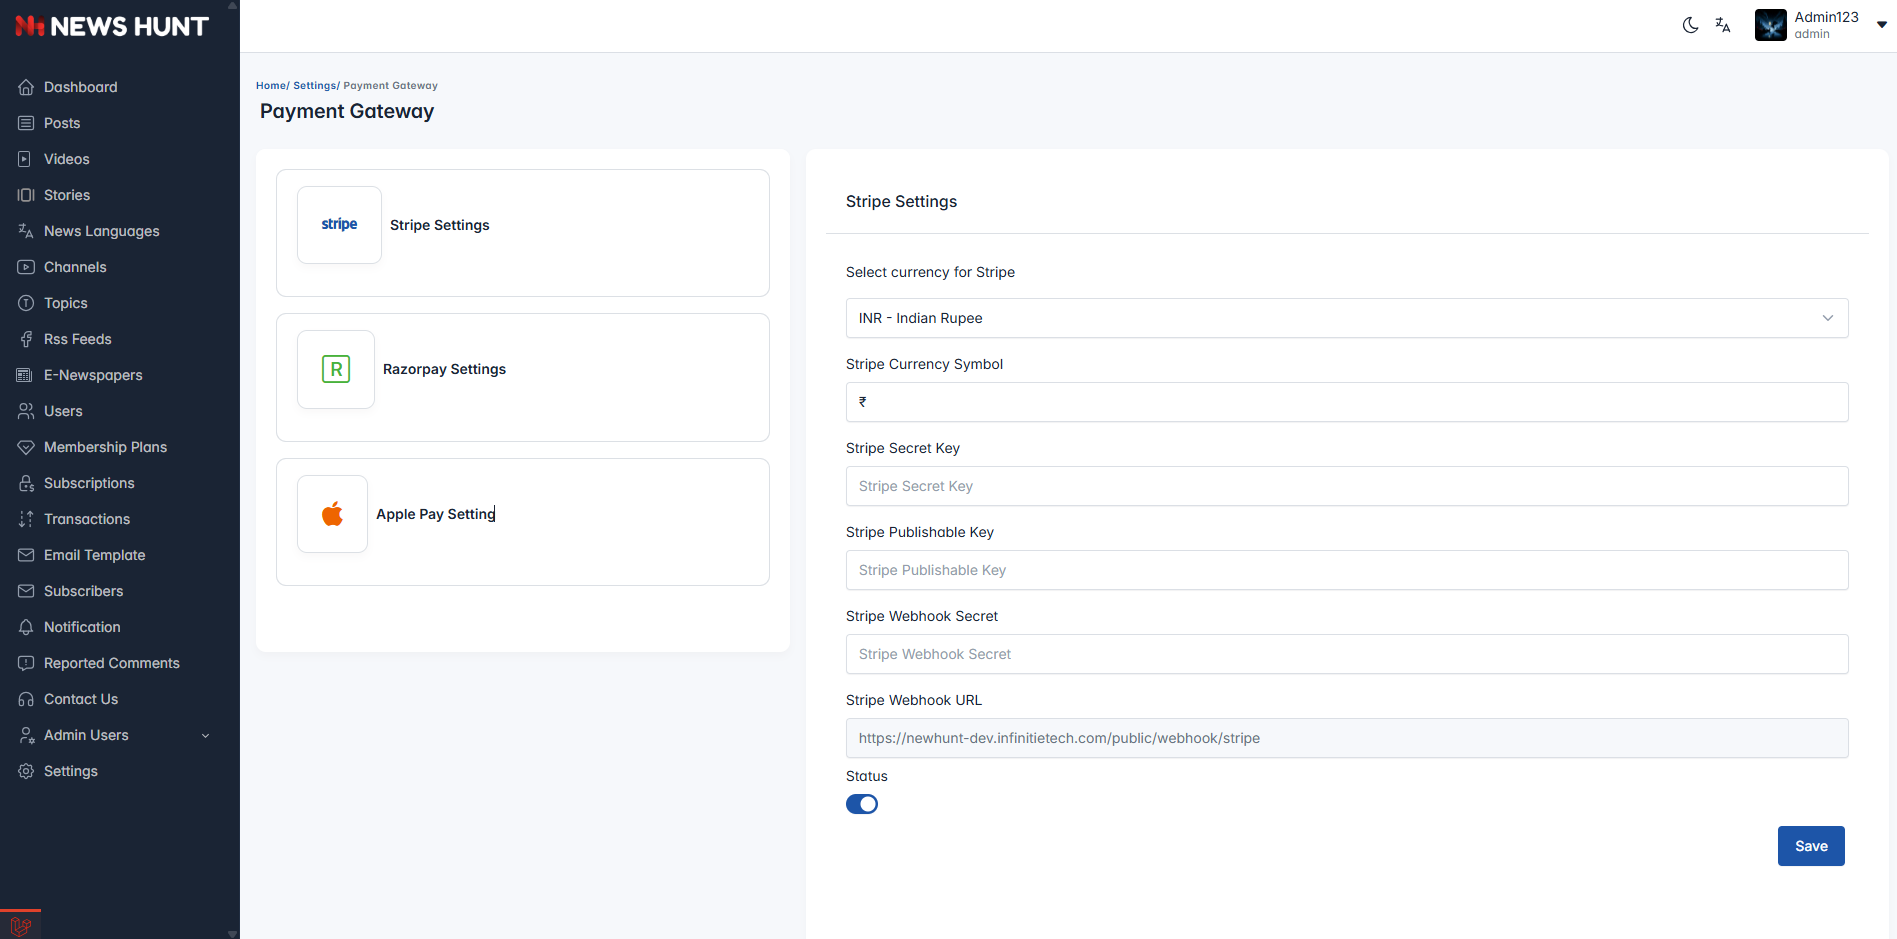
Payment Gateway Settings
- Set up Stripe and Razorpay by entering API keys.
- Stripe: Add Publishable Key and Secret Key.
- Razorpay: Add Key ID and Key Secret.
- Enable the gateway after saving to start accepting payments.
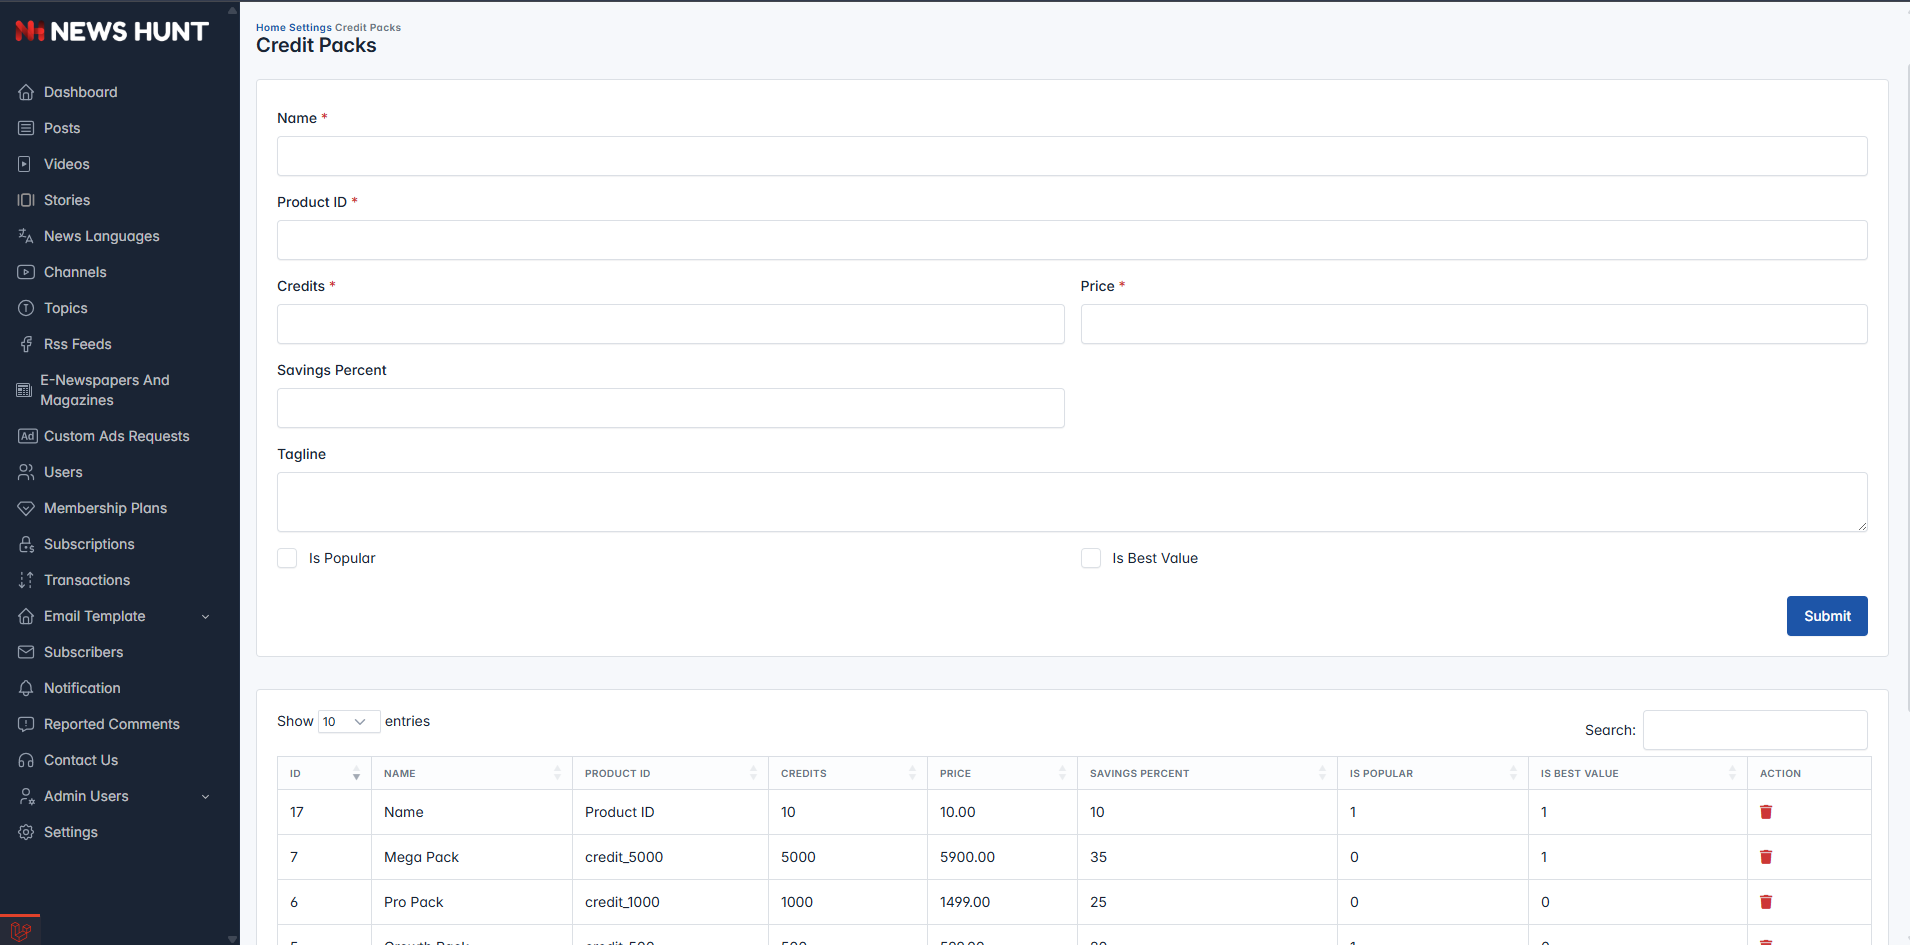
In-App Purchase Setup Guide
-
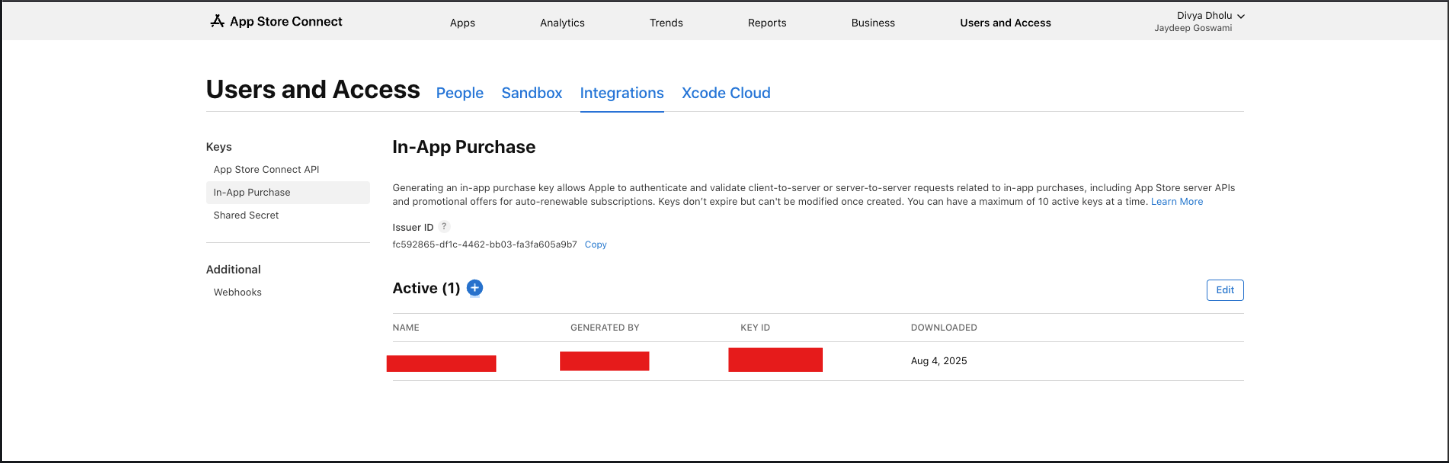
Create In-App Purchase Key in App Store Connect
- Navigate to Users and Access → Integrations tab
- Select In-App Purchase from the sidebar
- Click on the + button to generate a new key
- Enter a name for your key (e.g., "membershipkeys")
- Click Generate to create the key
- Copy the generated Key ID and Issuer ID
-
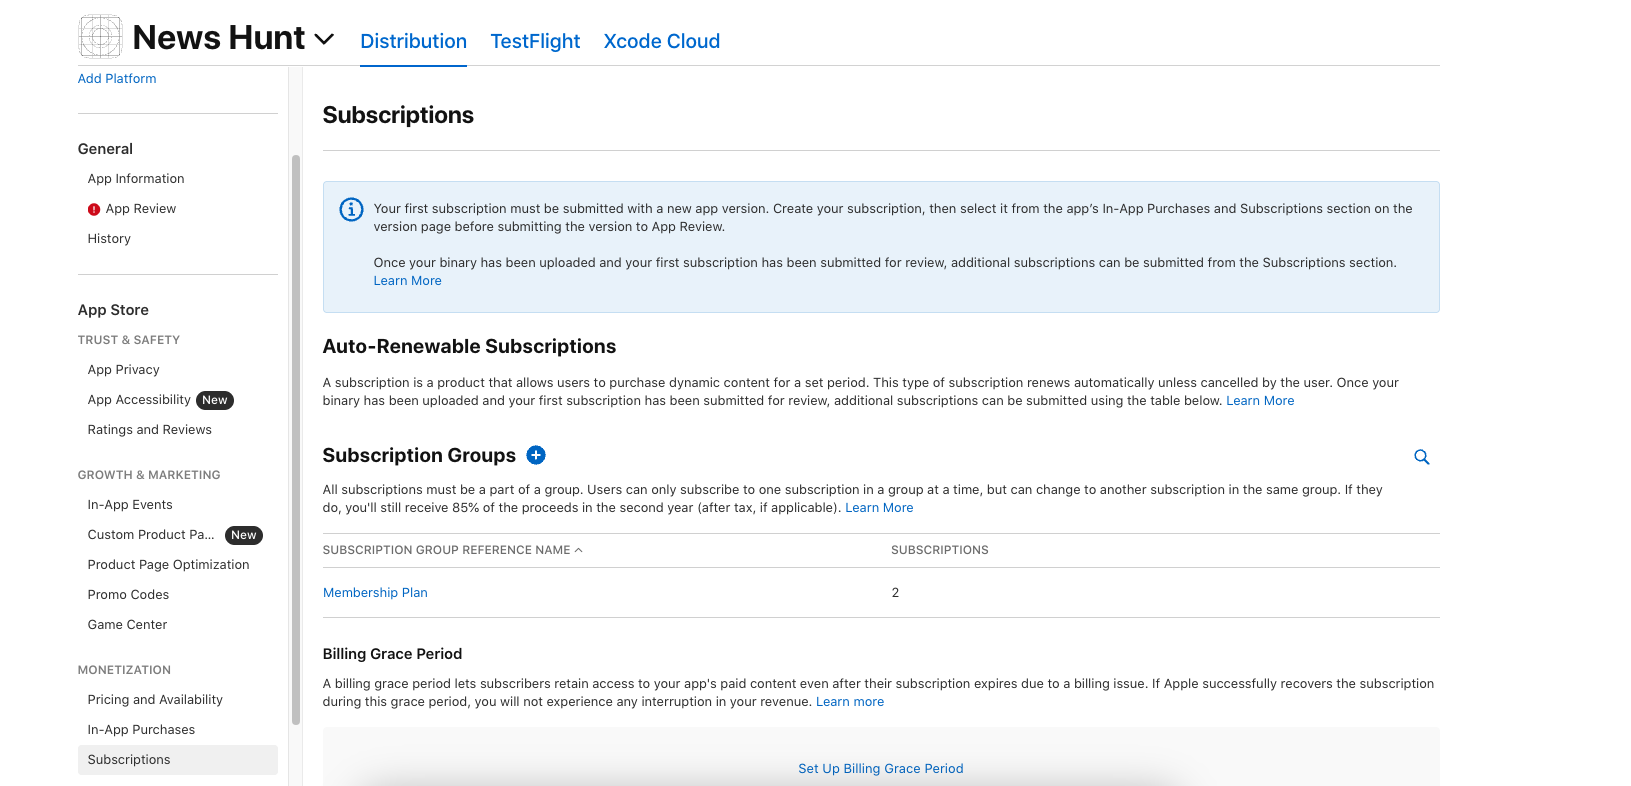
Setup Auto-Renewable Subscriptions
- Go to your app in App Store Connect
- Navigate to Distribution → Subscriptions
- Create Subscription Groups to organize your subscriptions
- Users can only subscribe to one subscription in a group at a time
- Set up Billing Grace Period for failed payments
-
Generate In-App Purchase Key
- In the In-App Purchase section, click the + button to add a new key
- A modal dialog "Generate In-App Purchase Key" will appear
- Enter a descriptive Name for your key in the text field
- The name should be meaningful (e.g., "ProductionKey", "DevelopmentKey")
- Click Generate button to create the key
- Click Cancel if you want to abort the process
-
Create Subscription Group
- Click on + button next to Subscription Groups
- Check "I understand, create additional subscription group"
- Click Next to proceed
- This prevents users from accidentally purchasing multiple subscriptions
-
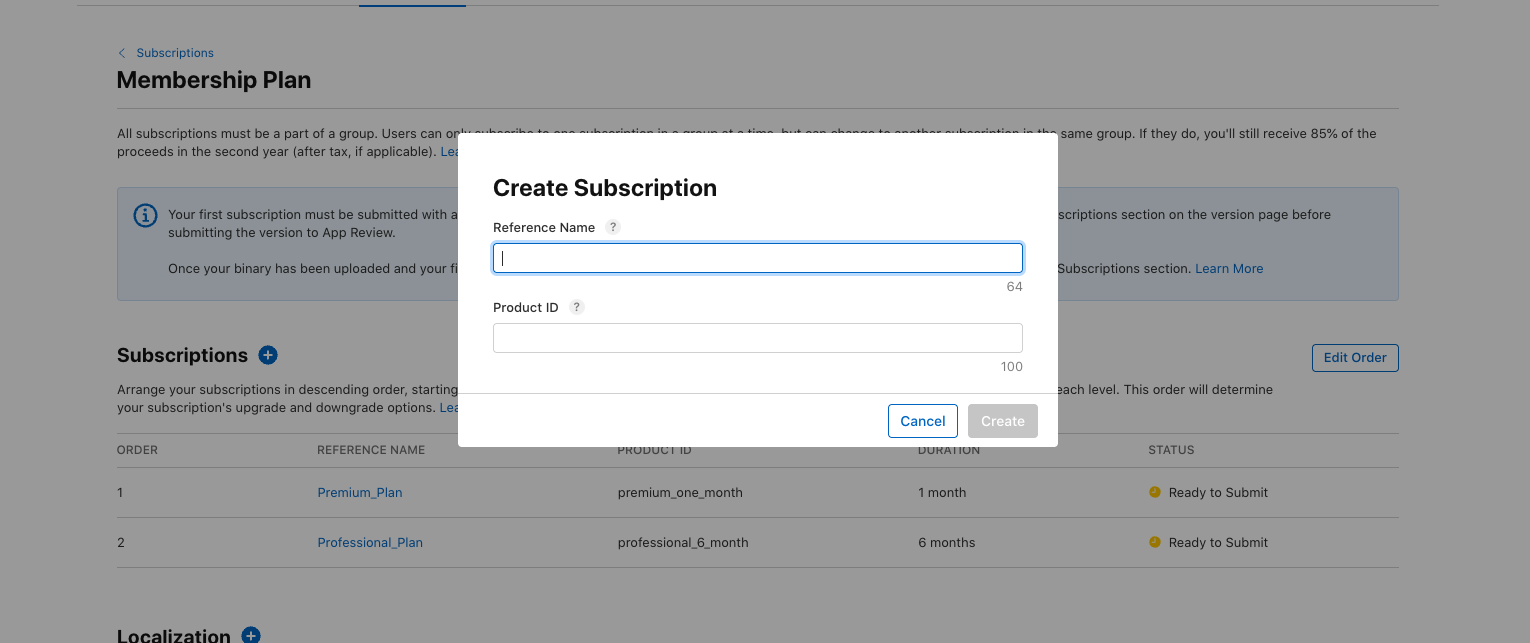
Add Individual Subscriptions
- Within your Membership Plan group, click the + button
- Fill in the Reference Name (internal identifier)
- Add the Product ID (matches your app's product identifier)
- Select subscription duration (1 week, 1 month, 2 months, 3 months, 6 months, 1 year)
- Click Create to save the subscription
-
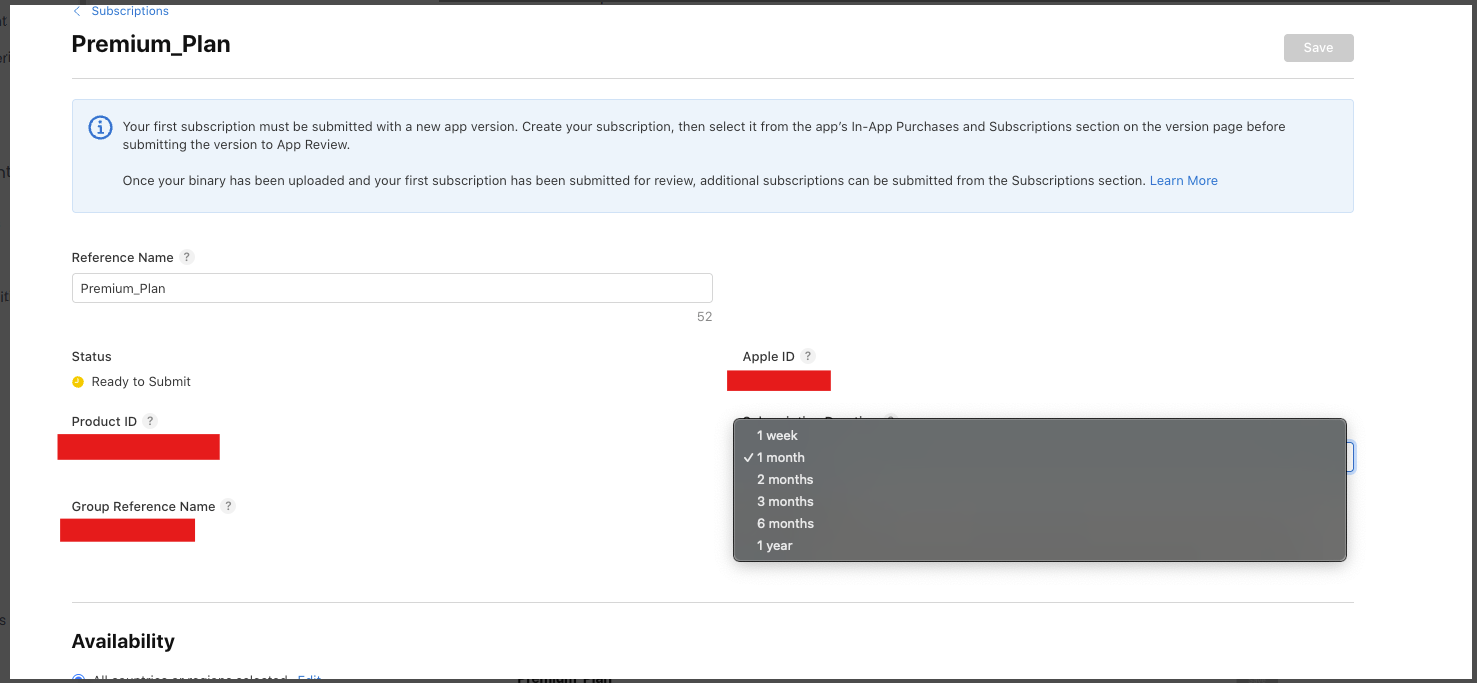
Configure Subscription Details
- Set the Reference Name (e.g., "Premium_Plan")
- Configure Product ID (e.g., "premium_one_month")
- Select appropriate Duration from dropdown
- Set Group Reference Name (e.g., "Membership Plan")
- Configure availability for all countries or specific regions
-
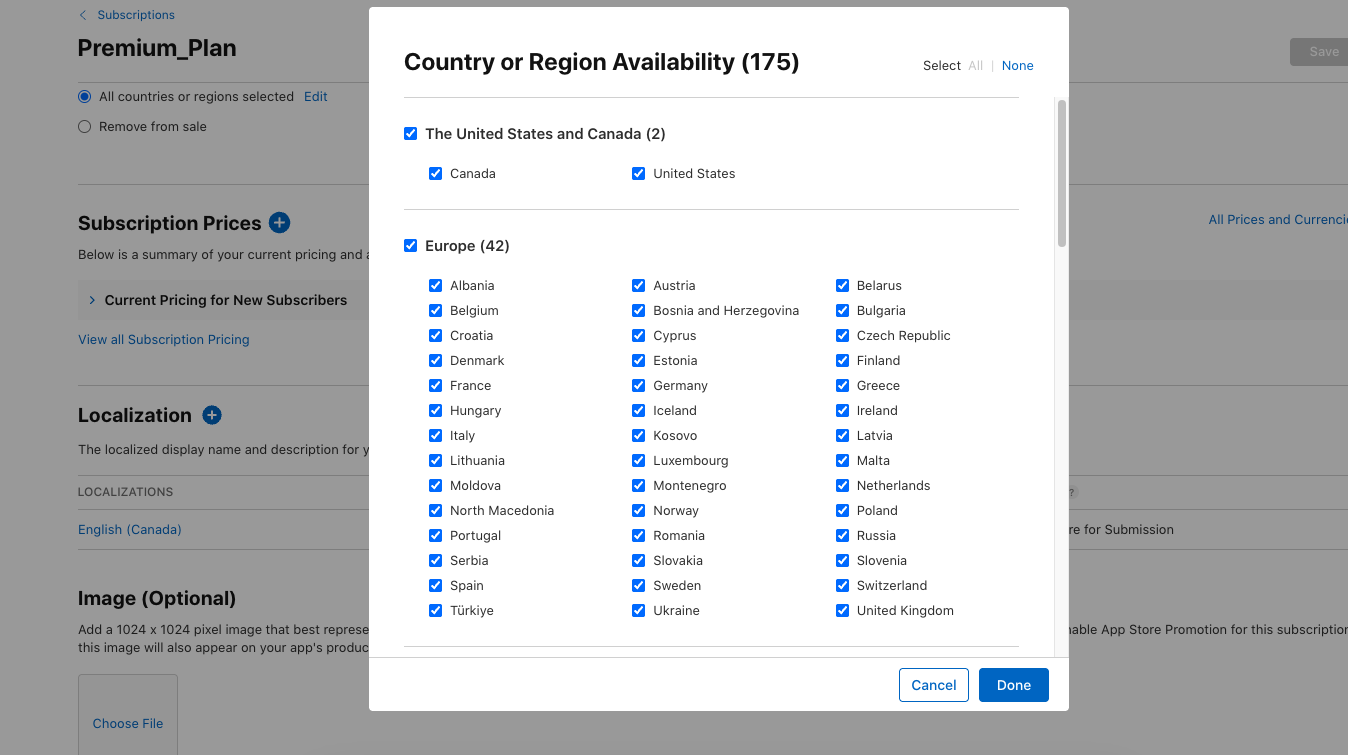
Set Regional Availability
- Choose All countries or regions selected for global availability
- Or select specific countries from the list
- Configure pricing for different regions
- United States and Canada, Europe (42 countries), and other regions
- Click Done after selecting regions
-
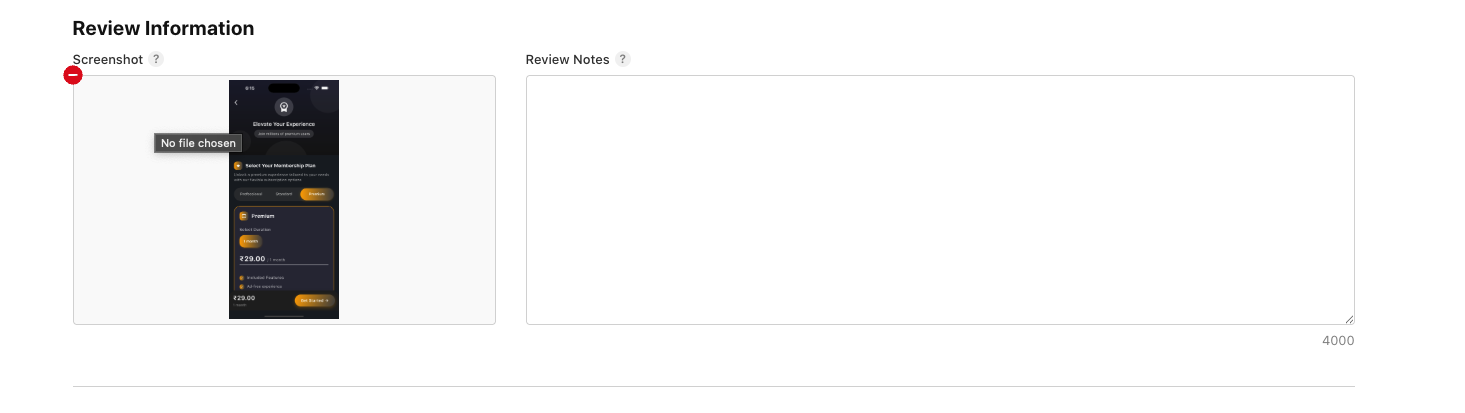
Add Review Information
- Upload a Screenshot showing the subscription purchase flow
- Add Review Notes explaining the subscription functionality
- Include details about what premium features are unlocked
- Explain the subscription benefits clearly for App Review
-
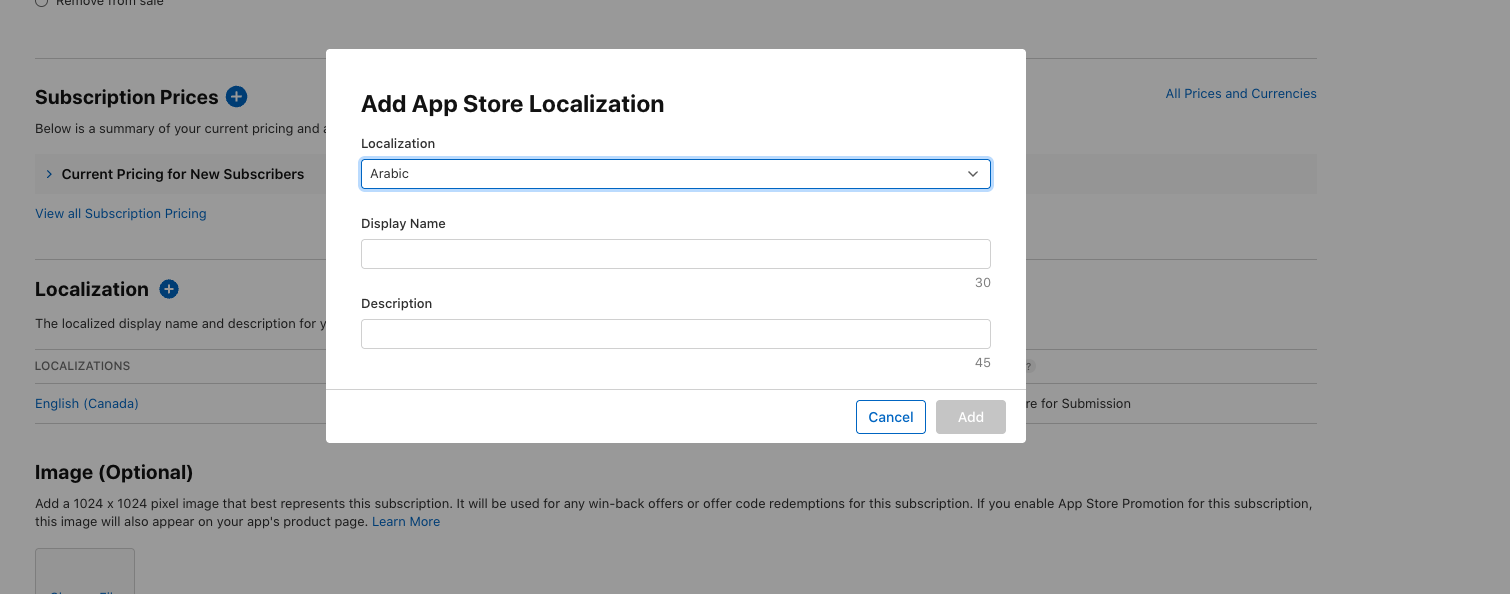
Configure Localization Settings
- Click the + button in the Localization section
- Select your target Localization from dropdown (e.g., Arabic, English (Canada))
- Enter the Display Name with maximum 30 characters
- Add Description with maximum 45 characters limit
- Click Add to save the localization
- Click Cancel to abort the localization process
-
Set Subscription Prices
- Navigate to Subscription Prices section
- Click the + button to add pricing tiers
- Review Current Pricing for New Subscribers
- Use View all Subscription Pricing to see comprehensive pricing
- Configure pricing for different regions and currencies
- Set prices based on your market strategy and competitor analysis
-
Submit Premium Plan for Review
- Ensure your Premium_Plan subscription is properly configured
- Click Save button to preserve all settings
- Note that your first subscription must be submitted with a new app version
- Create your subscription, then select it from the app's In-App Purchases section
- Submit the version to App Review before the subscription becomes active
- Once binary is uploaded and first subscription submitted, additional subscriptions can be added
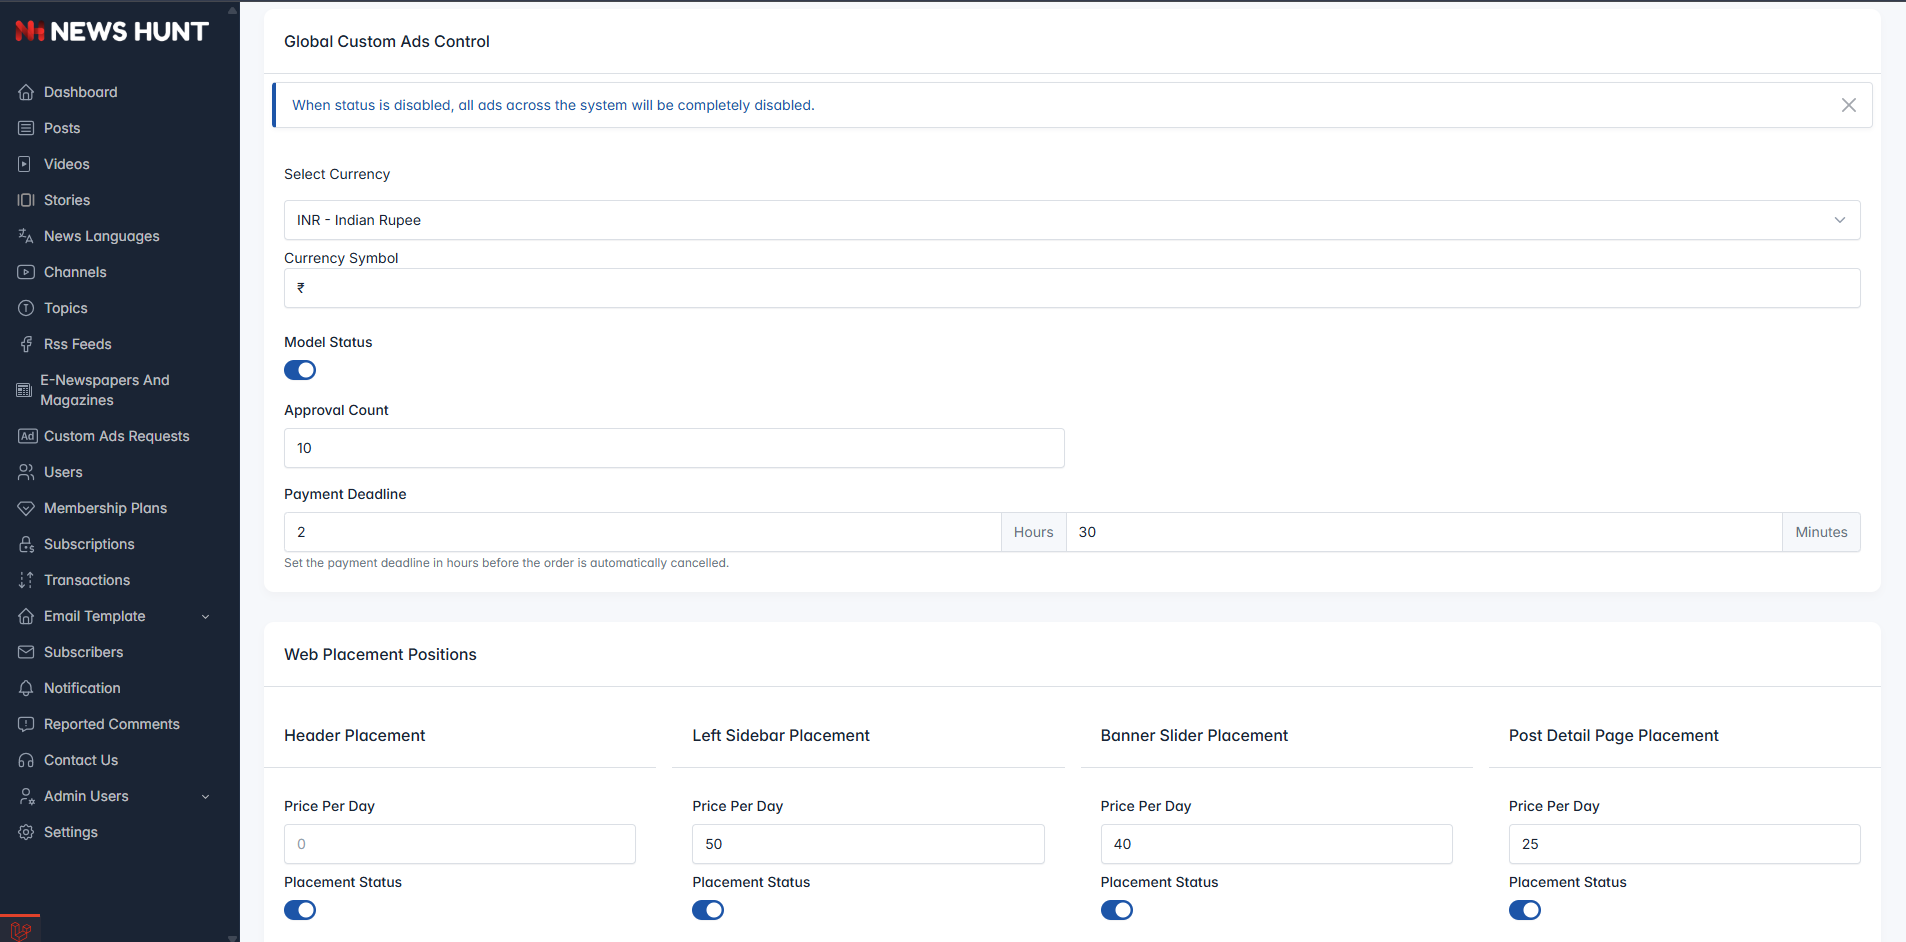
In-App Purchase Setup For Custom Ads
-
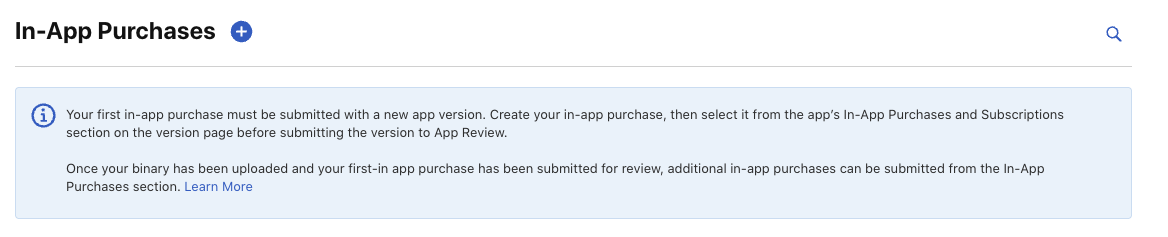
In-App Purchases Setup Guide
- The In-App Purchases feature in App Store Connect requires your first purchase to be included with a new app version. Create the purchase, add it in the In-App Purchases and Subscriptions section on the version page, and submit it for review. After the first purchase is reviewed, you can add more purchases from this section. Check "Learn More" for details.
-
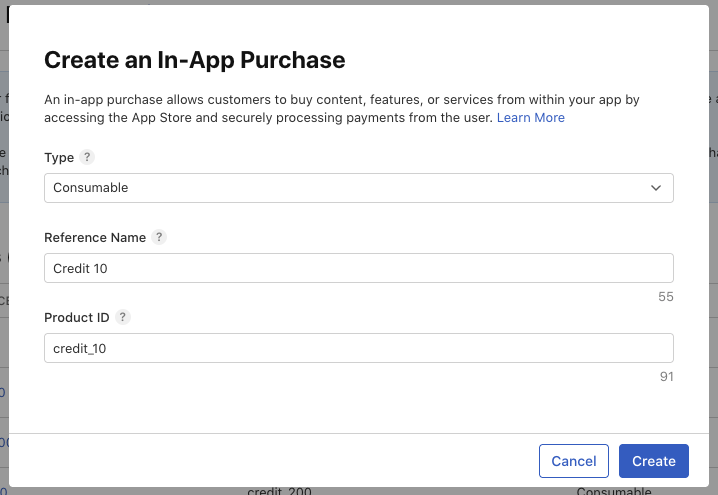
Create an In-App Purchase
- This section in App Store Connect allows you to create an in-app purchase for customers to buy content, features, or services within your app via secure App Store payments.
Steps for Users:
Select Consumable as the Type from the dropdown.
Enter a Reference Name (e.g., "Credit 10").
Input a unique Product ID (e.g., "credit10").
Set the Price (e.g., 55 or 91) based on your credit pack value.
Click Create to finalize the in-app purchase. Use Cancel to discard changes.
-
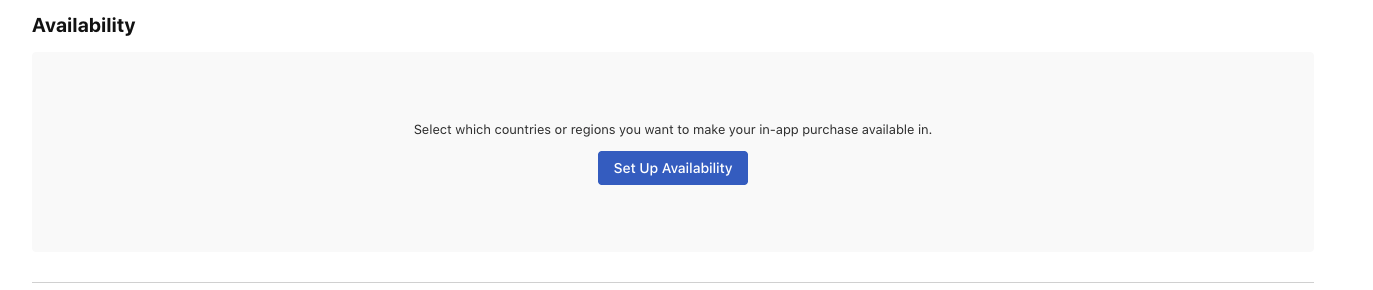
App Availability Setup Screen
- A screenshot showing an "Availability" section where users can set up in-app purchase availability by selecting countries or regions.
-
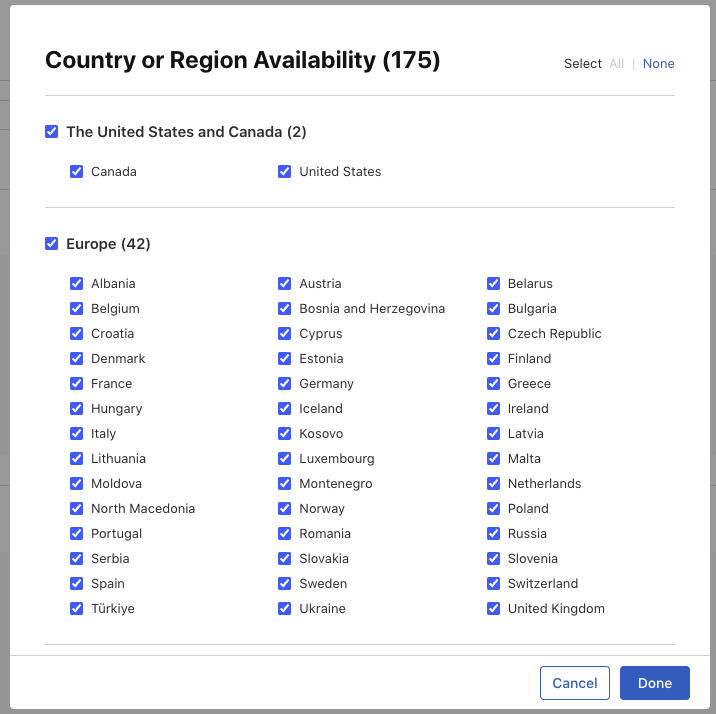
Country or Region Availability Settings
- Choose All countries or regions selected for global availability
- Or select specific countries from the list
- Configure pricing for different regions
- United States and Canada, Europe (42 countries), and other regions
- Click Done after selecting regions
-
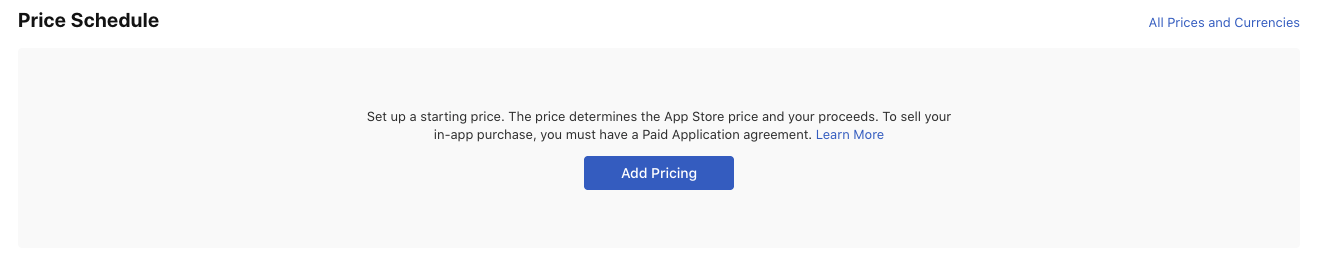
Price Schedule Configuration
-
The image shows a "Price Schedule" section where users can set up a starting price for their App Store in-app purchases. The text indicates that the price determines the App Store price and user proceeds, and a Paid Application Agreement is required to sell in-app purchases. Options include an "Add Pricing" button and a "Learn More" link, with an "All Prices and Currencies" link on the right.
-
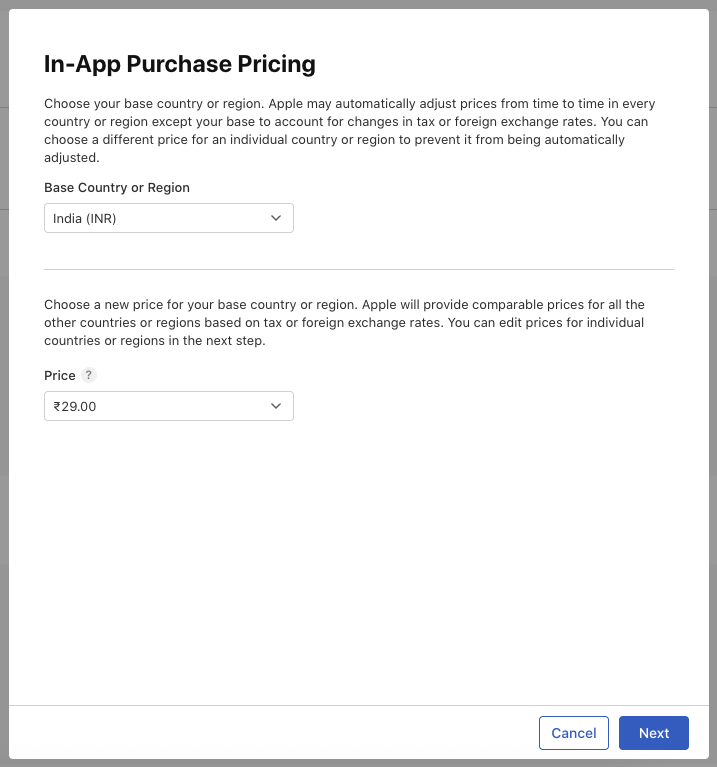
In-App Purchase Pricing Setup
- The image shows an "In-App Purchase Pricing" section where users can choose India (INR) as the base country or region. Users set a base price (e.g., ₹29.00), with Apple adjusting prices for other regions based on tax or exchange rates, editable in the next step. Options include "Cancel" and "Next" buttons.s
-
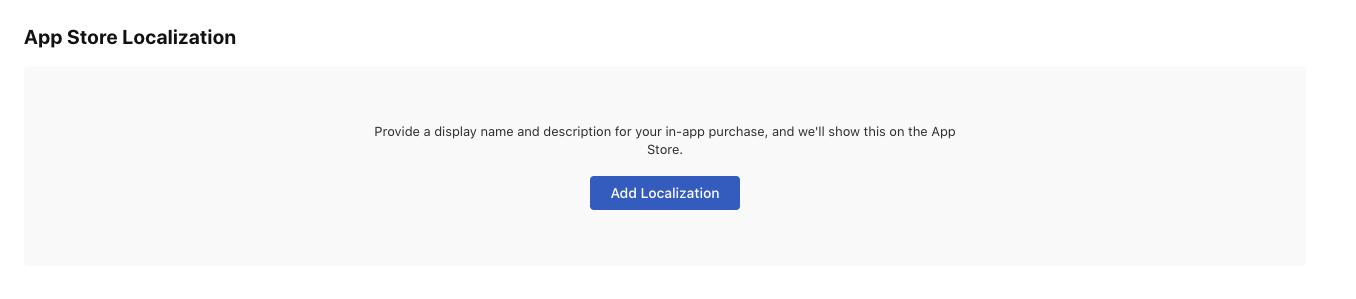
Add App Store Localization Form
- The image displays an "Add App Store Localization" dialog with a dropdown for Localization set to English (U.S.), a Display Name field filled as "Beginner Pack" (17 characters), a Description field filled as "This package will give you 10 credits." (shown with 6 characters, possibly truncated), and "Cancel" and "Create" buttons at the bottom.
-
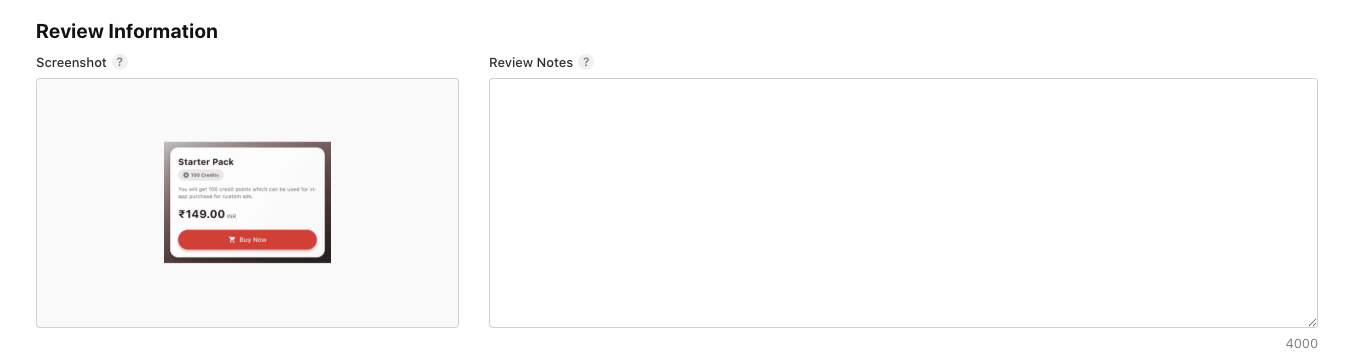
Review Information Screen
- The image shows a "Review Information" section with a "Screenshot" area displaying a "Starter Pack" card priced at ₹148.00 with a "Buy Now" button, and a blank "Review Notes" area on the right.
-
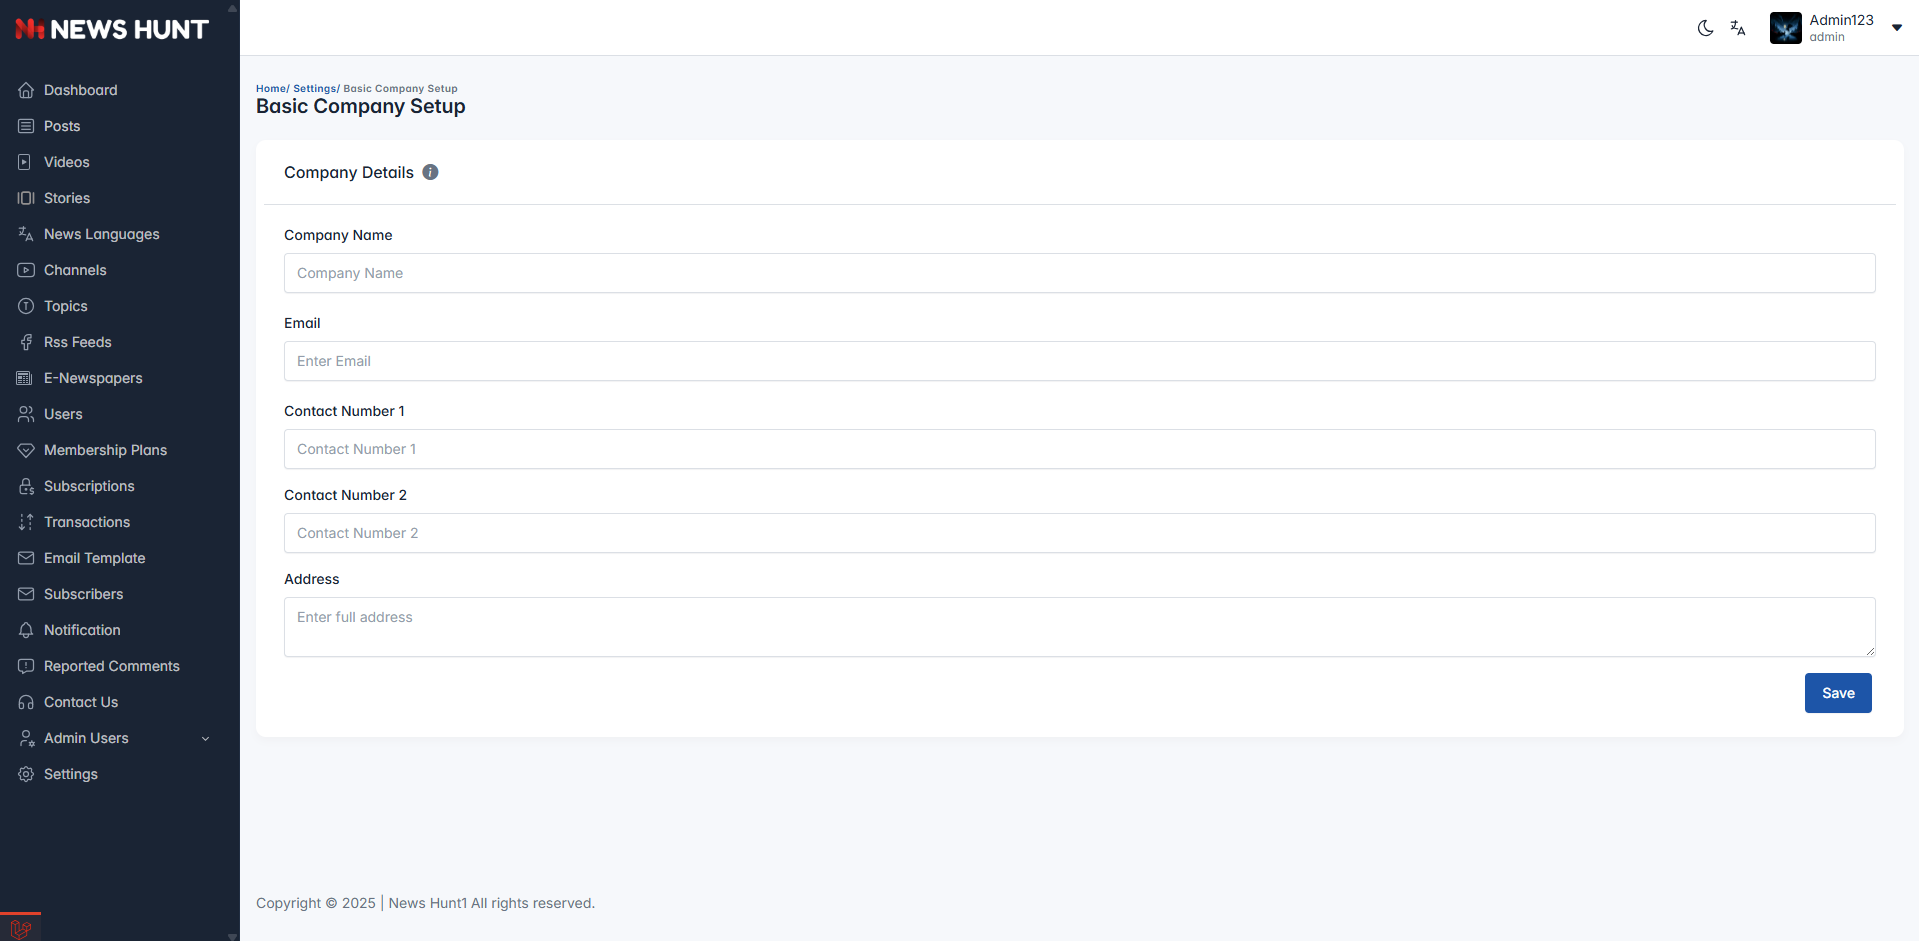
Basic Company Setup
- This section allows the admin to configure basic company details such as the company name, email, contact numbers, and address.
-
Logo Management and Weather API Key Setting
-
This section allows the admin to manage branding, weather integration, and fallback media. Admins can upload various logos for Firebase, Sidebar, Light Theme, and Dark Theme to ensure consistent visual identity across the platform. The "News Label" field lets admins set a custom label used across the front end for news branding.
-
A Weather API Key (from
OpenWeatherMap) can be added to enable real-time weather display throughout the site.
-
In the Default Images section, admins can upload fallback images that appear when no specific image is available for posts or e-newspapers. The "E-Newspaper Image" acts as a placeholder for digital papers, and the "E-Newspaper Title" can be customized for front-end display.
-
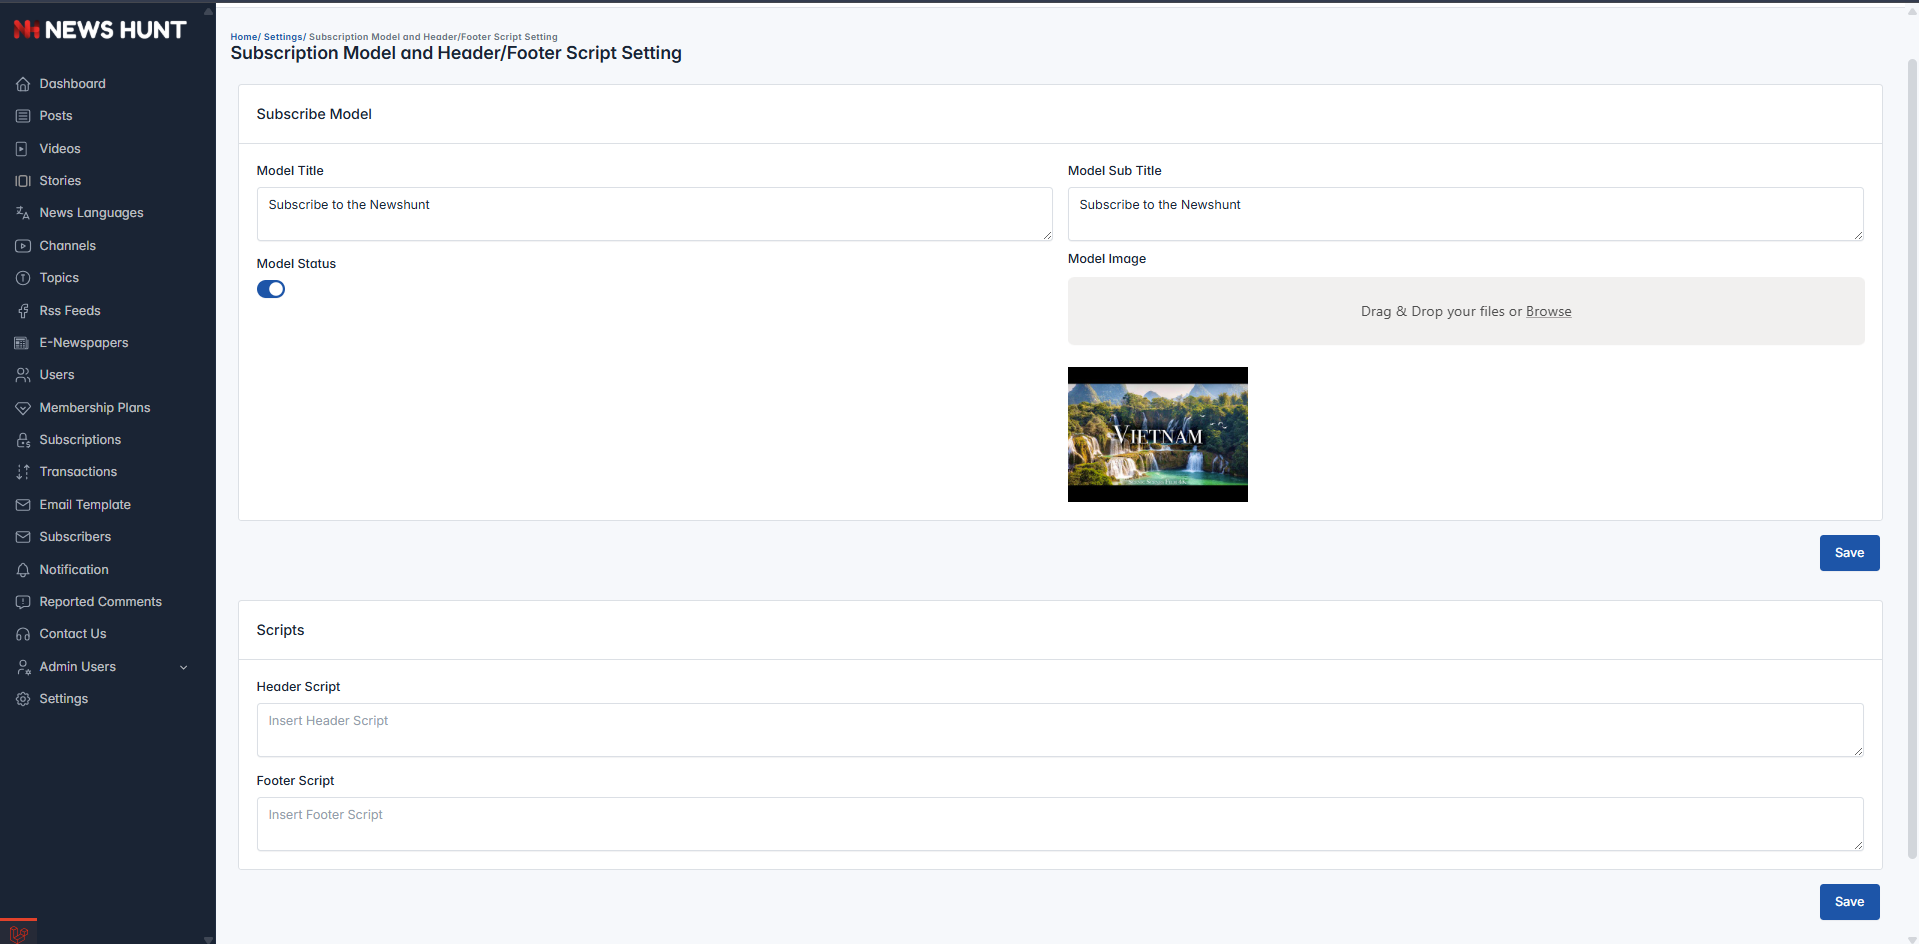
Subscription Model and Header/Footer Script Setting
-
This section allows the admin to configure the subscription popup and manage global scripts. Admins can set the subscription modal title, subtitle, image, and toggle its visibility. Additionally, they can add custom header and footer scripts.
-
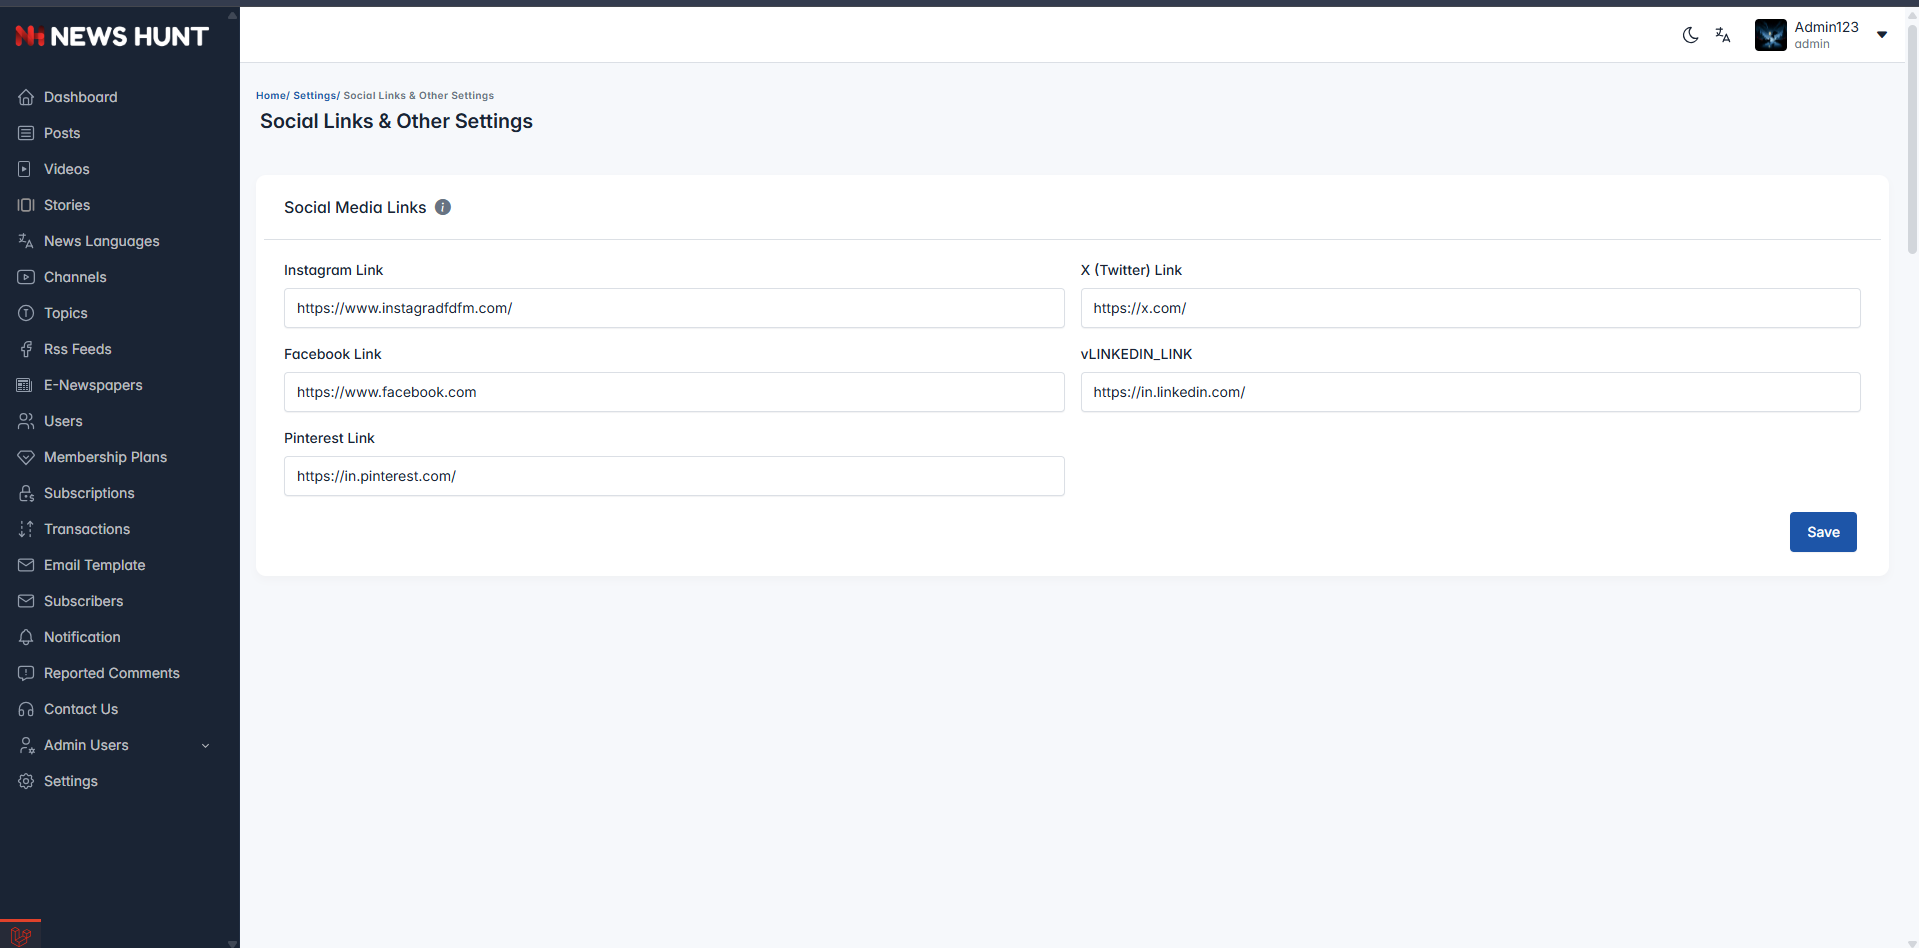
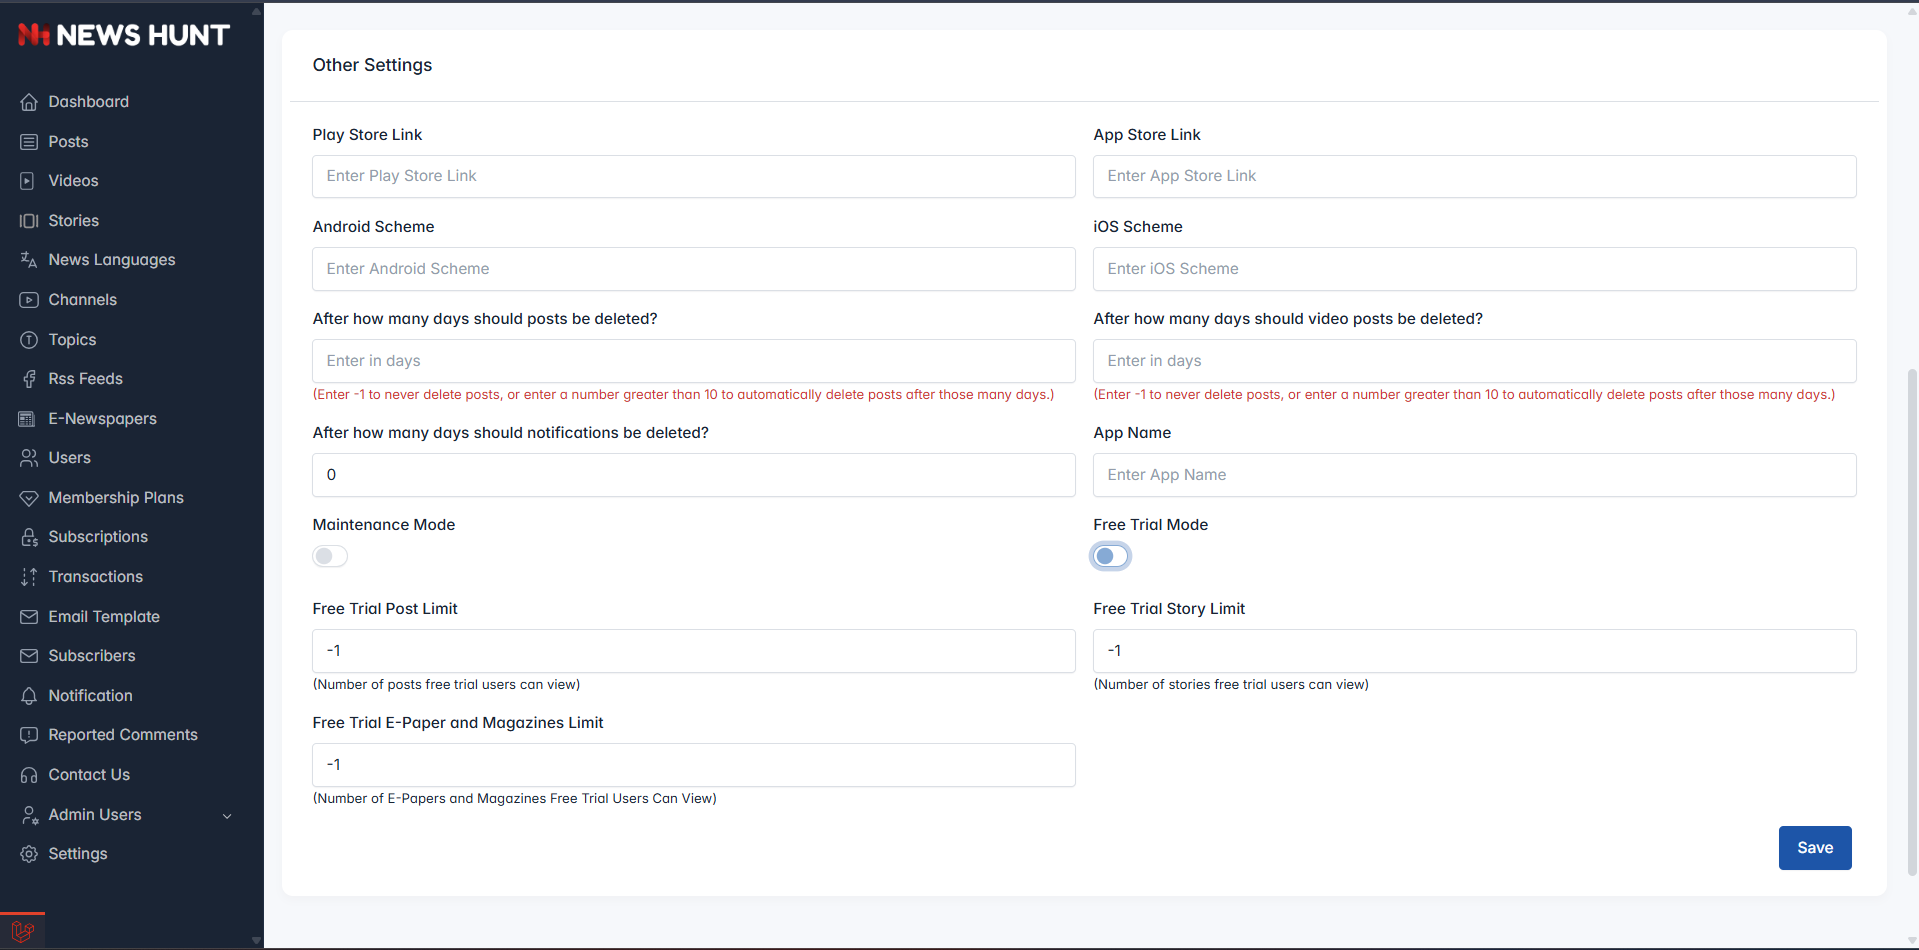
Social Links & Other Settings
-
This section enables the admin to manage social media links and other settings. Admins can input URLs for Instagram, Twitter, Facebook, LinkedIn, and Pinterest, as well as configure app store links, Android/iOS schemes, post deletion schedules, maintenance mode, and free trial limits.
-
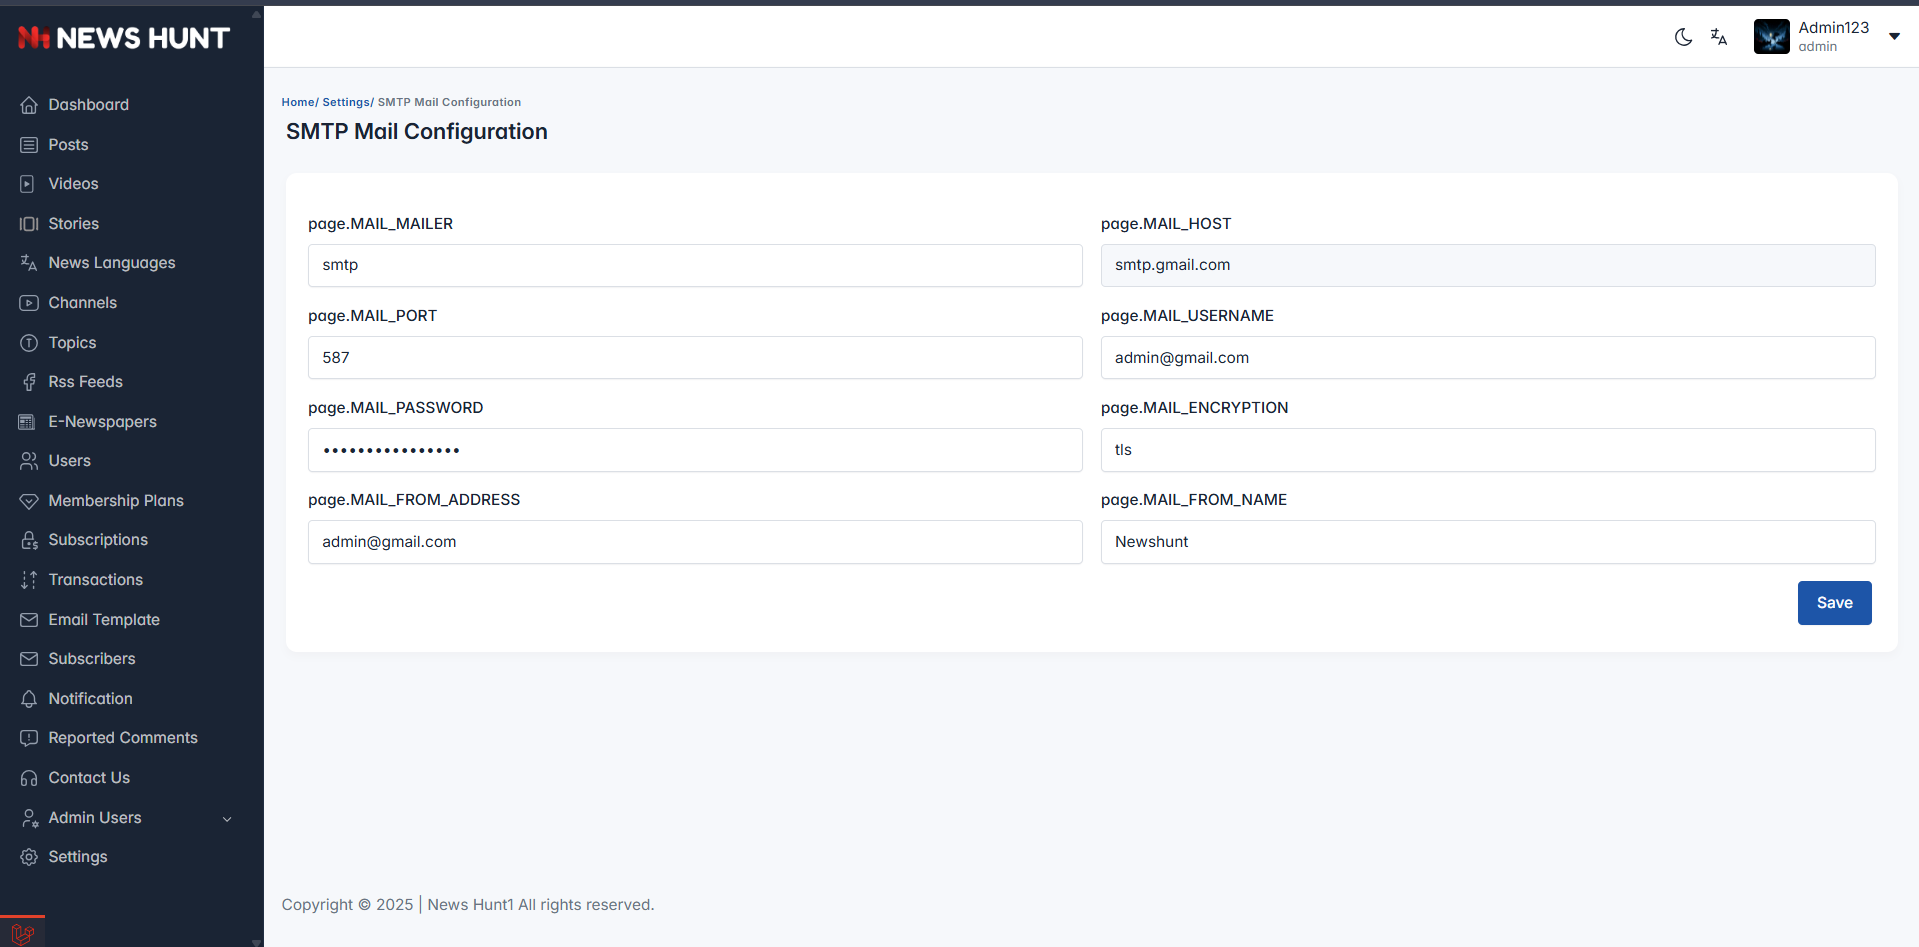
SMTP Mail Configuration
-
This section allows the admin to configure SMTP mail settings. Admins can set the mailer type, host, port, username, password, encryption, from address, and from name to manage email communications effectively.
-
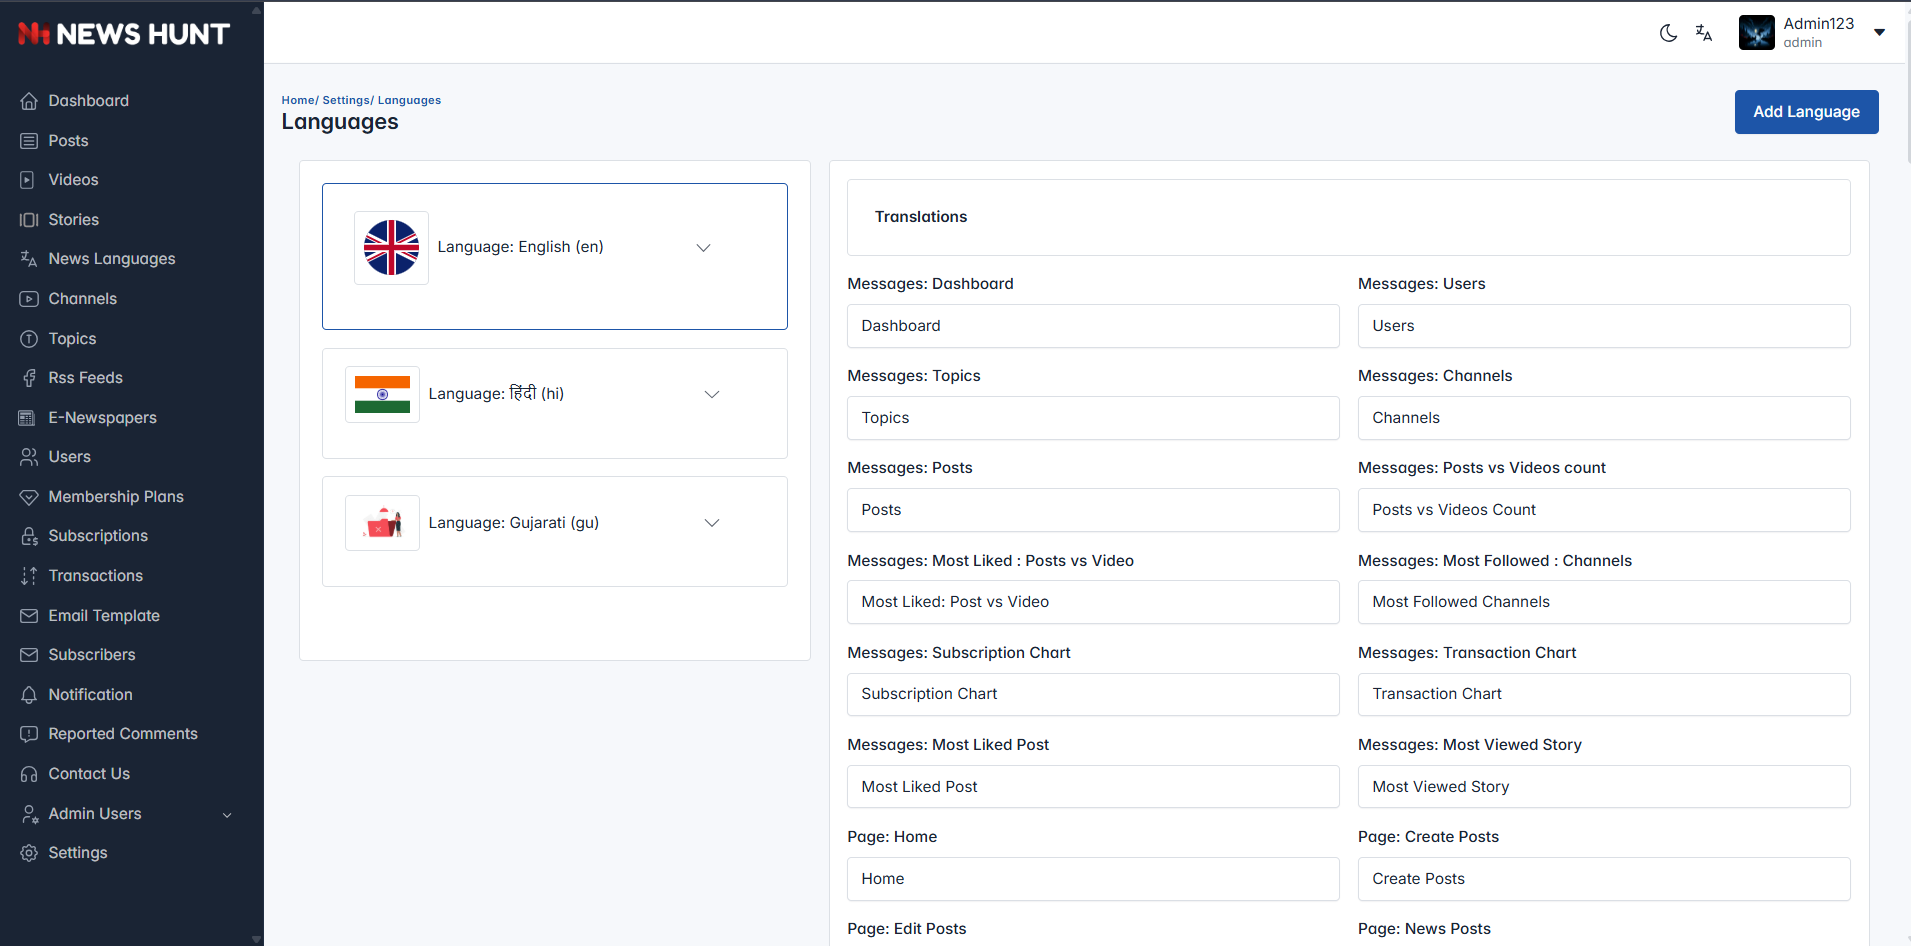
Languages
-
This section allows the admin to translate the complete admin panel according to added languages and their label values, along with the option to add new languages.
-
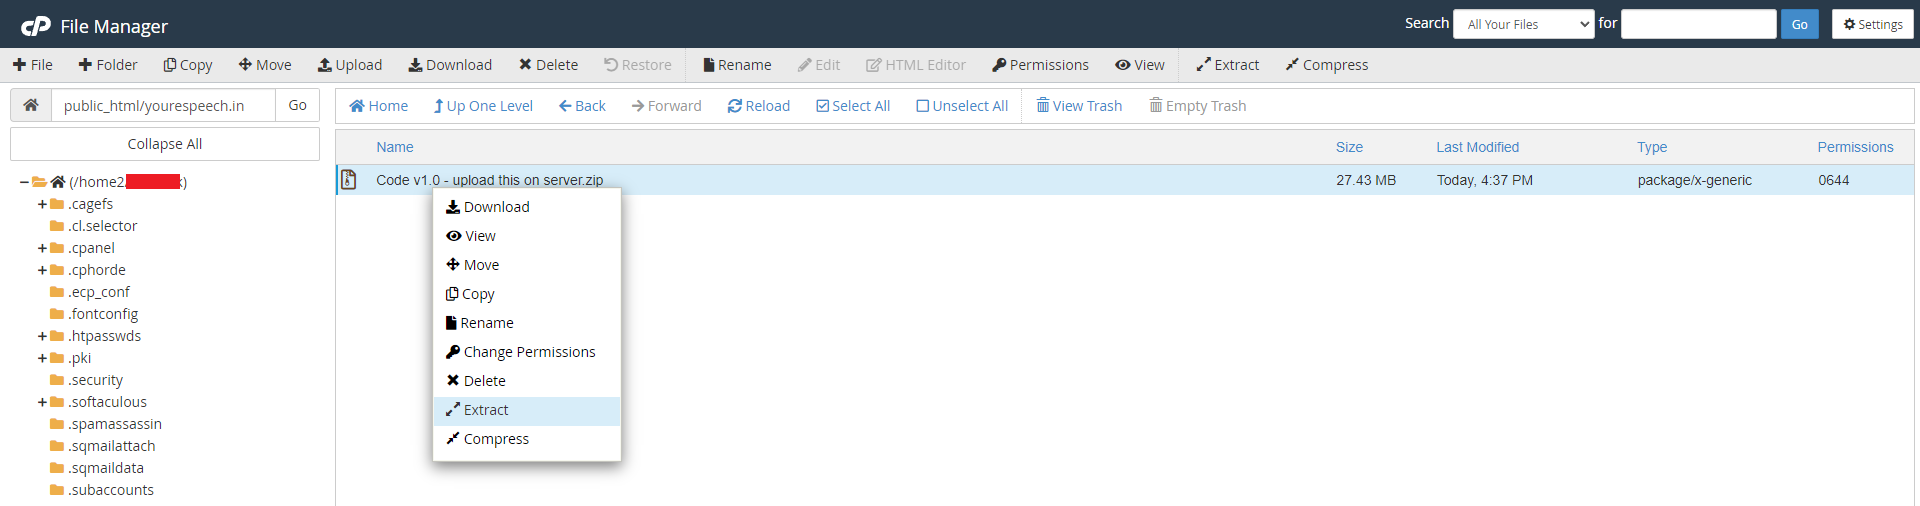
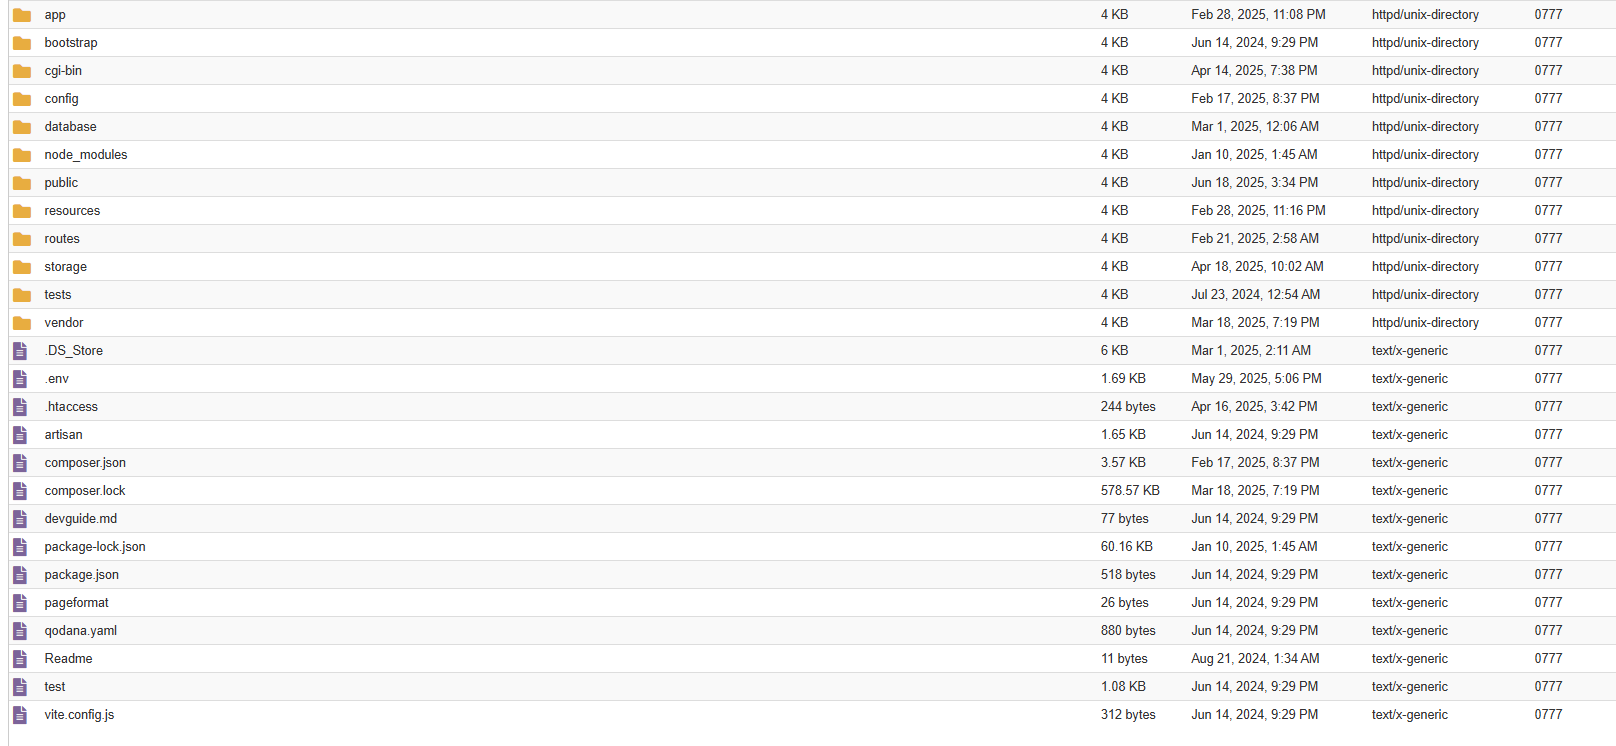
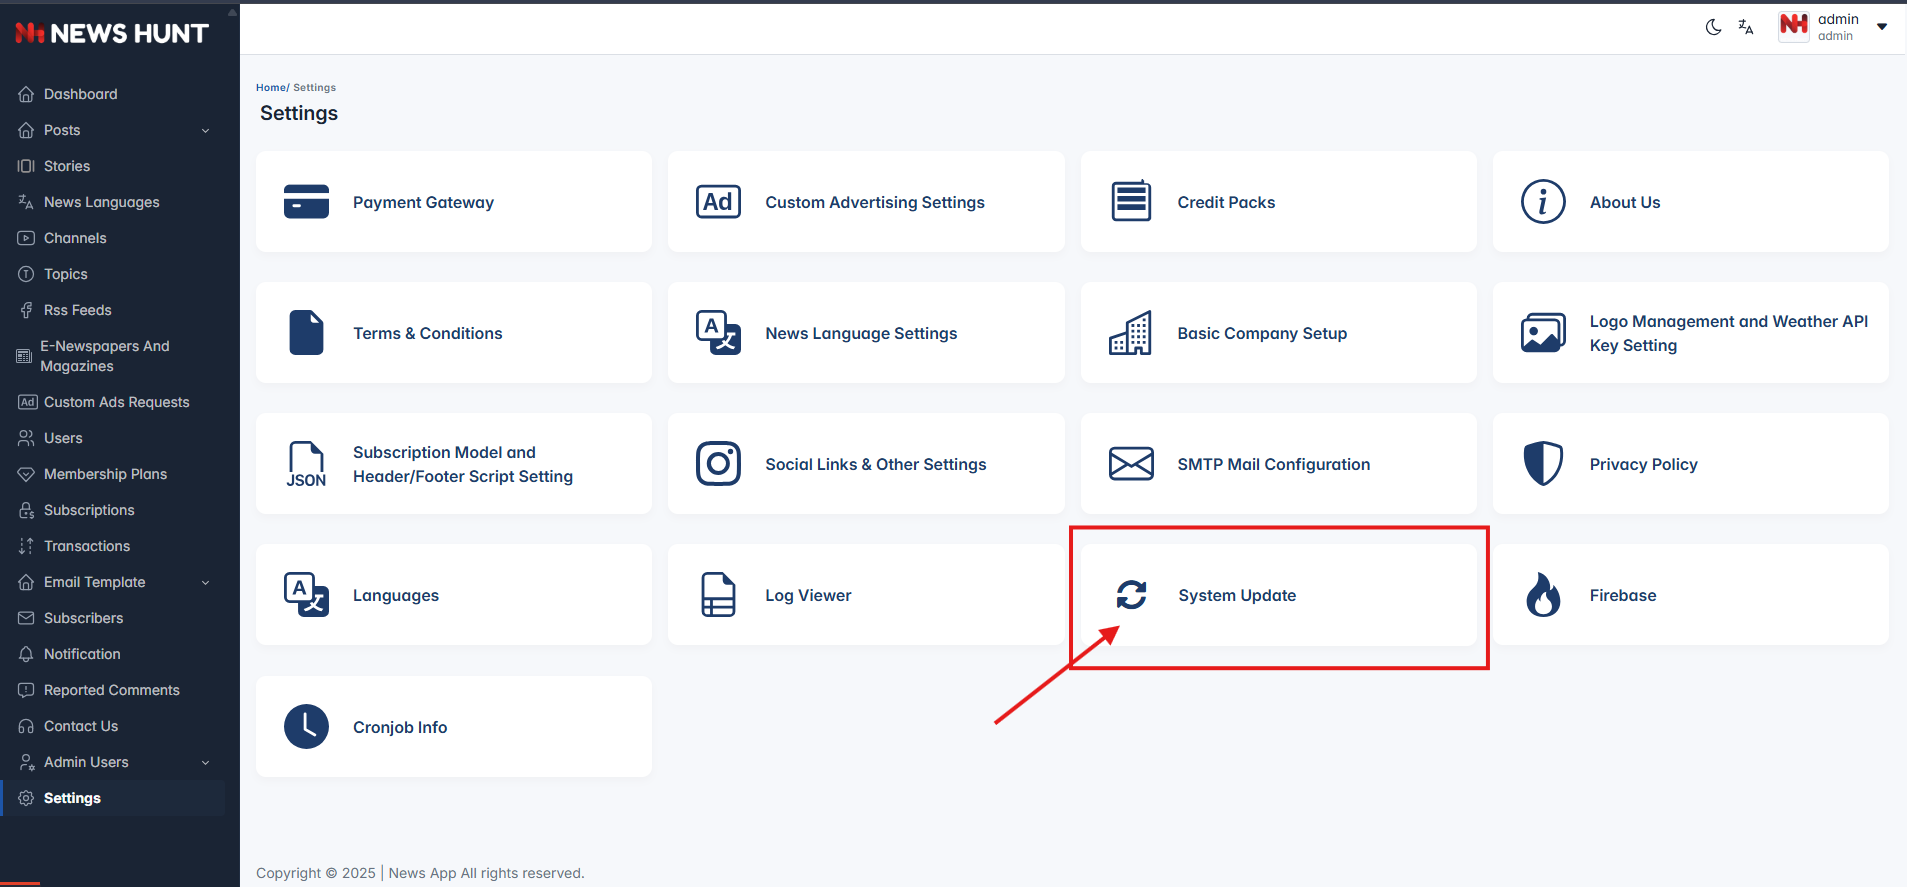
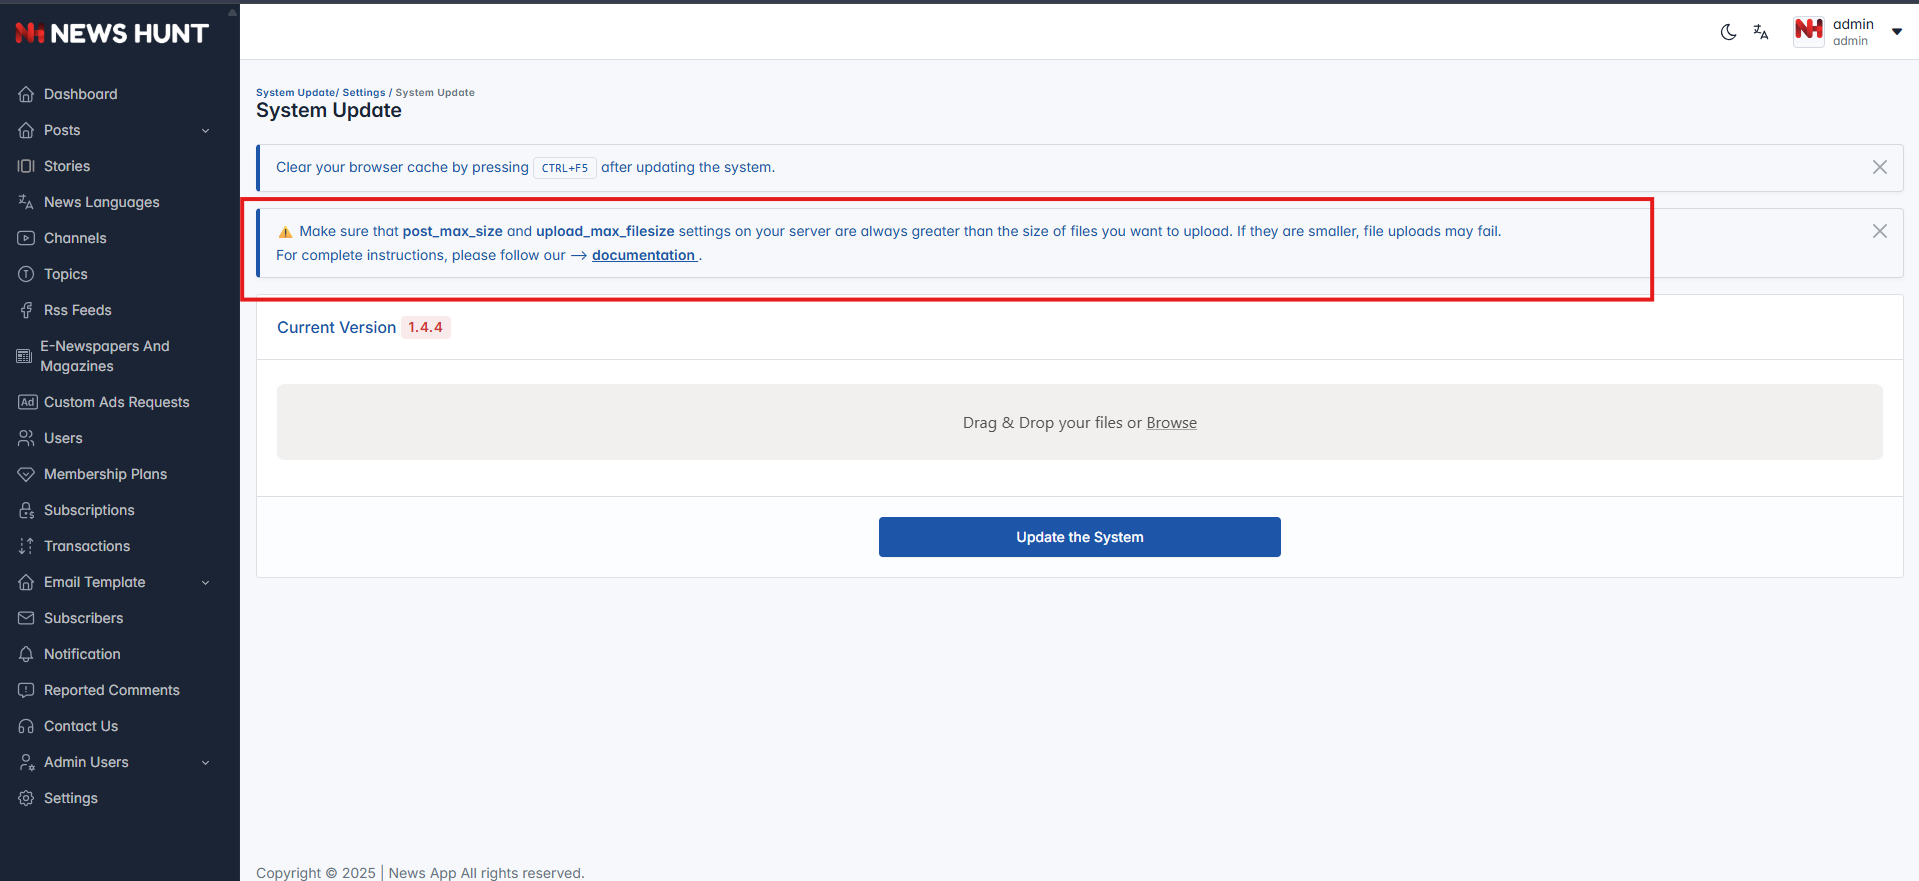
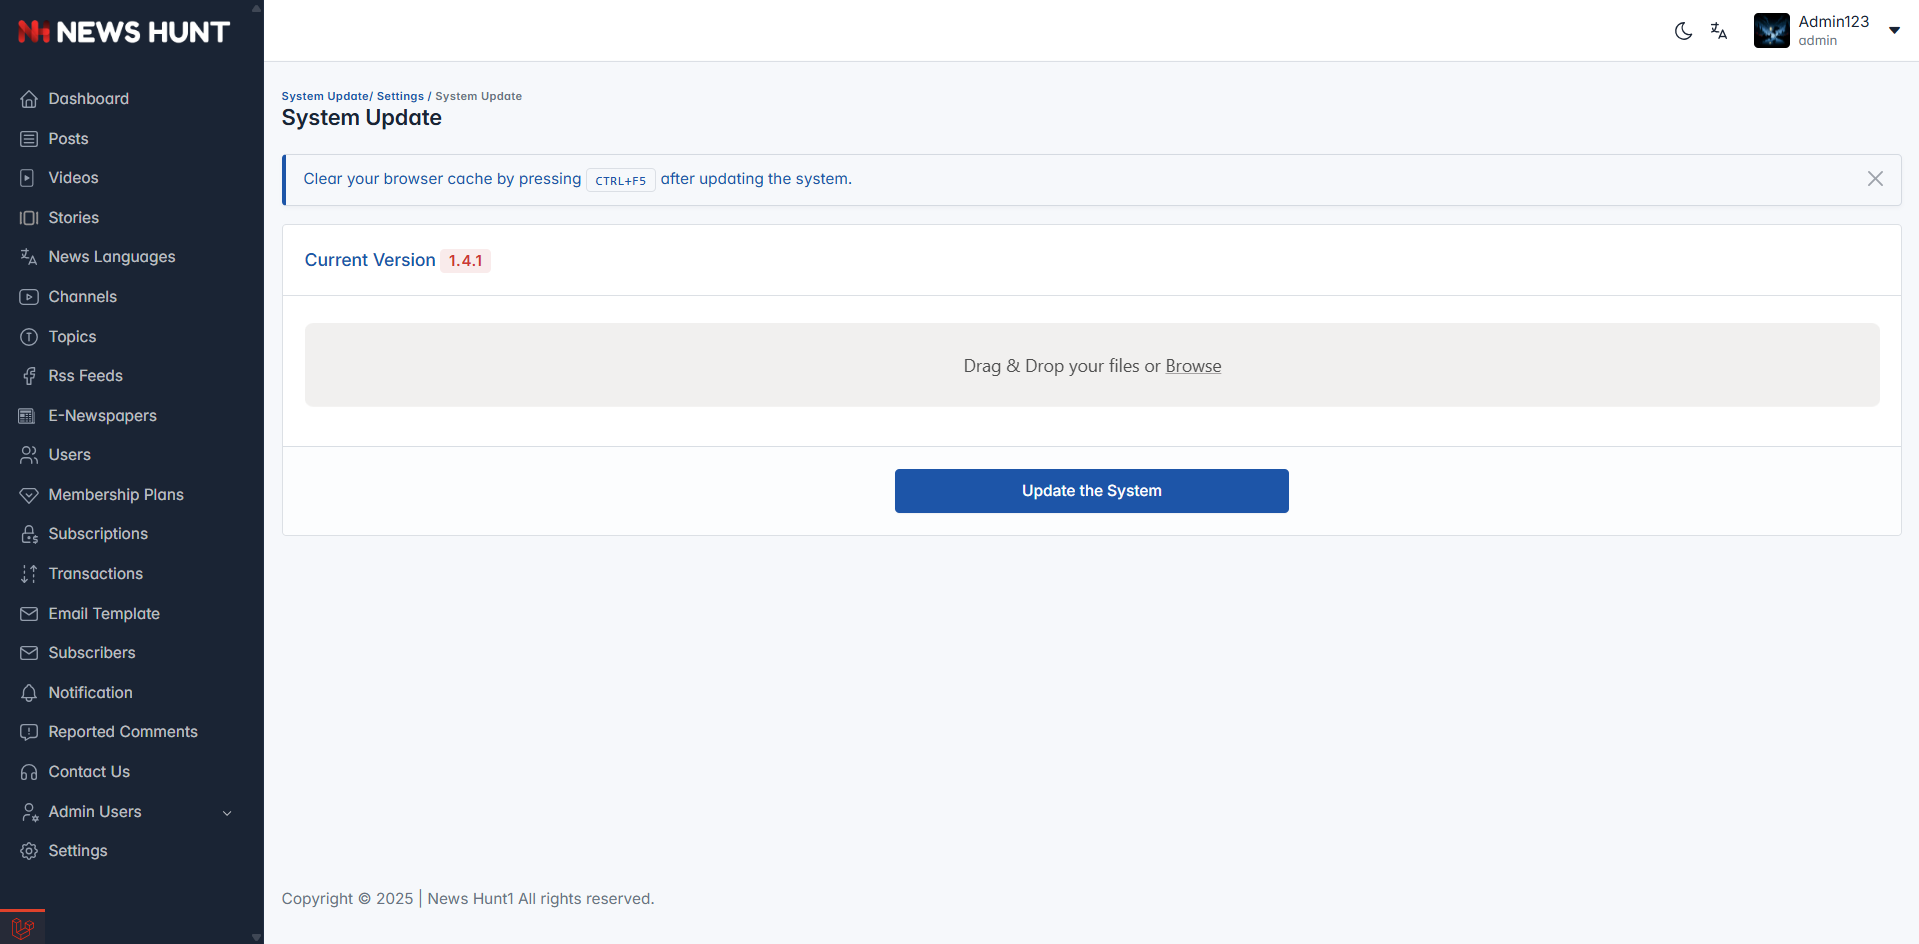
System Update
-
This section is for dragging and dropping a new version's ZIP file, allowing the admin to upload the latest version's ZIP file whenever a new version is released, thereby adding all the latest features.
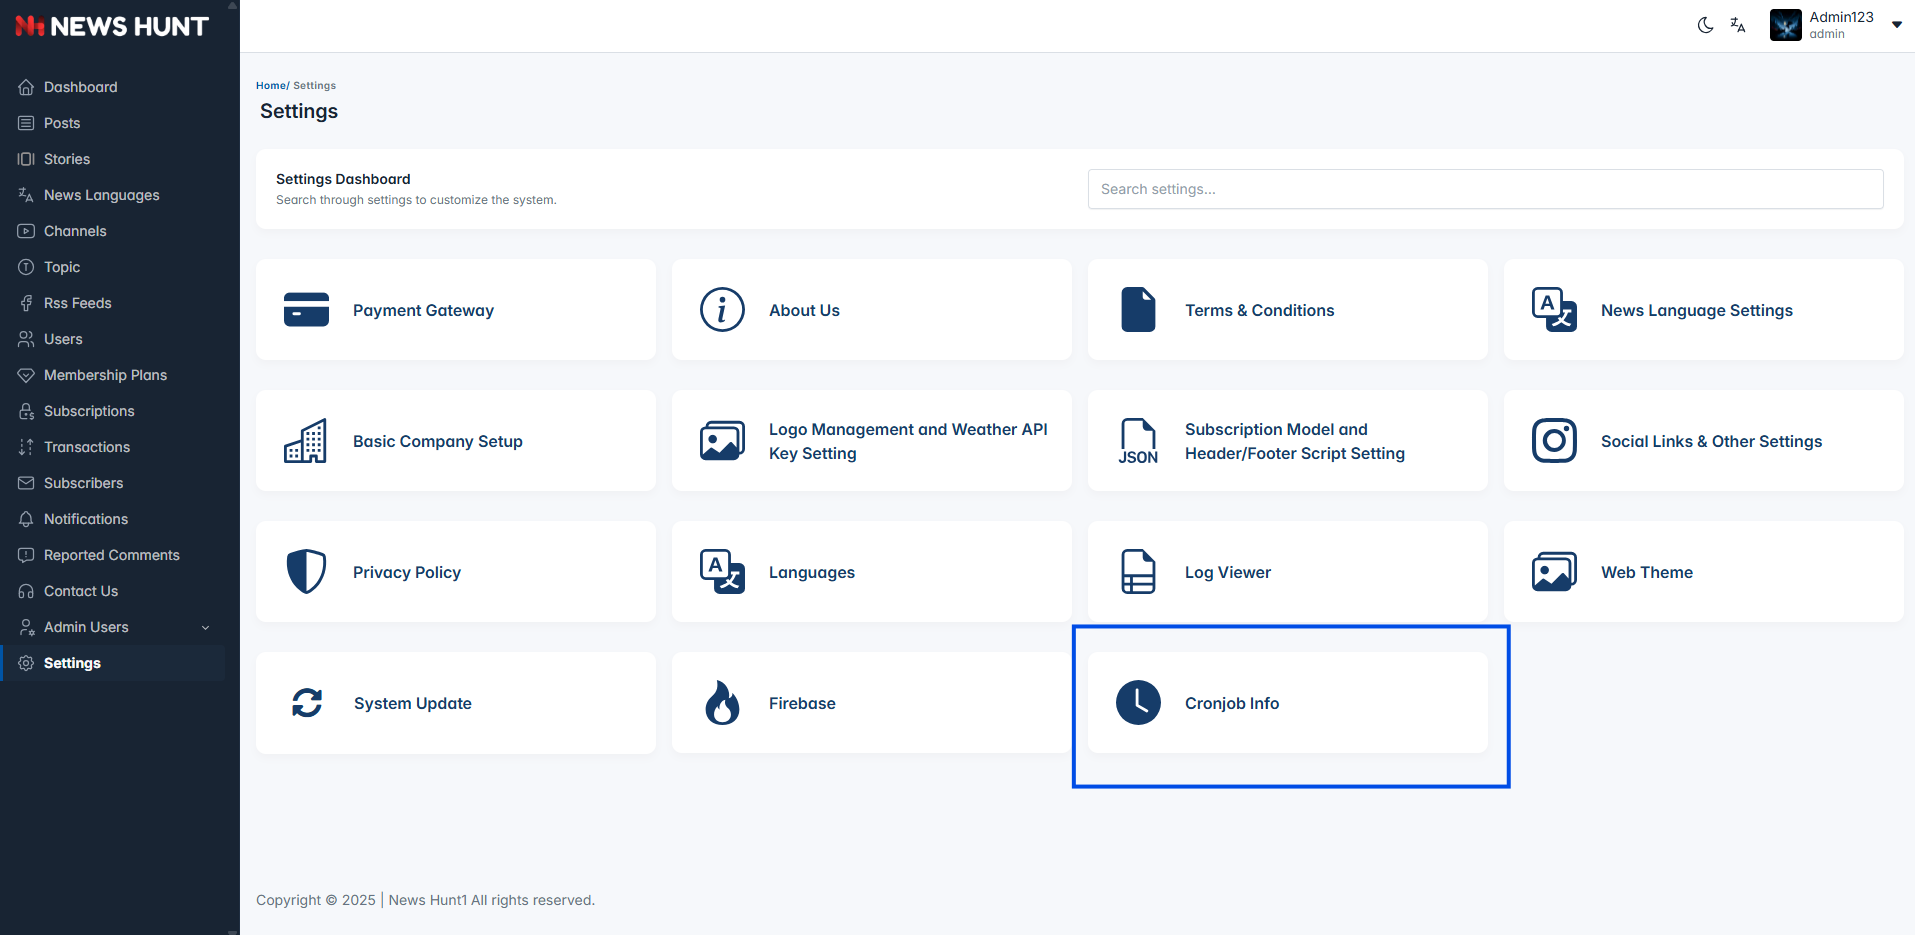
Cron job
What is cron job
- A cron job is a scheduled task that runs a piece of code at a set interval.
- We are use this to fetch rss feeds according to our scheduled.
- for more detail visit in admin panel.
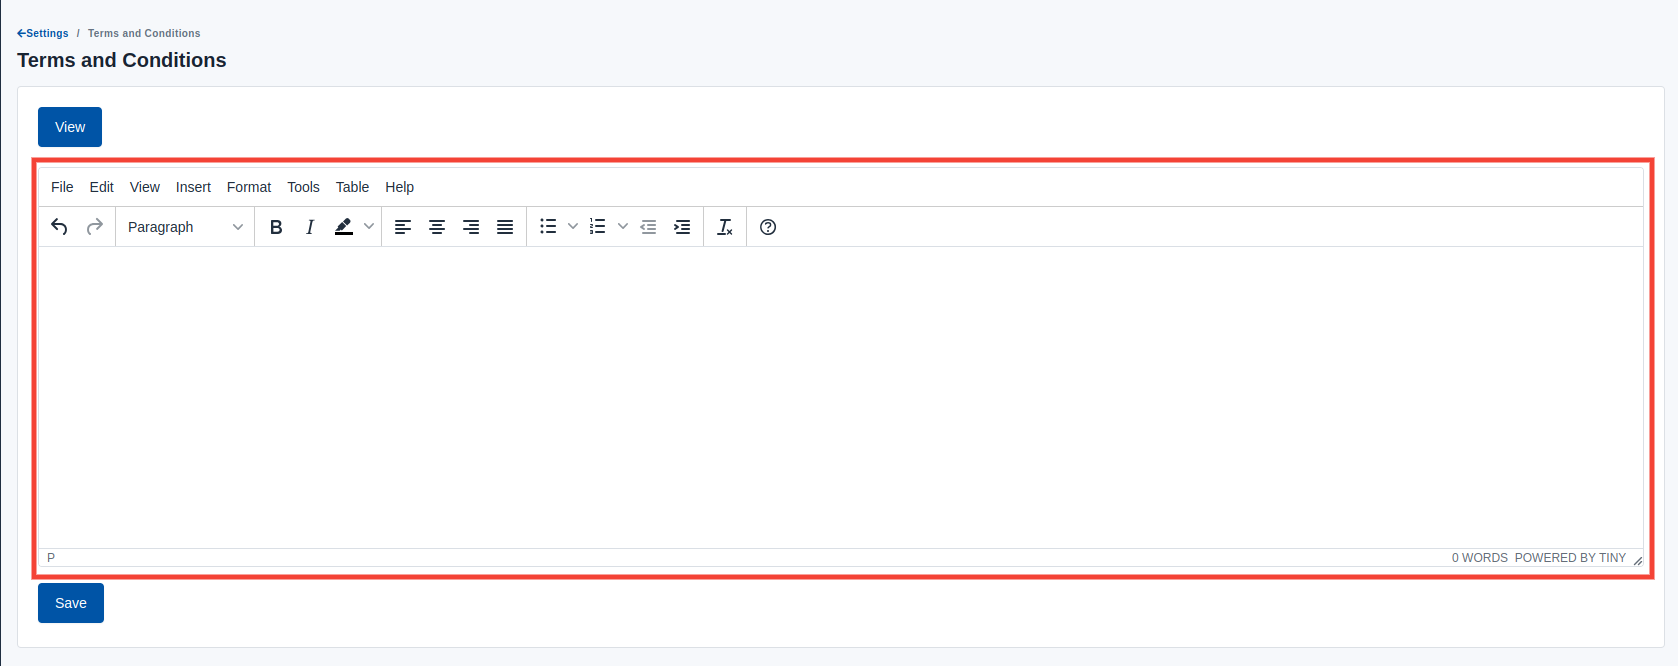
Terms And Conditions
Configure Terms And Conditions settings.
Just go to Settings -> Terms and Conditions.
- Enter all Terms and conditions under Terms and
conditions section.
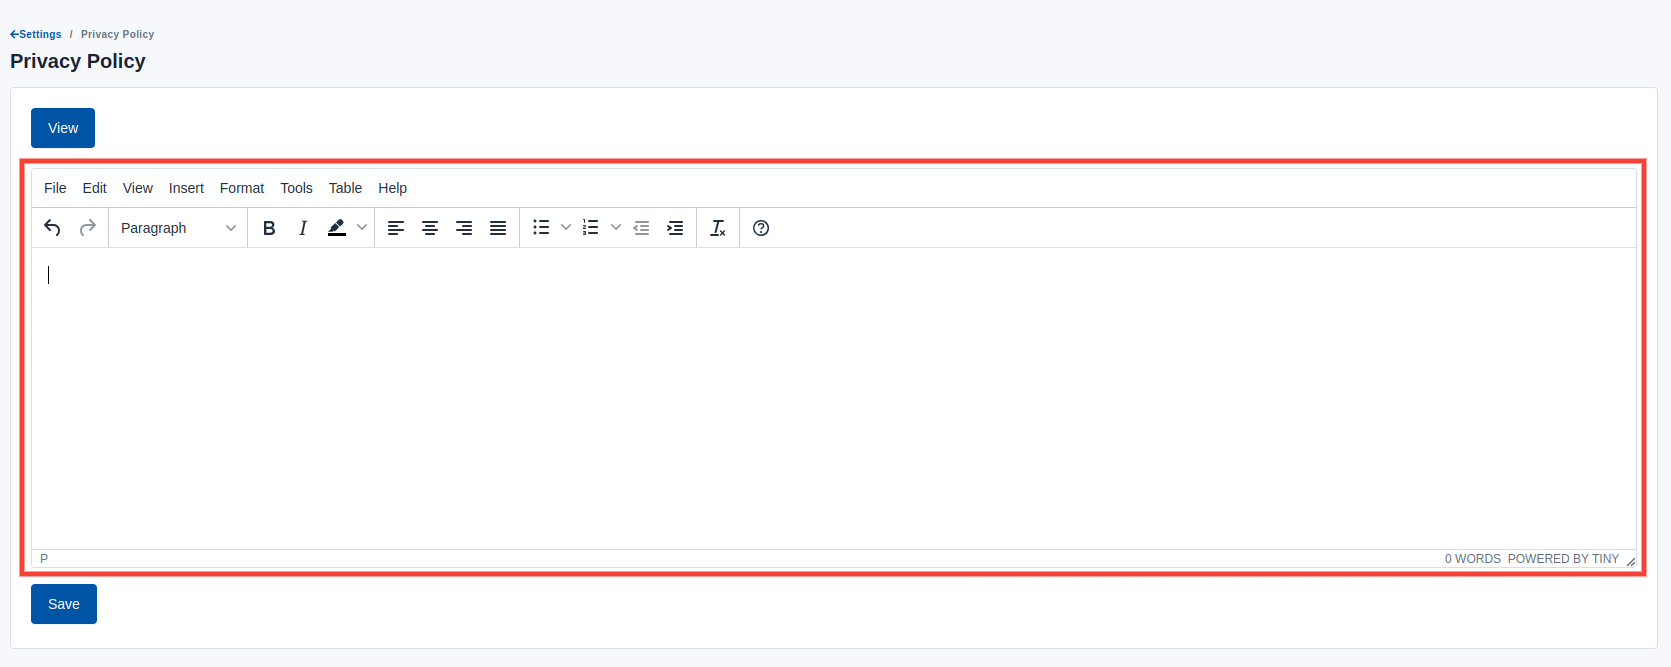
Privacy Policy
Configure Privacy Policy settings.
Just go to Settings -> Privacy Policy.
- Enter all Privacy Policy under Privacy Policy
section.
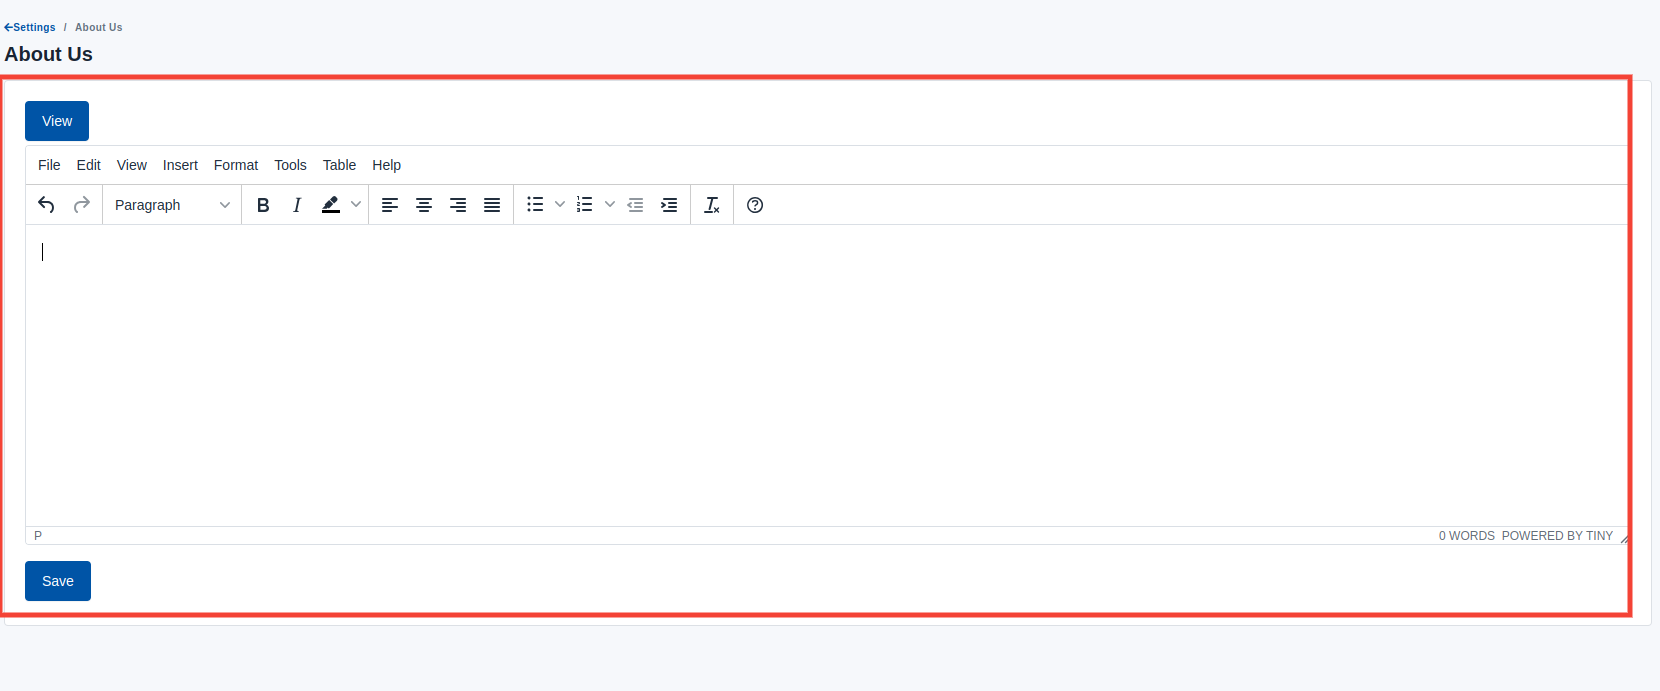
About us
Configure About us settings.
Just go to Settings -> About us.
- Enter all About us under About us section.
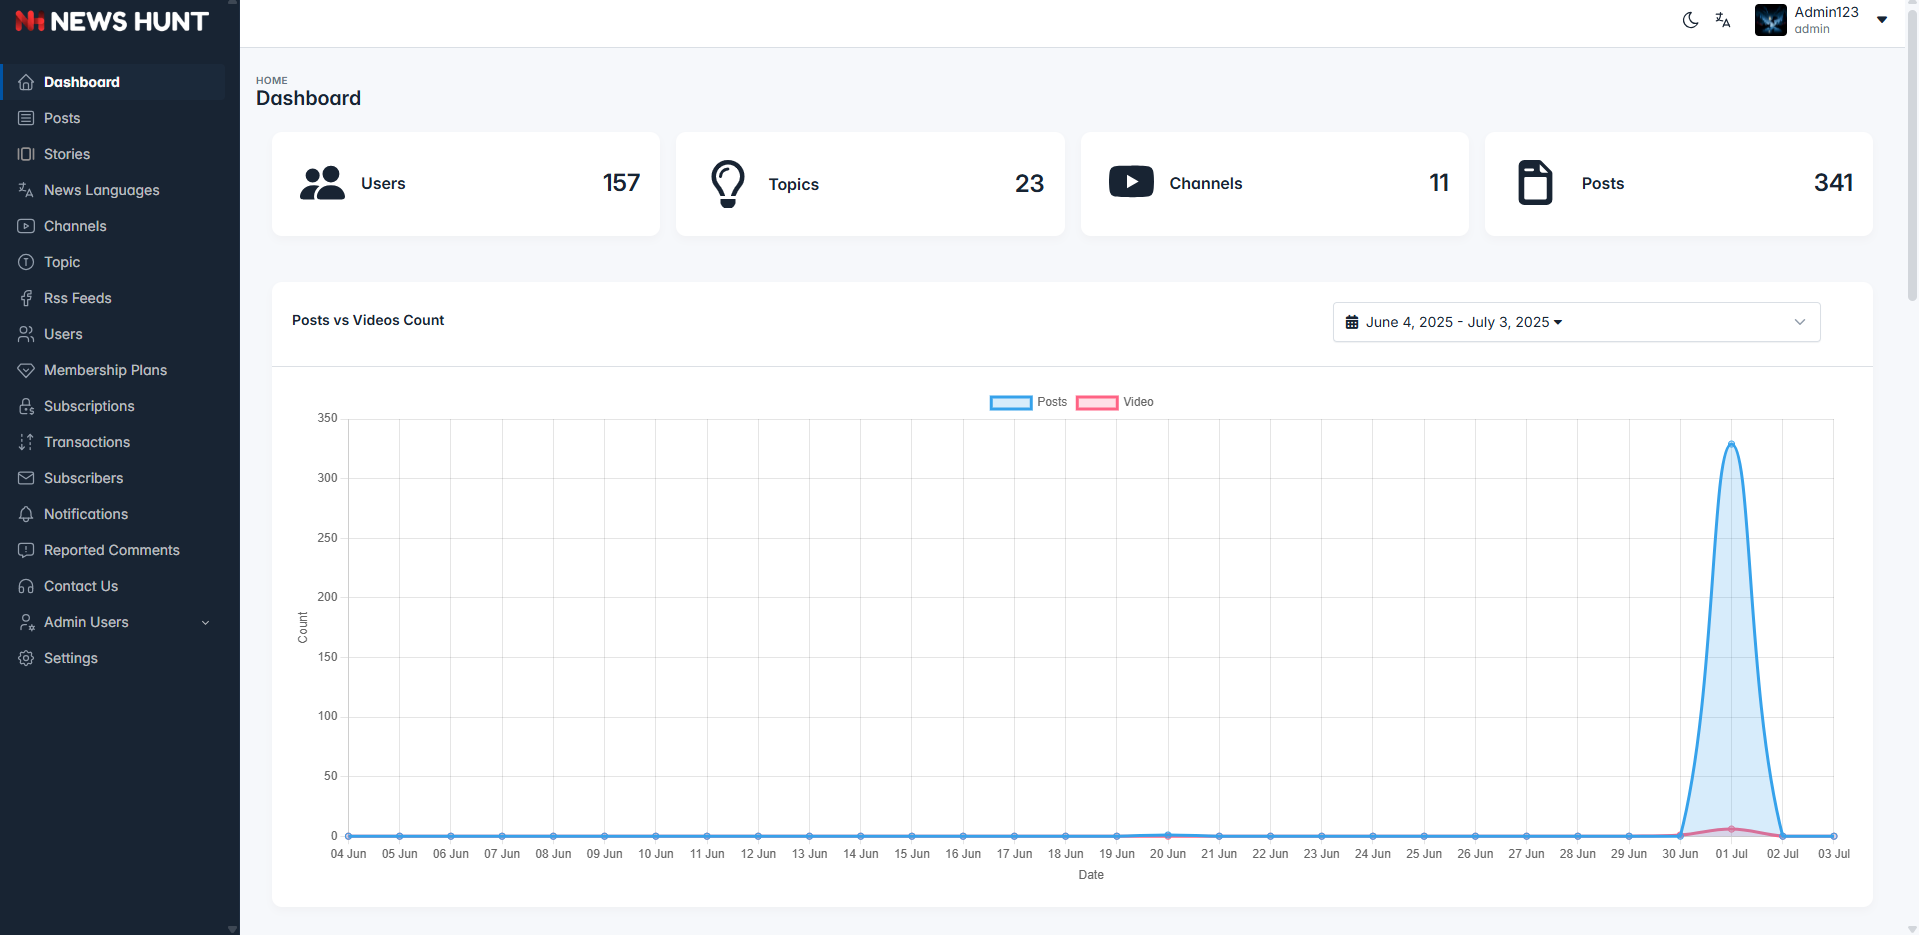
Dashboard
- Dashboard of the app to view app insights.
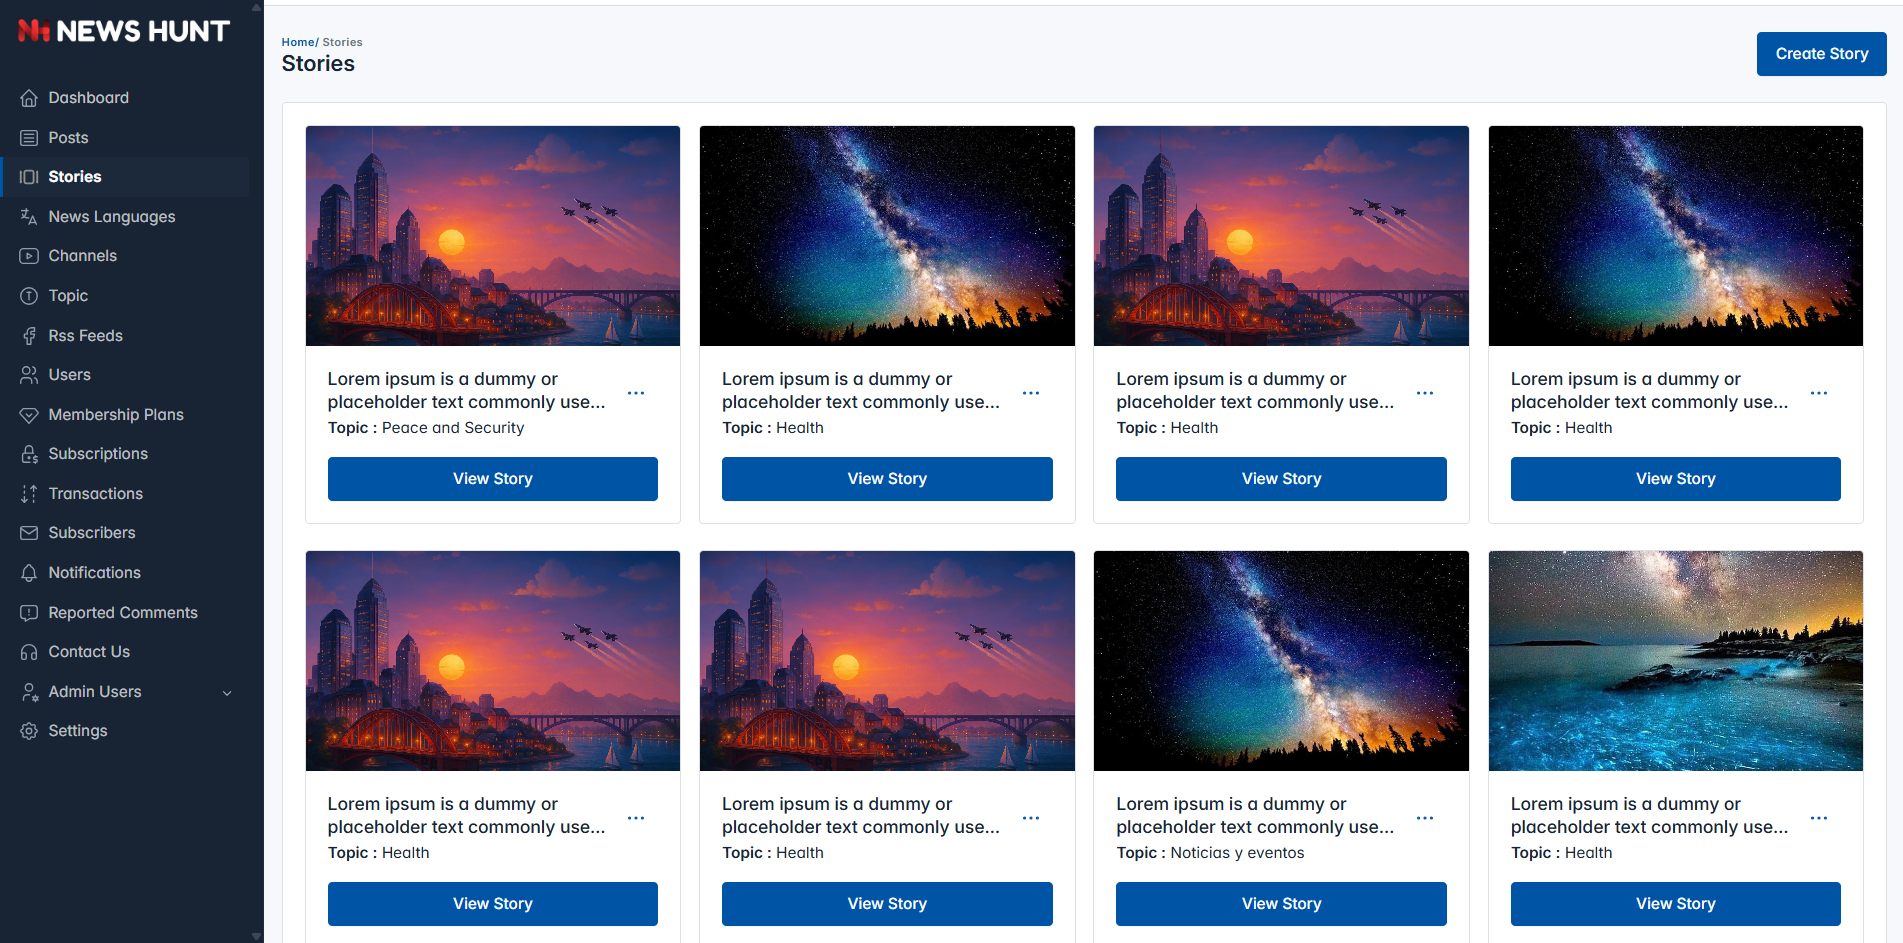
Webstories
Note:
When creating Webstories, please make sure that the news language has already been created.
Also, when you create a Webstory for a specific news language, topics for that
news language must be available.
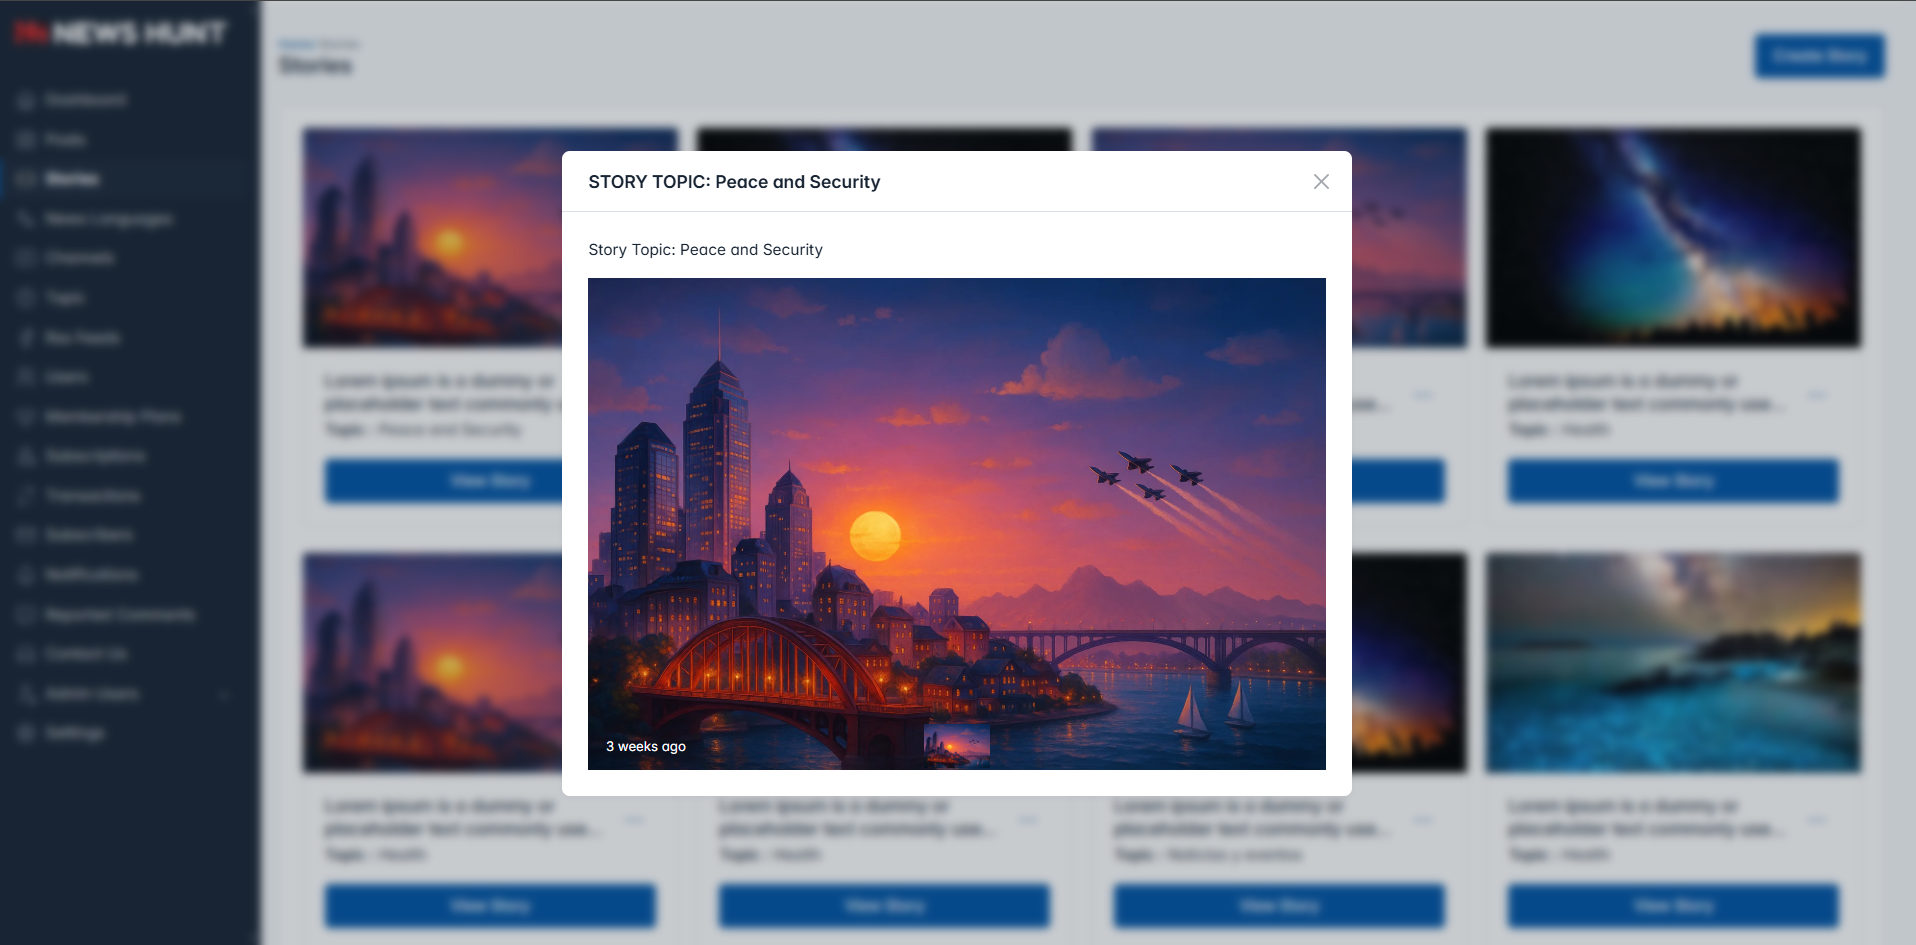
- Webstories List Page. Here you can create, edit, and delete stories.
- Create a story topic and select a topic from the provided dropdown to categorize your story.
- Add slides with a title, description, and images to make your story engaging and informative.
- Arrange the slides in the correct order to ensure a smooth and logical storytelling flow.
- Apply animations to the title, description, and images to enhance the visual experience.
- Review the final story, make necessary adjustments, and publish it for your audience.
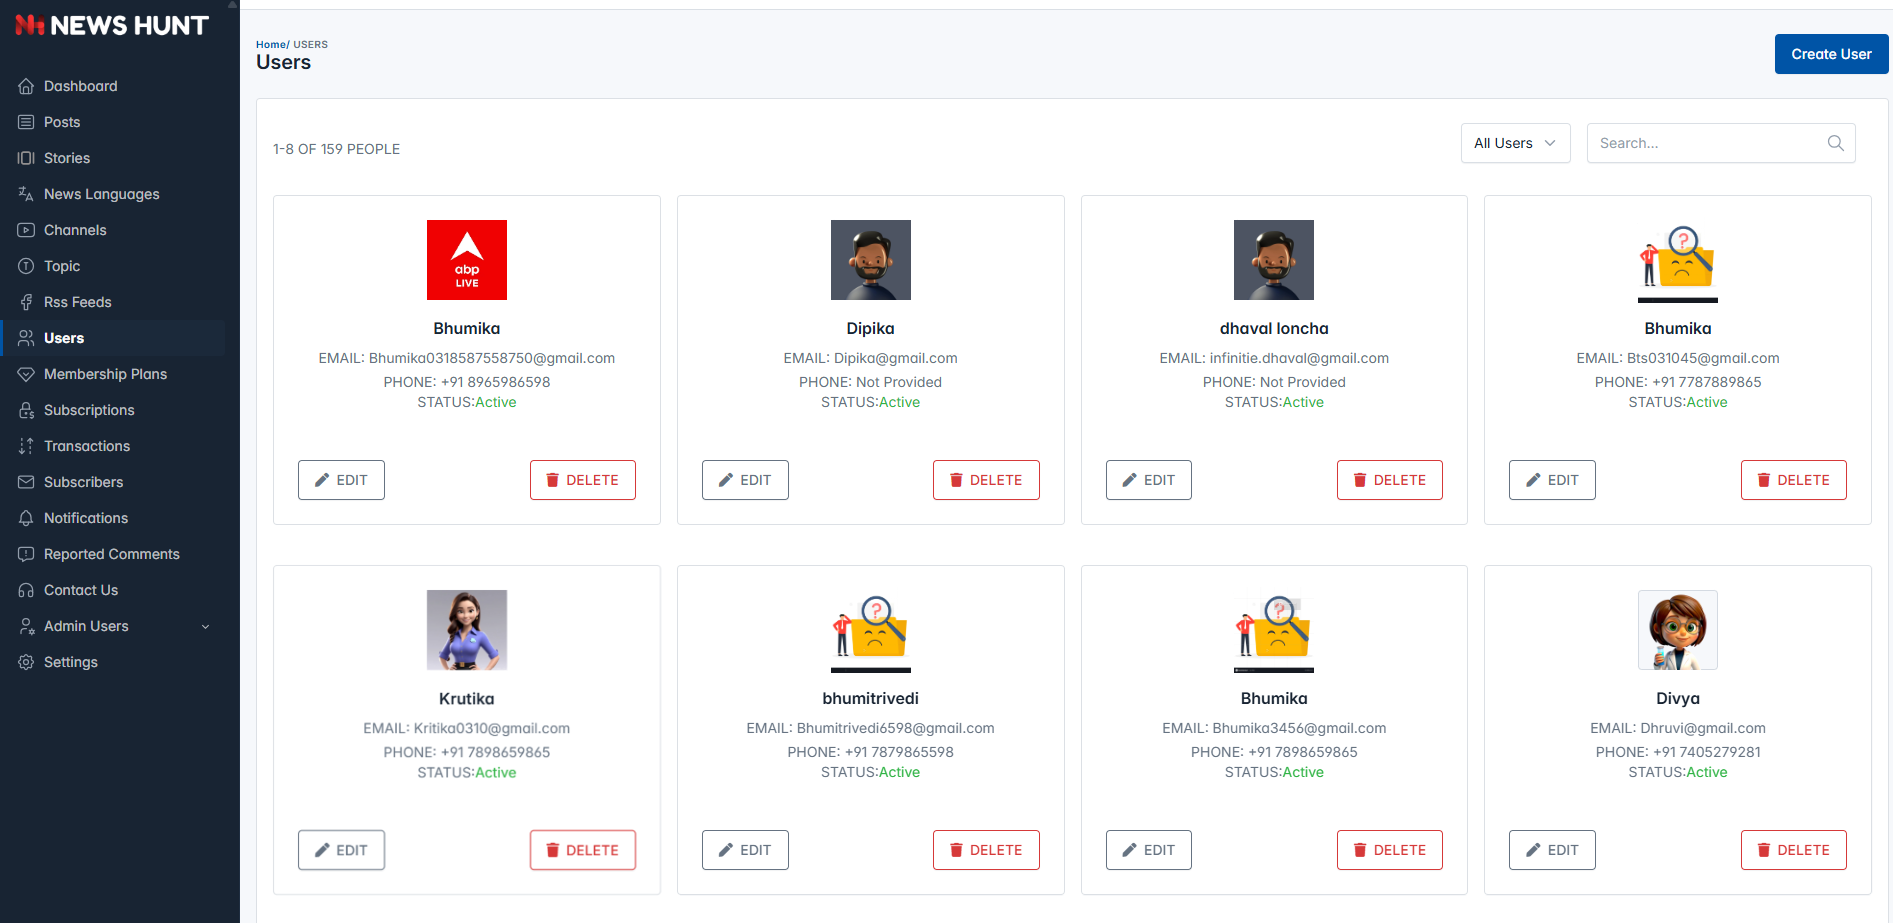
User
- Users where you can see user list and Manage users.
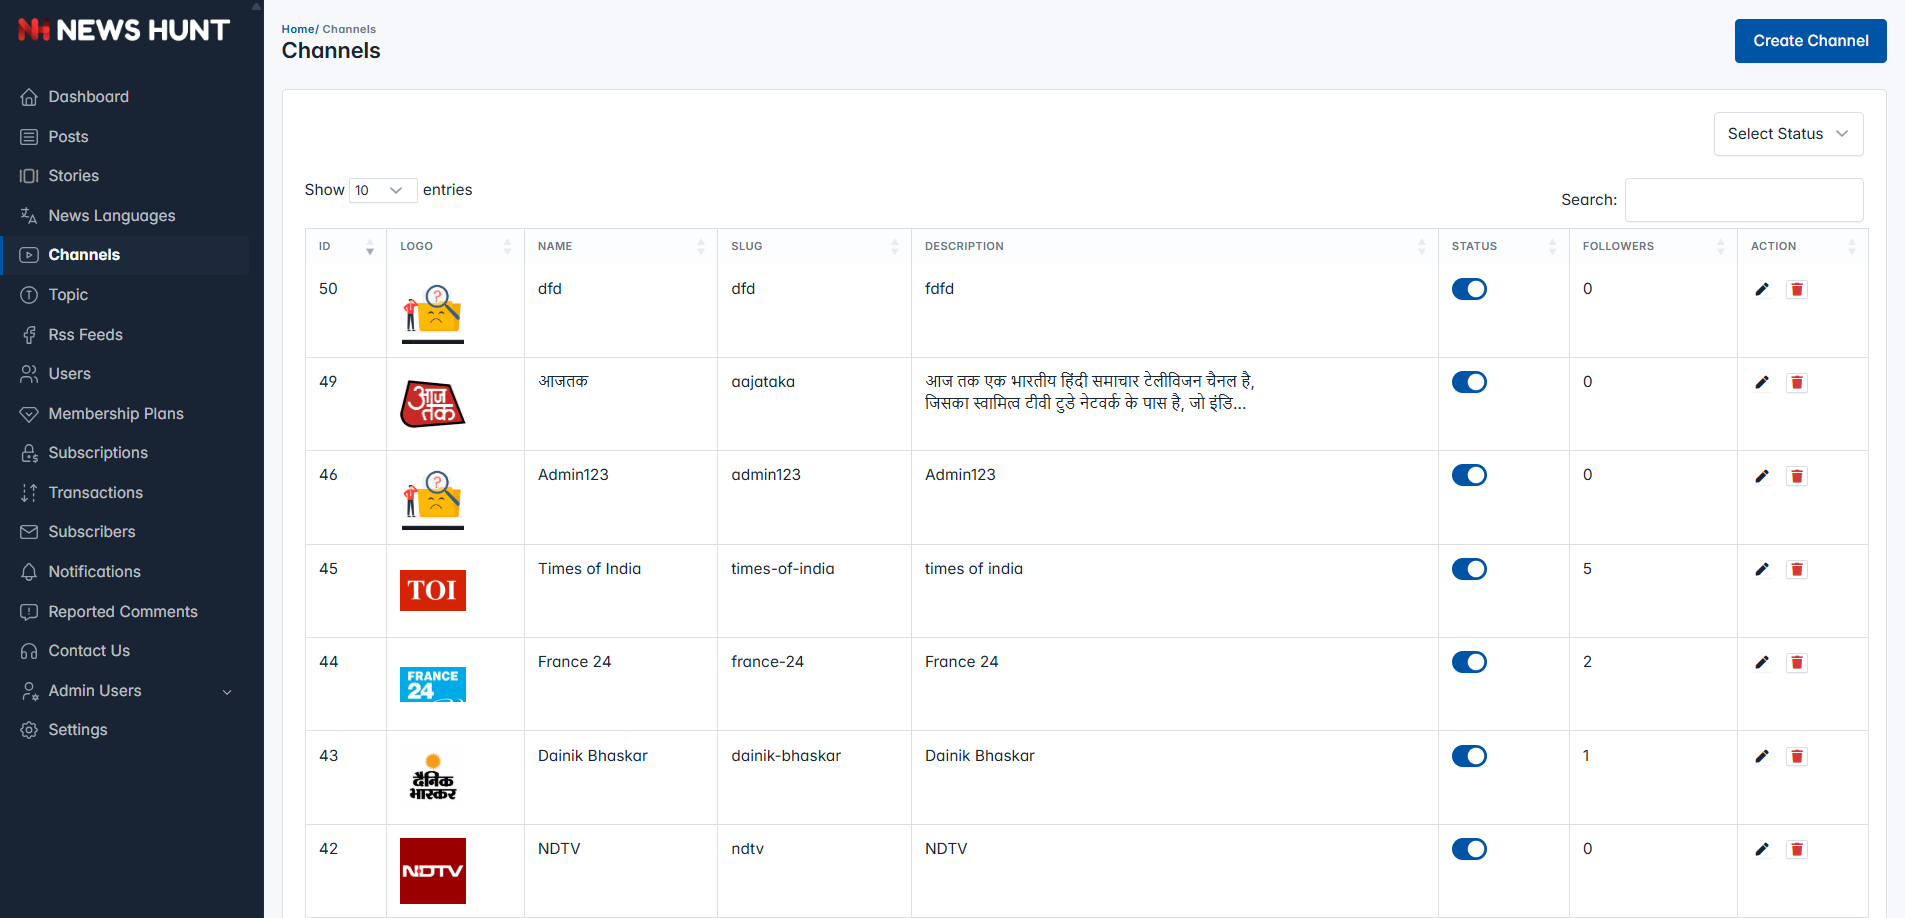
Channels
- Channels List Page. Here you can create, edit and delete channels.
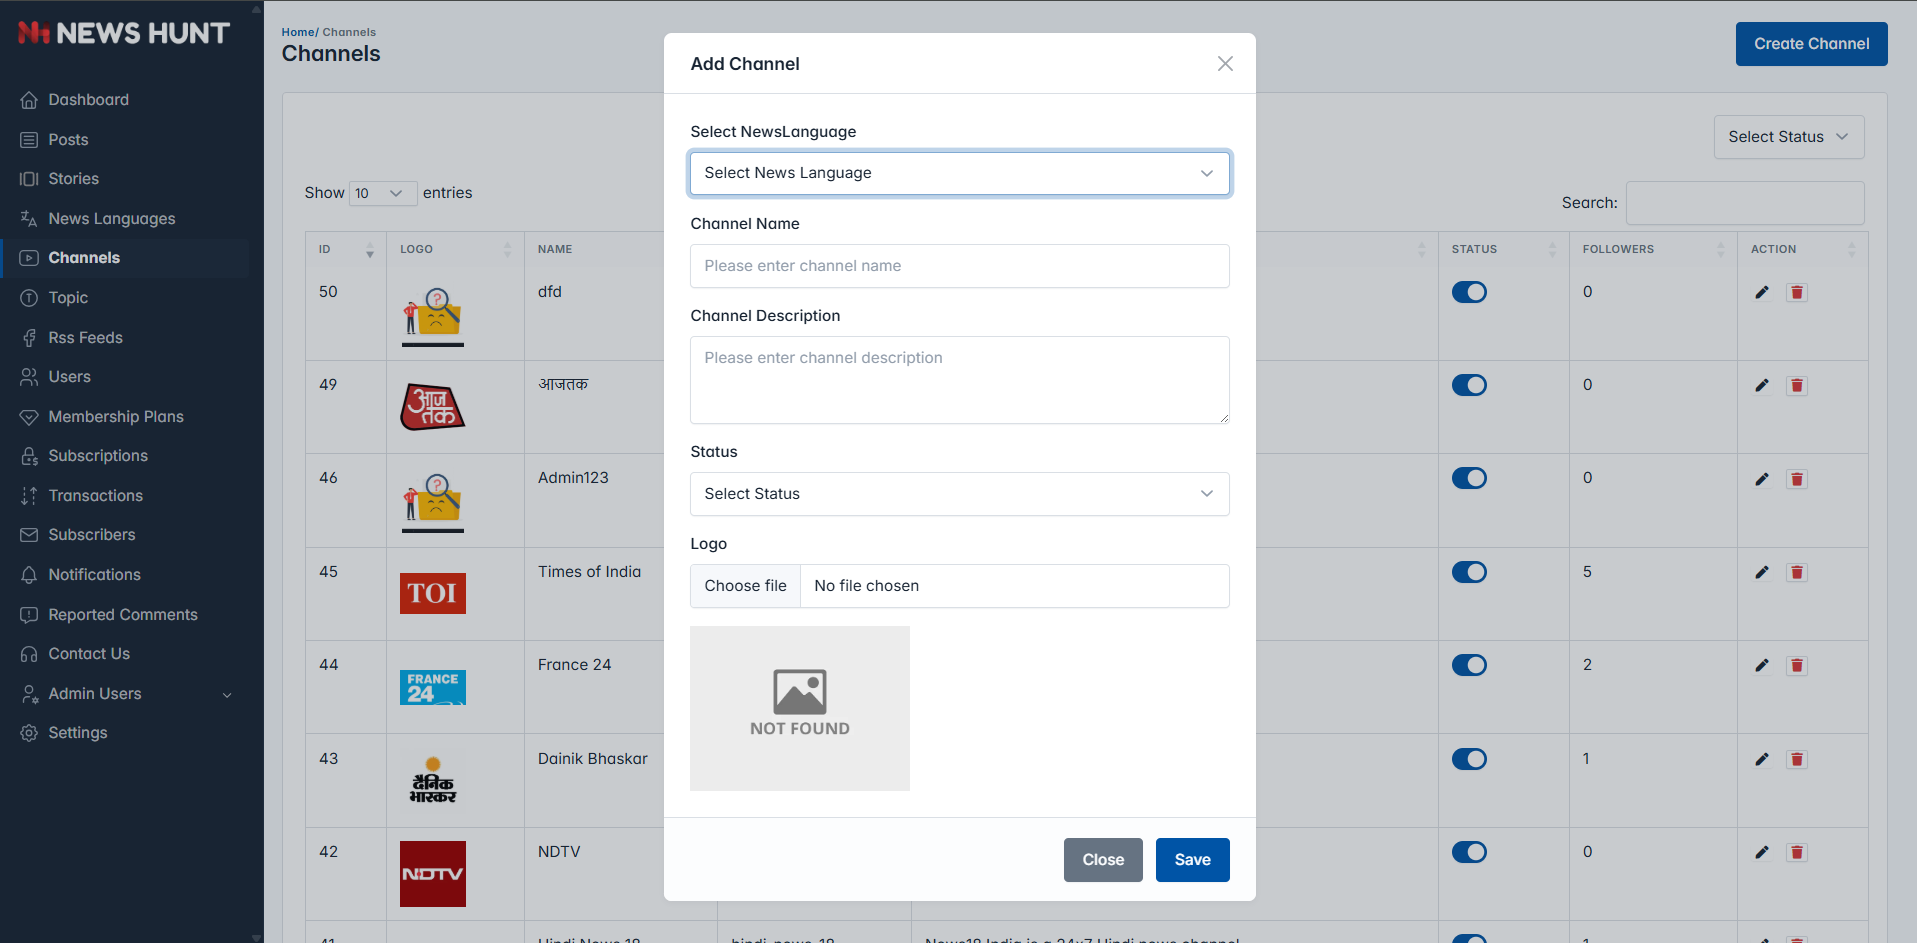
Add Channels
Note:
When creating channels, please make sure that the news language has already been created.
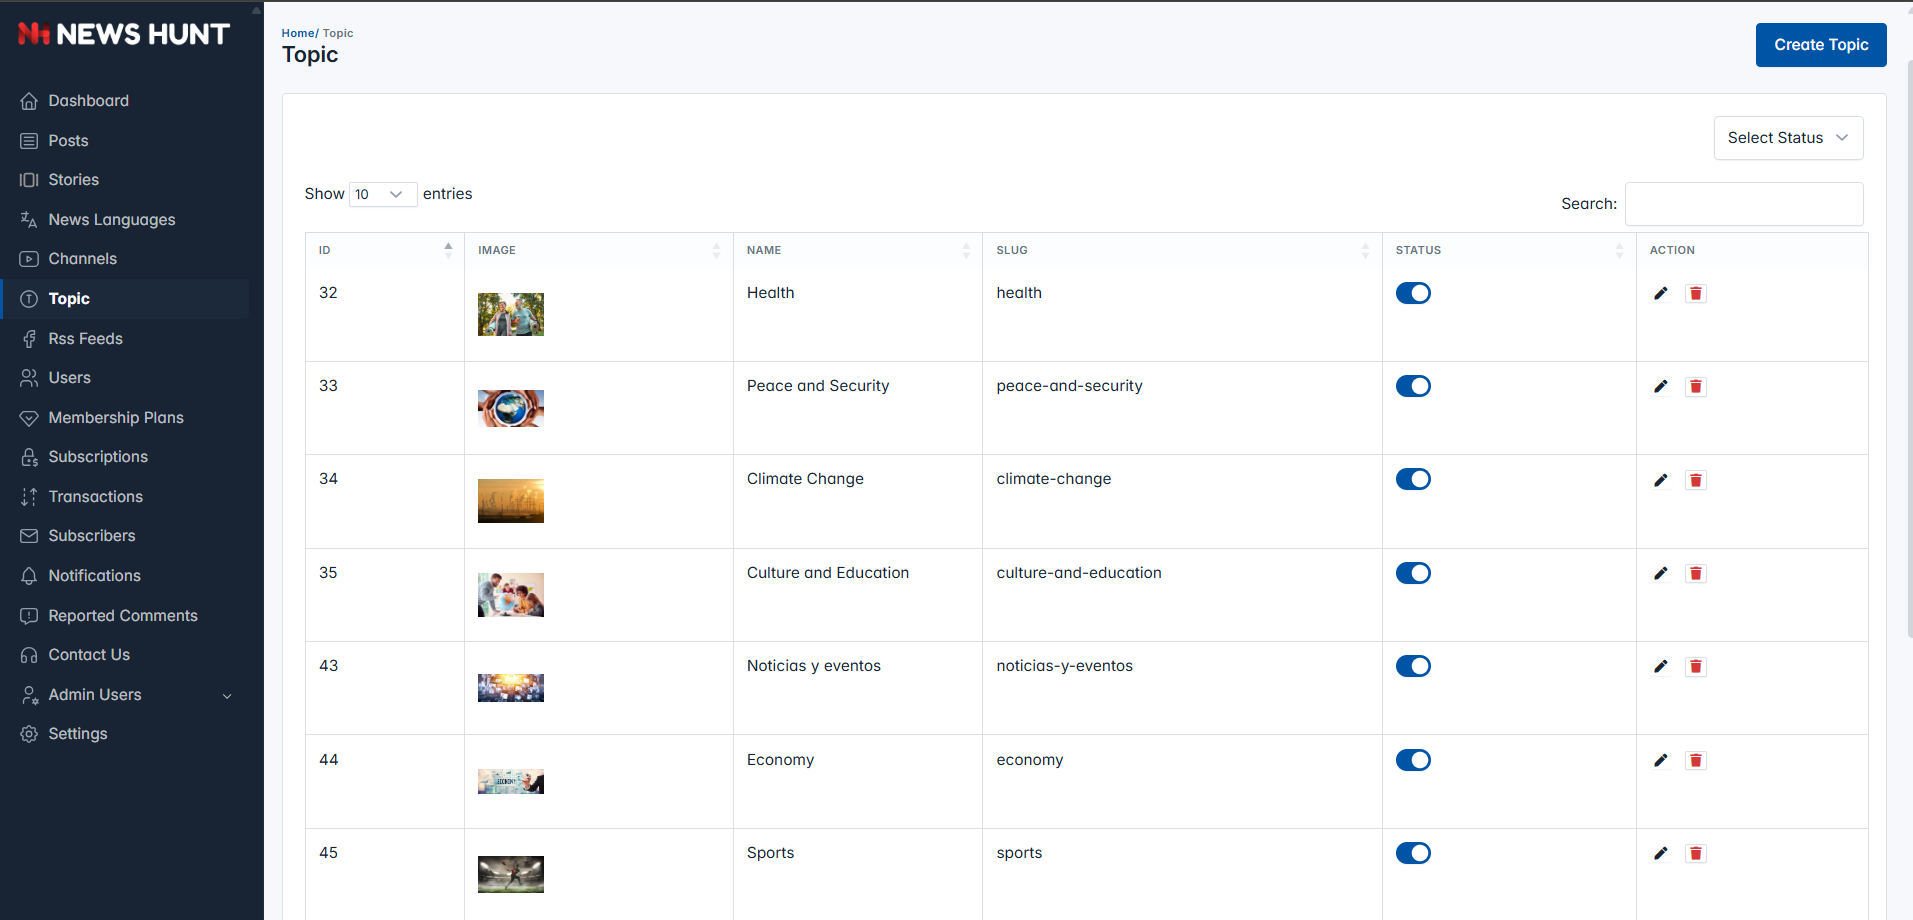
Topics
- Topics List Page. Here you can create, edit and delete Topics.
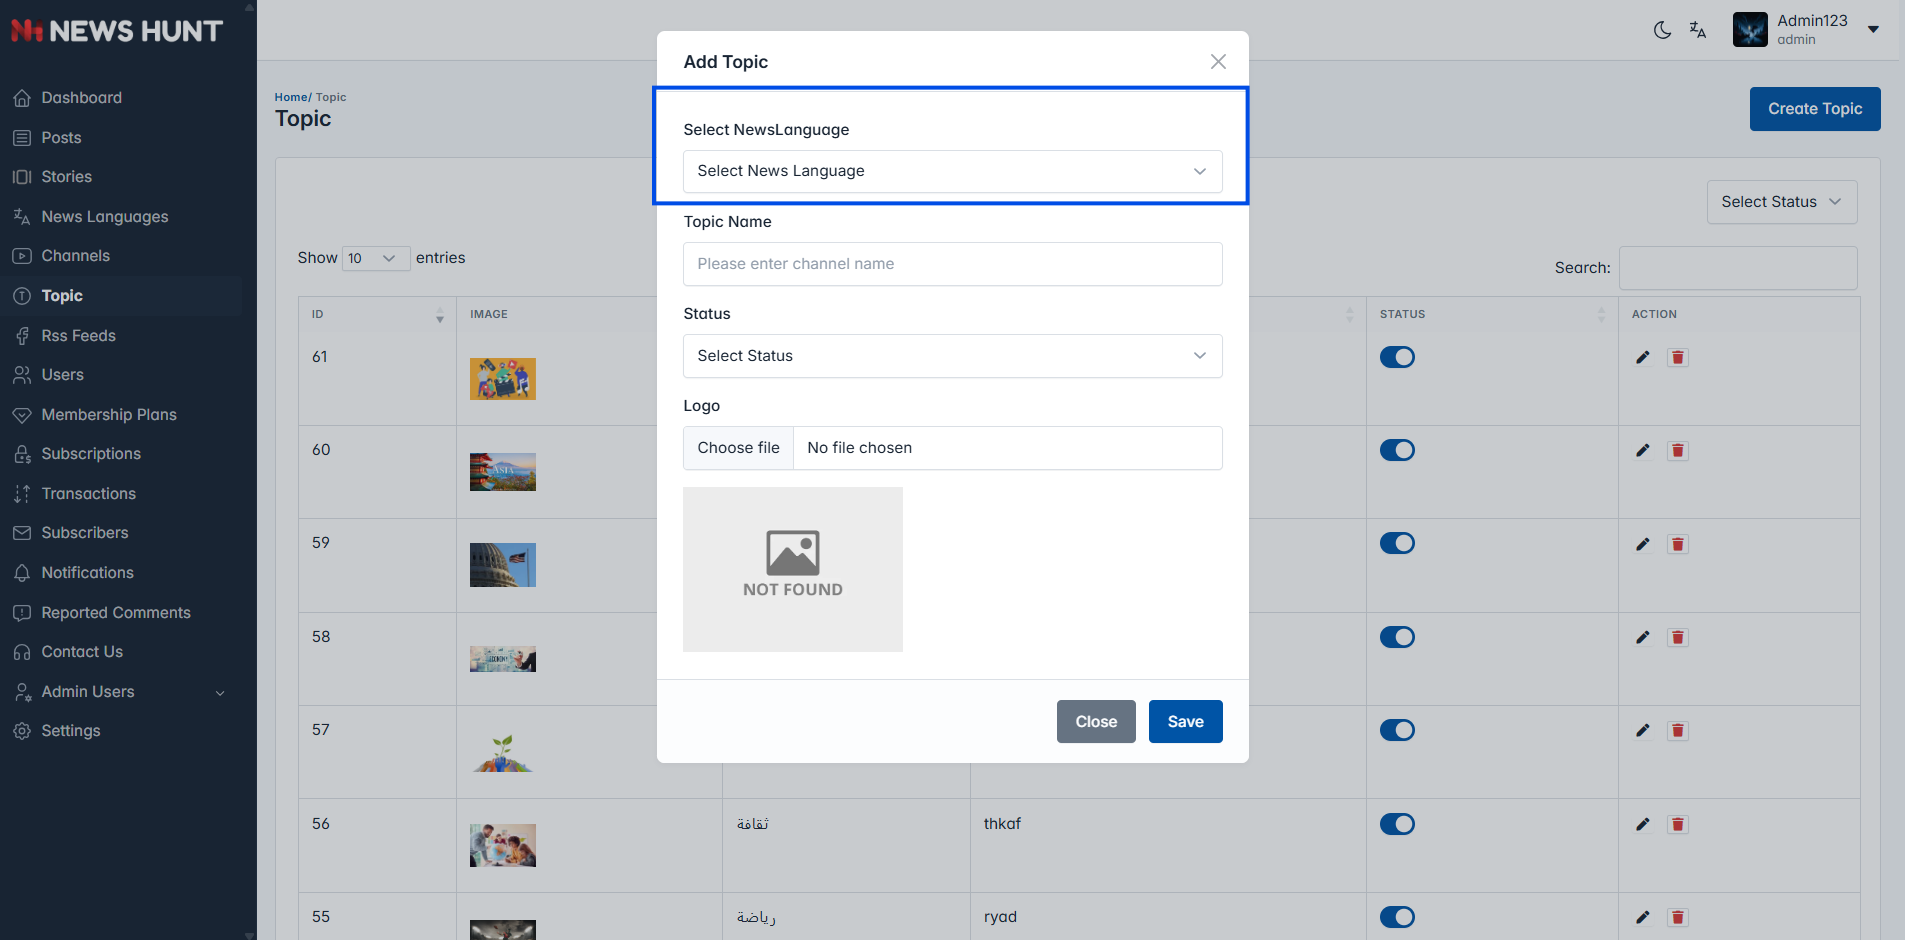
Add Topics
Note:
When creating topics, please make sure that the news language has already been created.
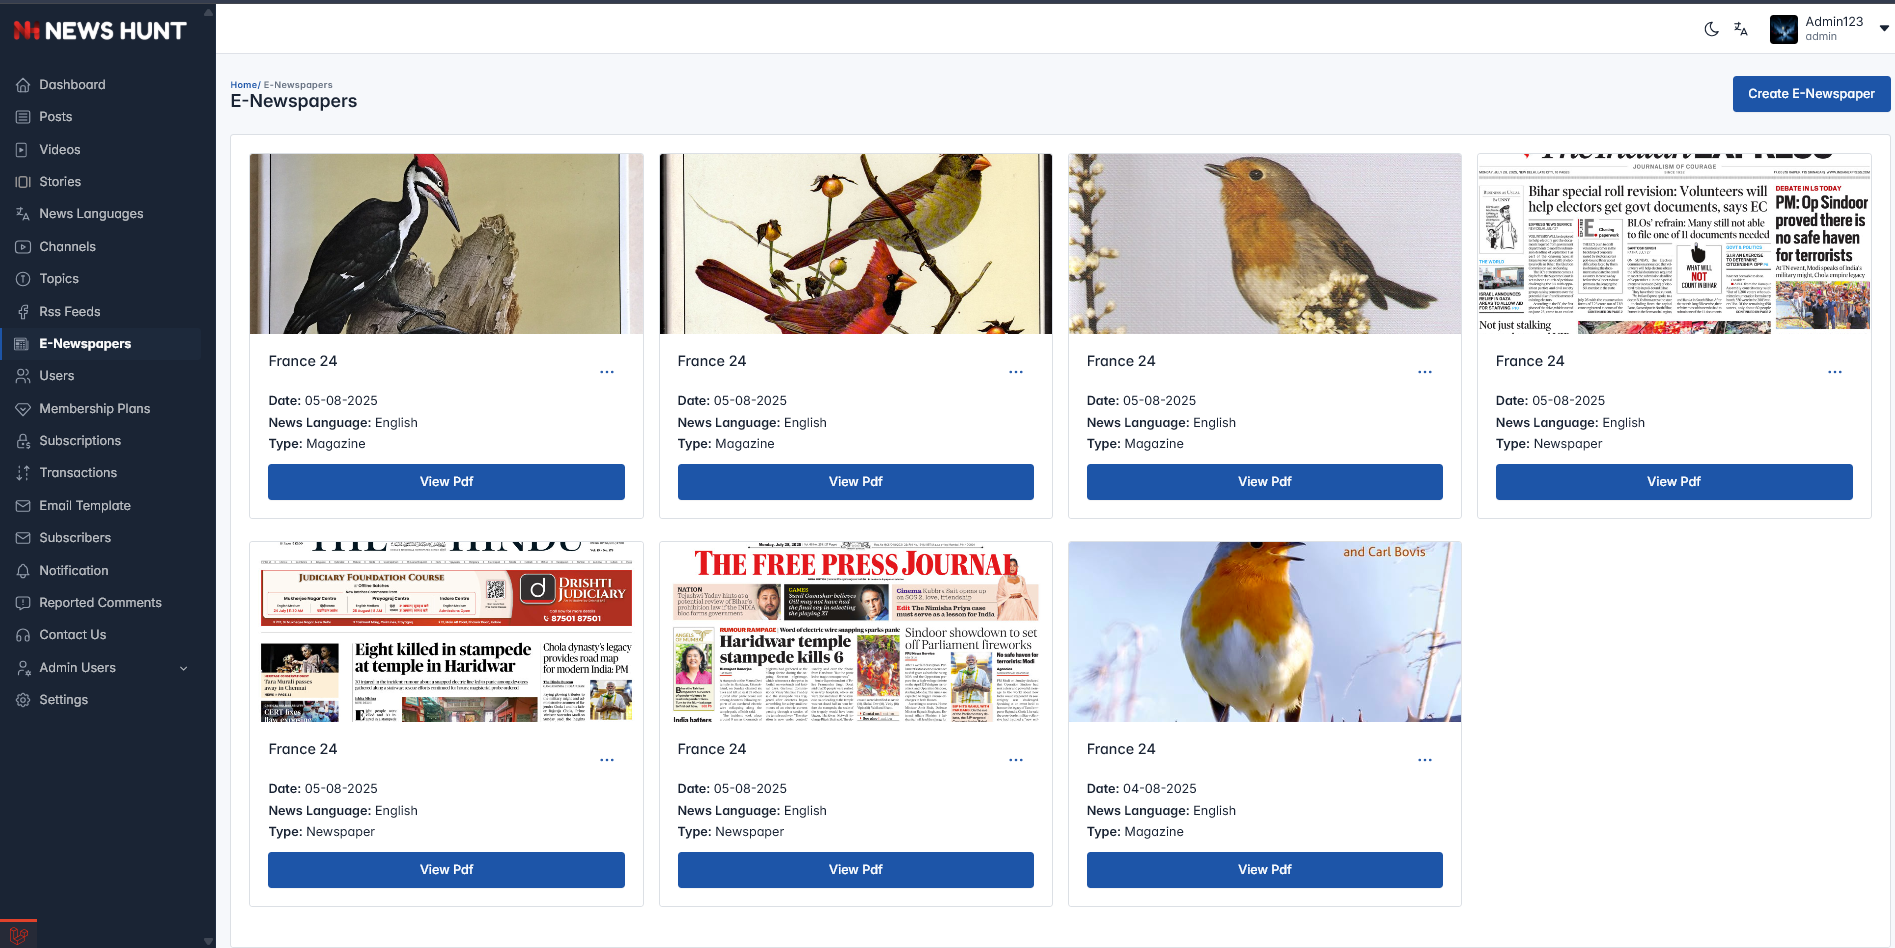
E-Newspaper and Magazines
- E-Newspaper and Magazines List Page. Here you can create, edit and delete E-Newspaper and Magazines.
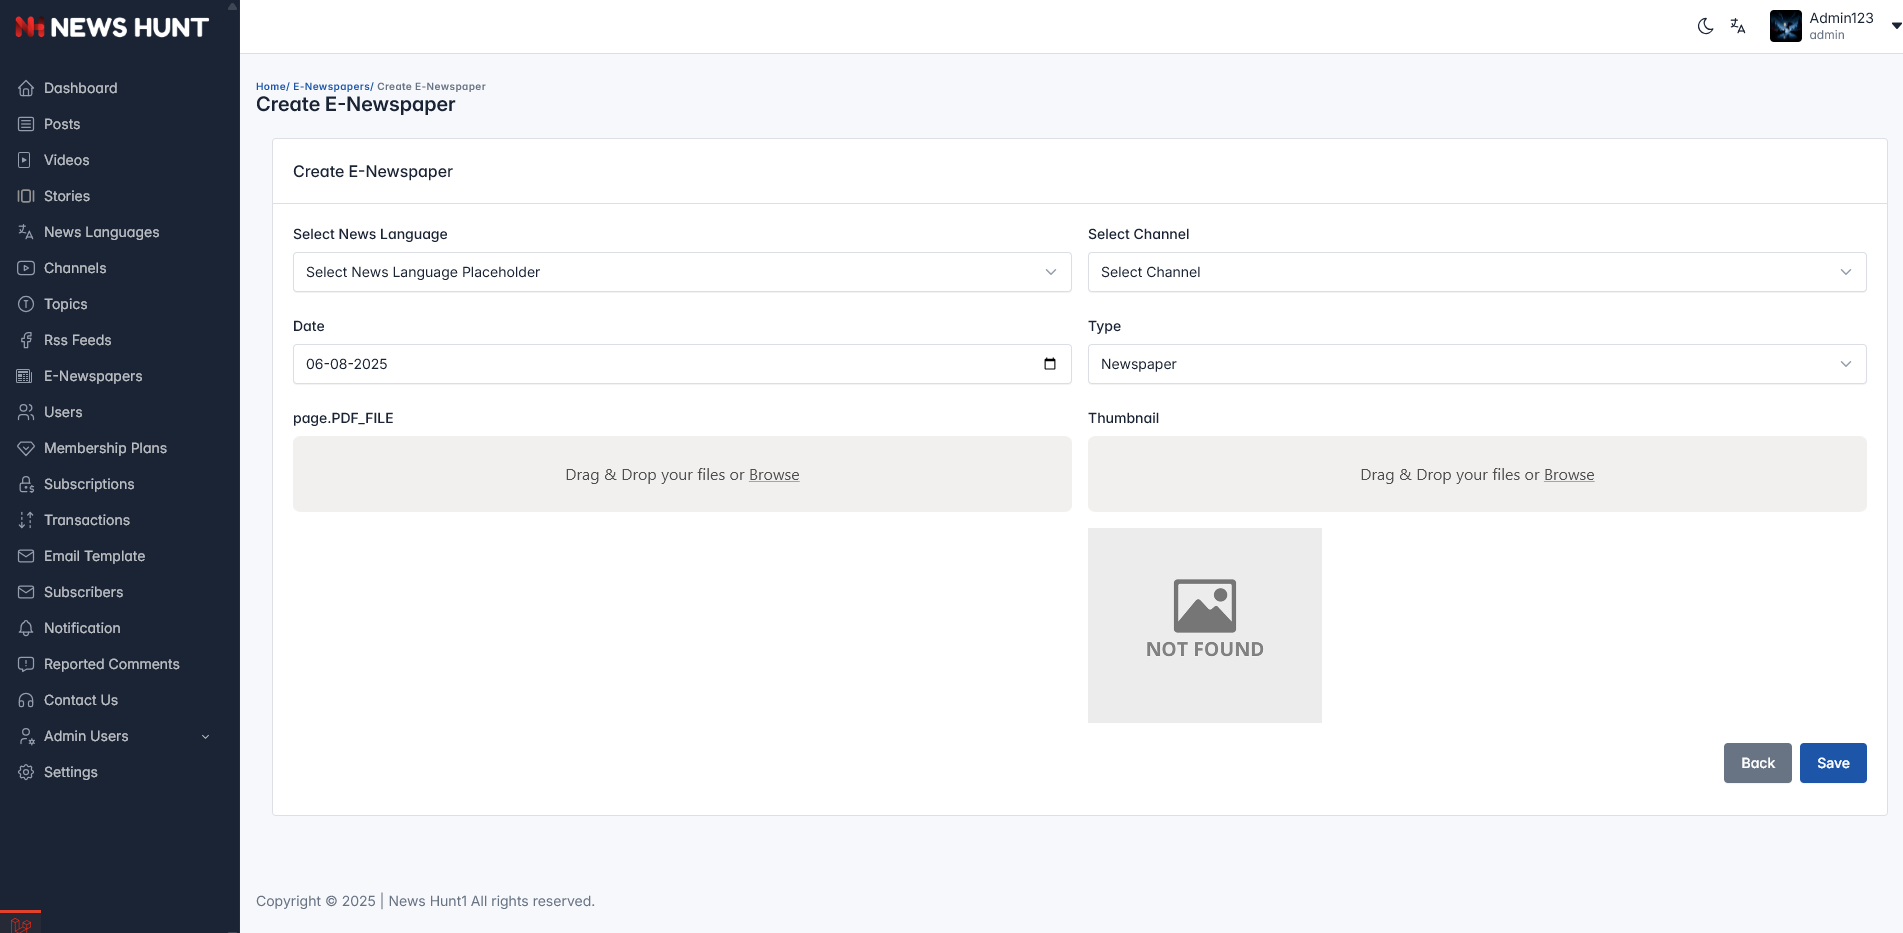
Add E-Newspaper and Magazines
Note:
When creating E-Newspaper and Magazines, please make sure that the news language has already been created.
Also, when you create a E-Newspaper and Magazines for a specific news language, channels for that
news language must be available.
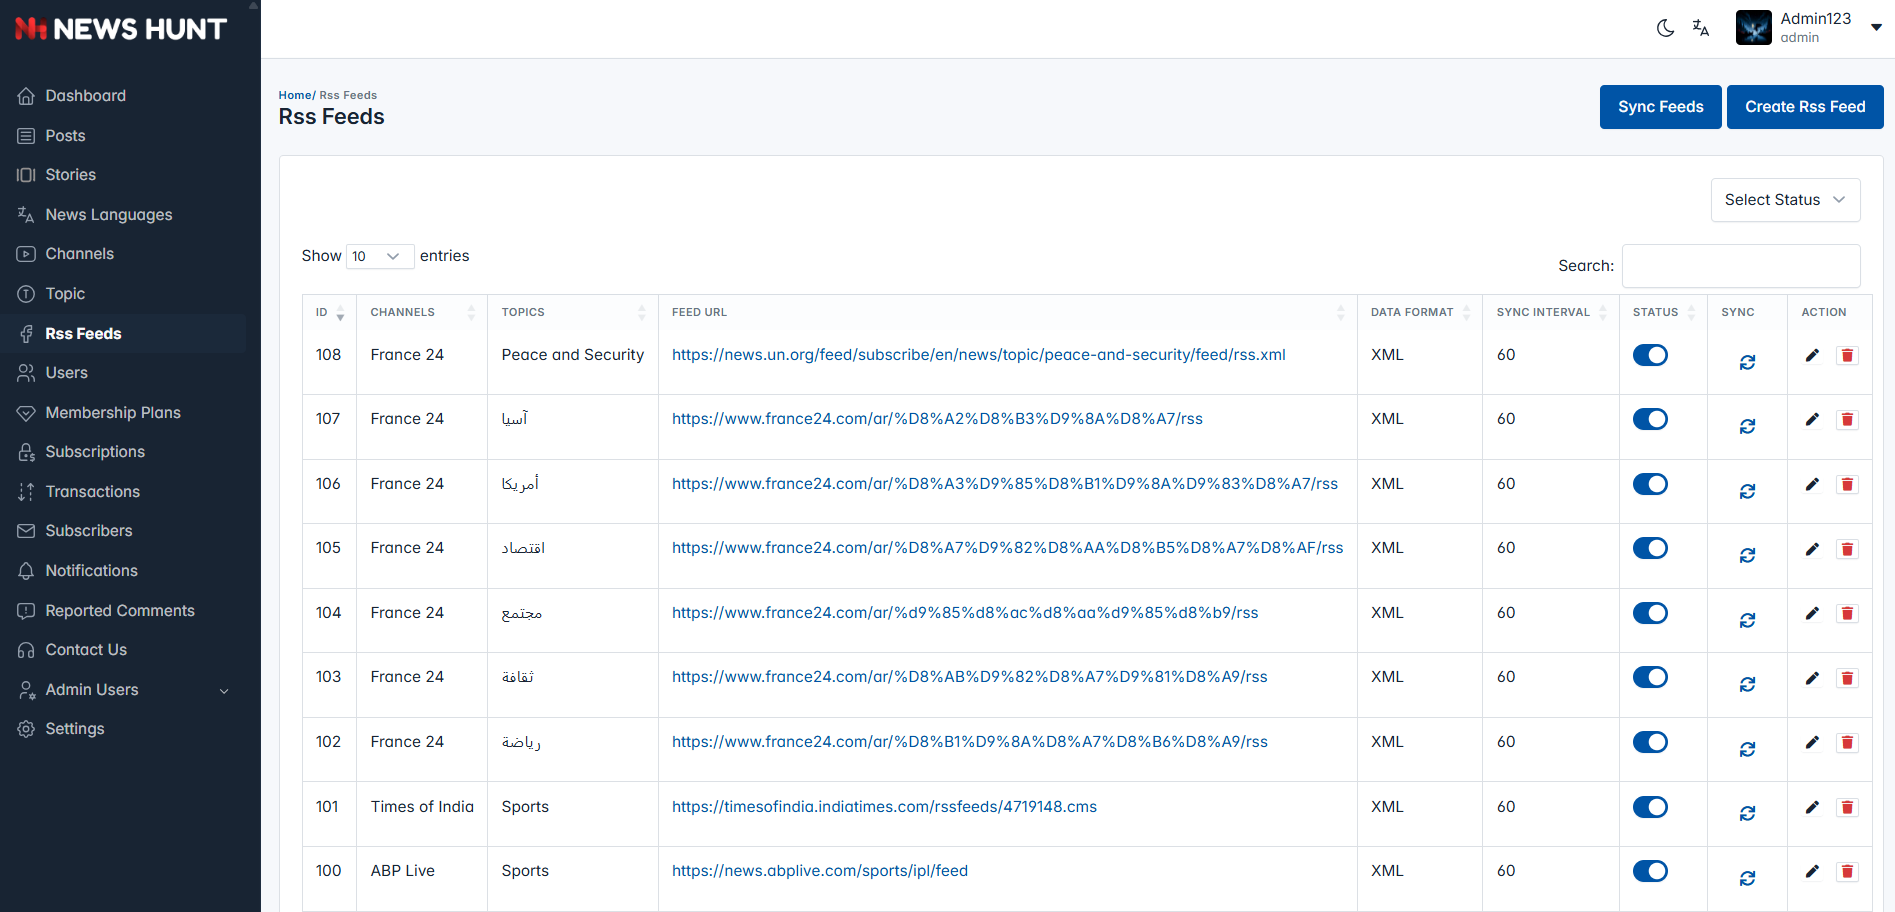
RSS Feeds
- RSS Feeds List. Where you can manage your rss feeds.
- Here you can manually fetched feeds if you want.
Supported RSS Feed Structures
Our system is designed to work with specific RSS feed formats. Please review the supported structures below to ensure your RSS feeds will work correctly with our platform.
📌 What You Need to Know
Our system can automatically fetch and display content from RSS feeds that follow standard RSS 2.0, Media RSS (for videos), and Atom feed formats. We extract titles, descriptions, images, publication dates, and video content from these feeds.
✅ RSS Feed Formats We Support
The following RSS feed structures are fully compatible with our system:
What we extract: Title, link, description, publication date, and featured images
Required Feed Structure:
<?xml version="1.0" encoding="UTF-8"?>
<rss version="2.0">
  <channel>
    <title>Your News Channel</title>
    <link>https://yournewssite.com</link>
    <description>Latest news and updates</description>

    <item>
      <title>News Article Title</title>
      <link>https://yournewssite.com/article</link>
      <description>Article summary or excerpt</description>
      <pubDate>Mon, 23 Dec 2024 10:00:00 GMT</pubDate>

      <enclosure url="https://yournewssite.com/image.jpg"
                 type="image/jpeg"/>
    </item>

  </channel>
</rss>
✓ Your feed works with our system if: It contains <title>, <link>, <description>, and <pubDate> tags within each <item>.
What we extract: Videos, YouTube embeds, multiple image thumbnails, and video metadata
Required Feed Structure:
<?xml version="1.0" encoding="UTF-8"?>
<rss version="2.0"
     xmlns:media="http://search.yahoo.com/mrss/"
     xmlns:yt="http://www.youtube.com/xml/schemas/2015">
  <channel>
    <title>Video News Channel</title>

    <item>
      <title>Video Title</title>
      <link>https://example.com/video</link>
      <description>Video description</description>
      <pubDate>Mon, 23 Dec 2024 15:30:00 GMT</pubDate>

      <!-- Thumbnail images -->
      <media:thumbnail url="https://example.com/thumb.jpg"
                       width="1280" height="720"/>

      <!-- Video content -->
      <media:content url="https://youtube.com/v/VIDEO_ID"
                     type="video/mpeg"/>

      <!-- For YouTube videos -->
      <yt:videoId>VIDEO_ID</yt:videoId>

    </item>
  </channel>
</rss>
✓ Your feed works with our system if: It includes xmlns:media namespace and uses <media:thumbnail> or <media:content> tags for multimedia content.
What we extract: Title, link, summary, and publication date
Required Feed Structure:
<?xml version="1.0" encoding="UTF-8"?>
<feed xmlns="http://www.w3.org/2005/Atom">
  <title>News Feed</title>
  <link href="https://example.com"/>

  <entry>
    <title>Article Title</title>
    <link href="https://example.com/article"/>
    <id>unique-article-id</id>
    <published>2024-12-23T10:00:00Z</published>
    <summary>Article summary</summary>
  </entry>

</feed>
✓ Your feed works with our system if: It follows Atom 1.0 specification with <entry> elements containing <title>, <link>, <published>, and <summary>.
⚠️ Important Limitations
What this means for you:
- We will extract the short description/excerpt from
<description> or <summary> tags only
- If your RSS feed stores the full article in
<content:encoded>, we won't be able to extract it
- Images embedded within full content tags won't be captured
Common Feed URL Examples:
Common Feed URL Examples:
- ✓
https://example.com/feed
- ✓
https://example.com/rss.xml
- ✓
https://example.com/feed/rss
- ✓
https://www.youtube.com/feeds/videos.xml?channel_id=CHANNEL_ID
📊 Quick Reference: What Works and What Doesn't
| Content Type |
Tag Name |
Status |
What You Get |
| Article Title |
<title> |
✓ Supported |
Full title text |
| Article Link |
<link> |
✓ Supported |
URL to article |
| Short Description |
<description> |
✓ Supported |
Summary/excerpt text |
| Publication Date |
<pubDate> |
✓ Supported |
Article publish date |
| Featured Image |
<enclosure> |
✓ Supported |
Main article image |
| Video Thumbnail |
<media:thumbnail> |
✓ Supported |
Video preview image |
| YouTube Video |
<yt:videoId> |
✓ Supported |
Embedded video player |
| Full Article Content |
<content:encoded> |
✗ Not Supported |
Only description is extracted |
| Full Content (Atom) |
<content> |
✗ Not Supported |
Only summary is extracted |
| Images in Content |
Inside <content:encoded> |
✗ Not Supported |
Won't be captured |
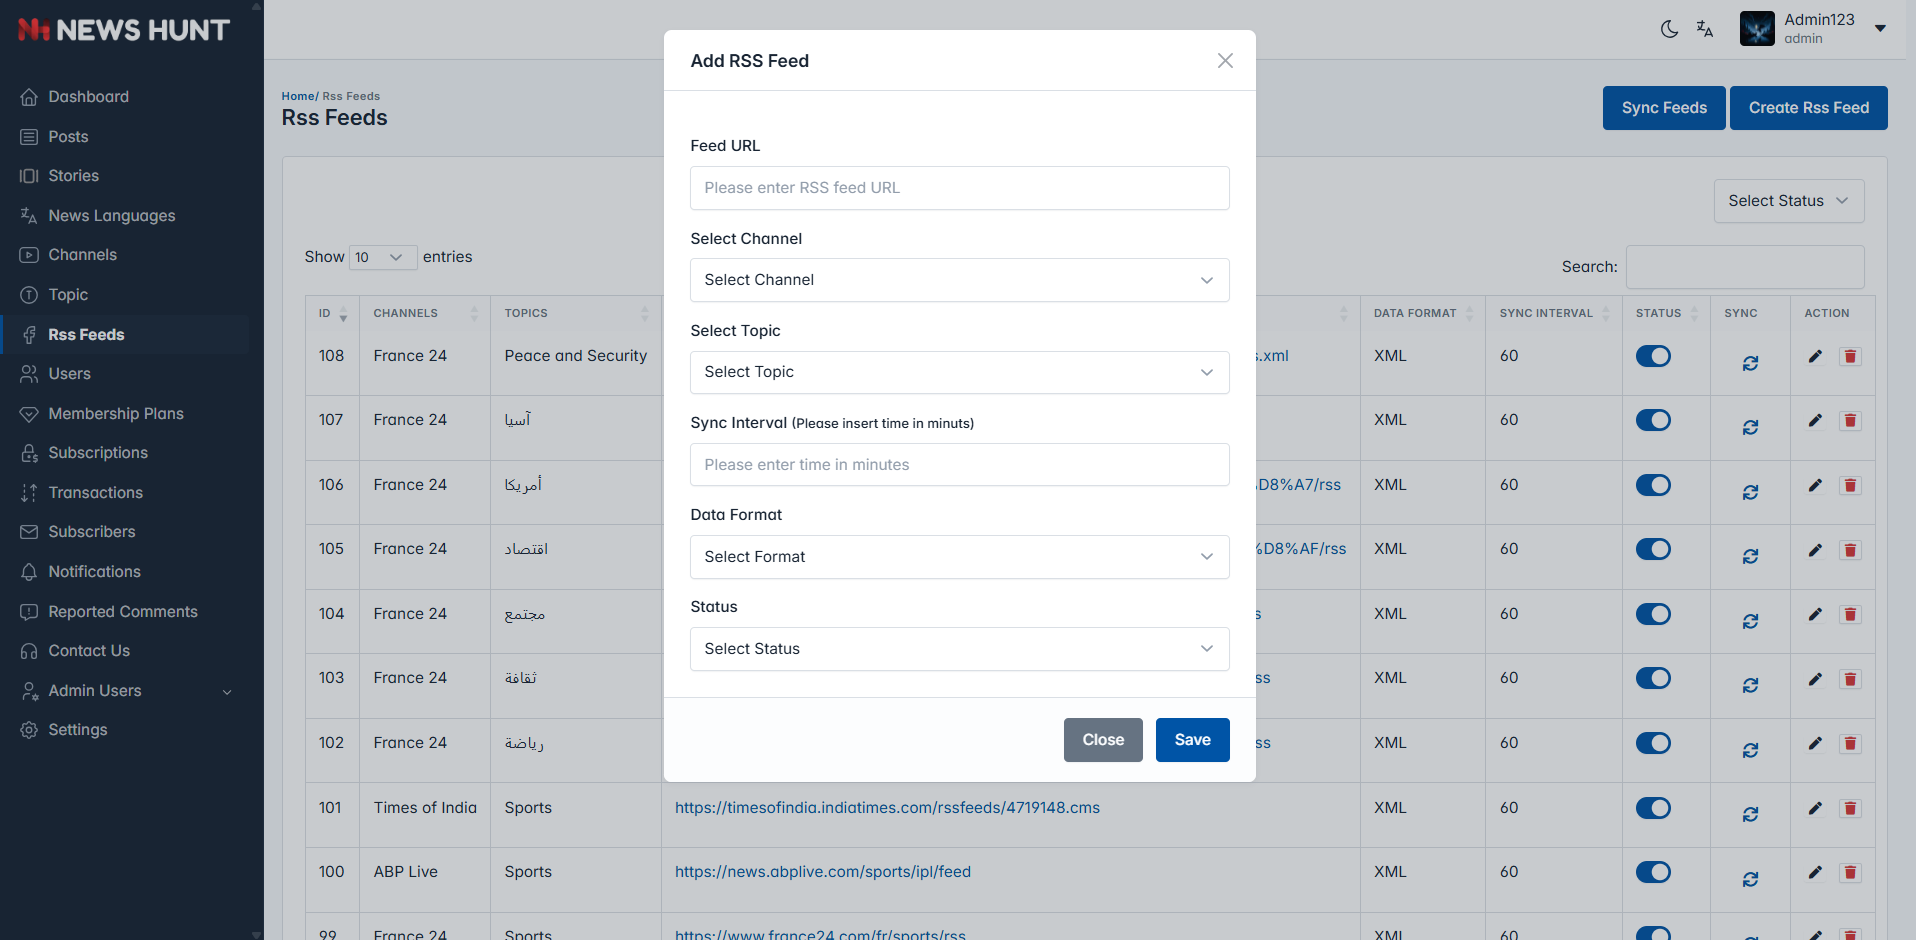
Create Feeds
Note:
When Rss Feeds, please make sure that the news language has already been created.
Also, when you create a Rss Feeds for a specific news language, channels and topics for that
news language must be available.
Posts
- Posts List Page. Here you can view the latest posts and apply filters as needed.
- You can also create, edit, and delete posts from this page.
- Users can create videos as posts as well.
Note:
When creating posts, please make sure that the news language has already been created.
Also, when you create a post for a specific news language, channels and topics for that
news language must be available.
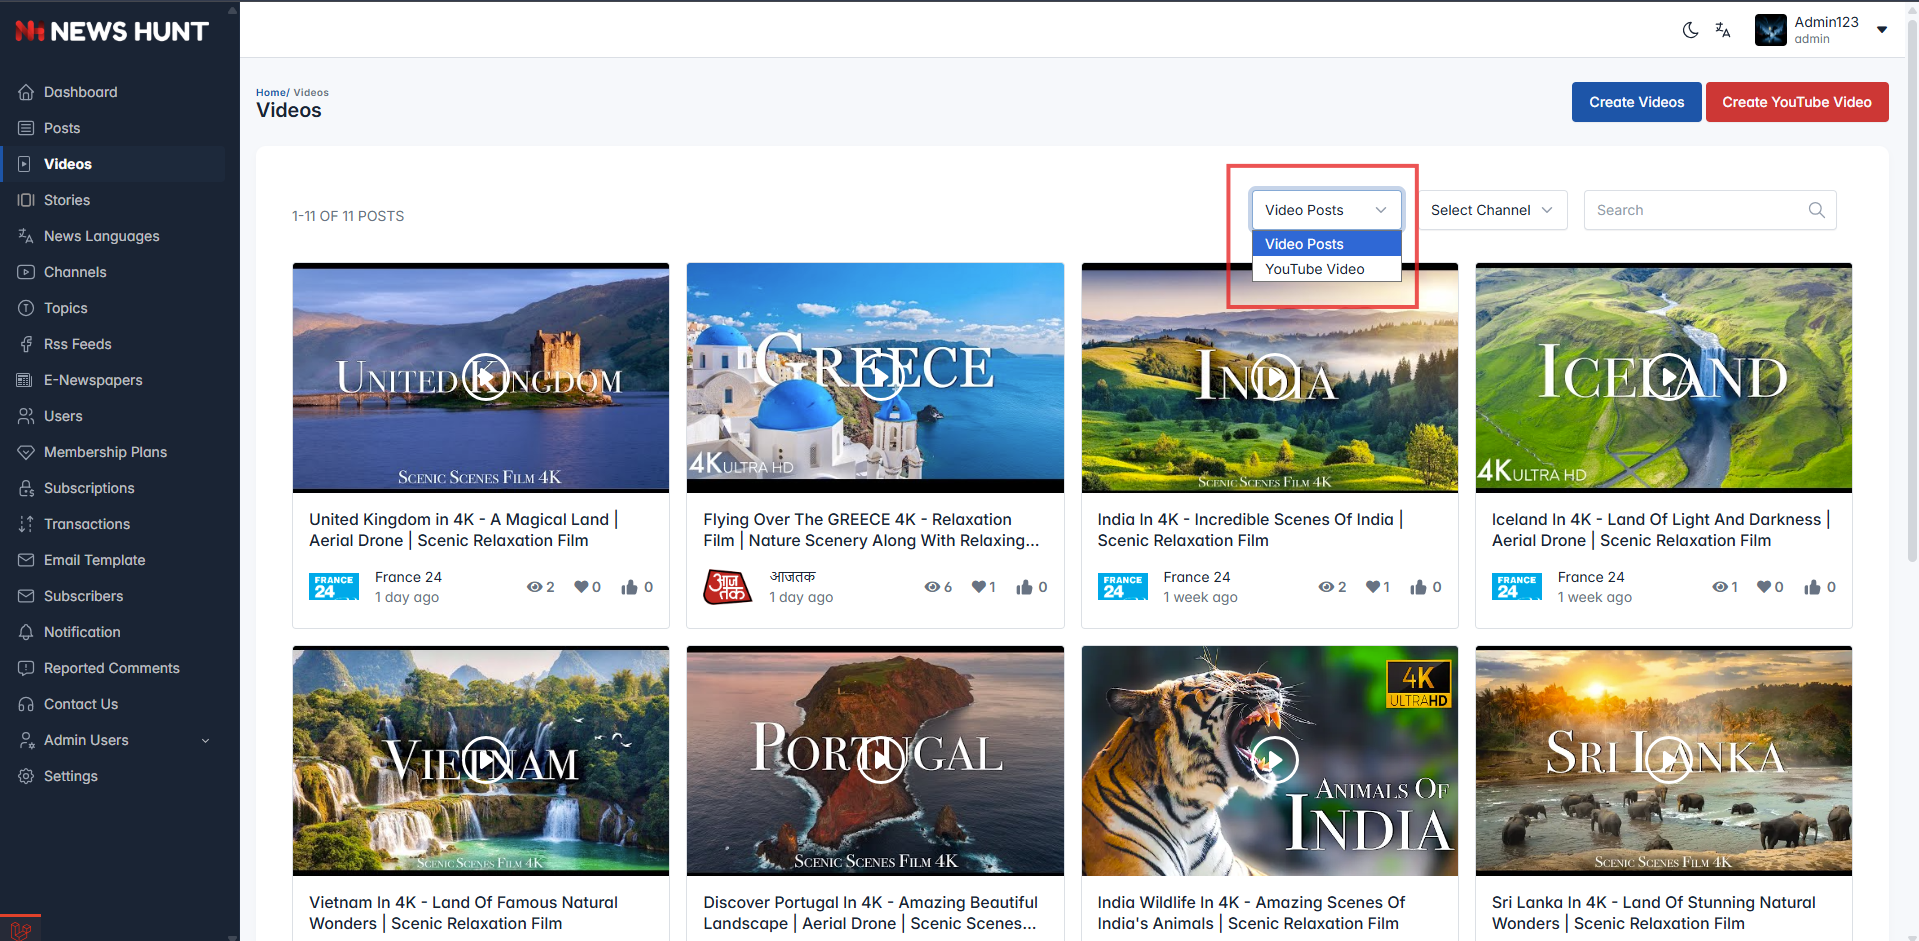
Videos
- Videos List Page. Here you can create, edit and delete Custom and Youtube videos.
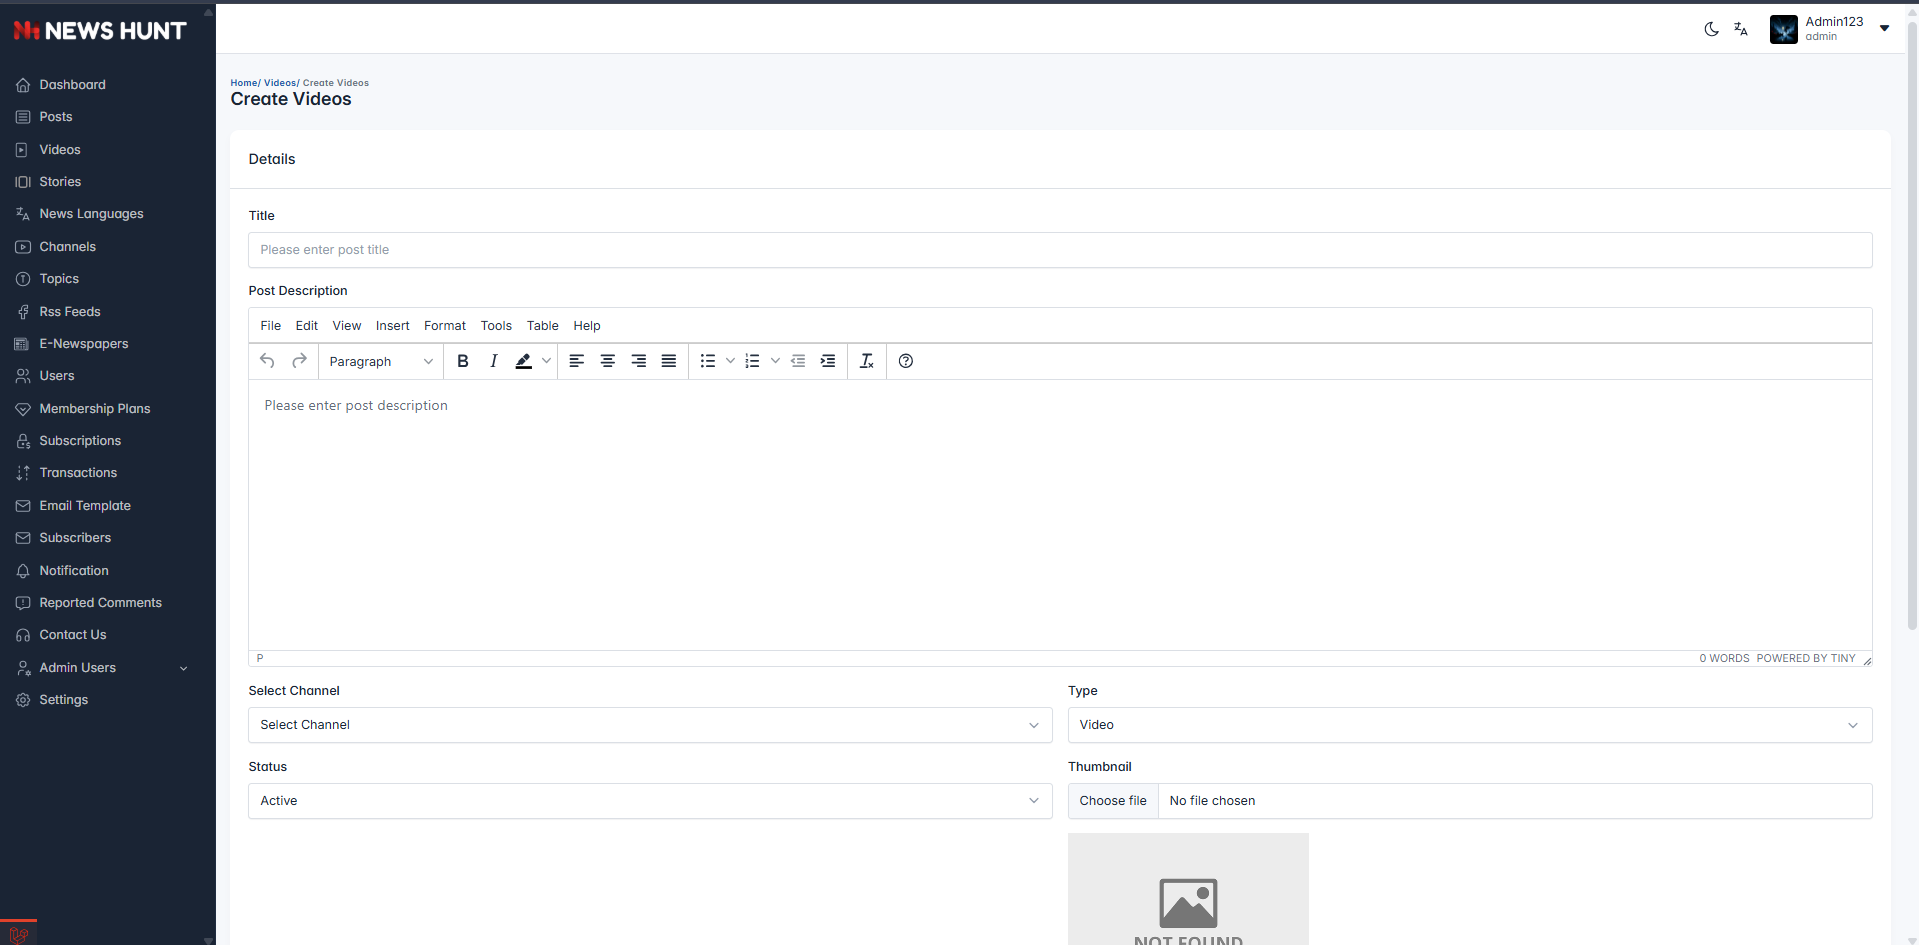
Add Custom Videos
Note:
When creating video posts, please make sure that the news language has already been created.
Also, when you create a video post for a specific news language, channels for that
news language must be available.
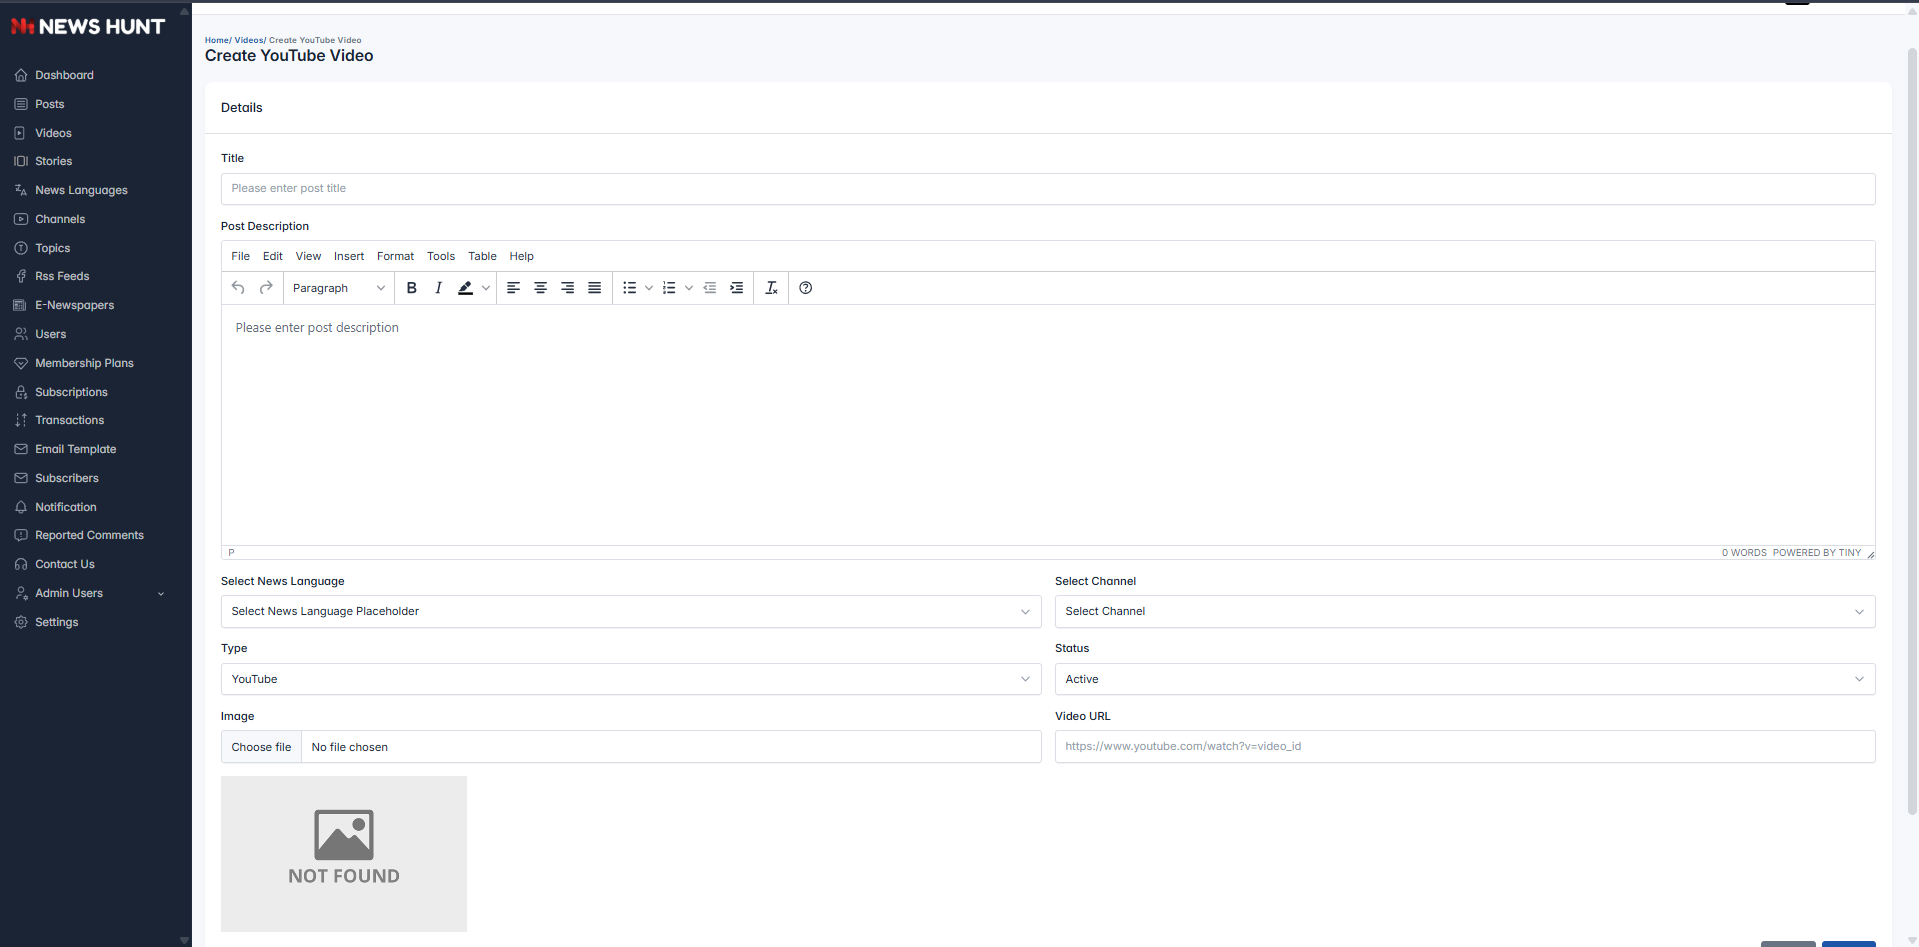
Add Youtube Videos
Note:
When creating Youtube video posts, please make sure that the news language has already been created.
Also, when you create a Youtube video post for a specific news language, channels for that
news language must be available.
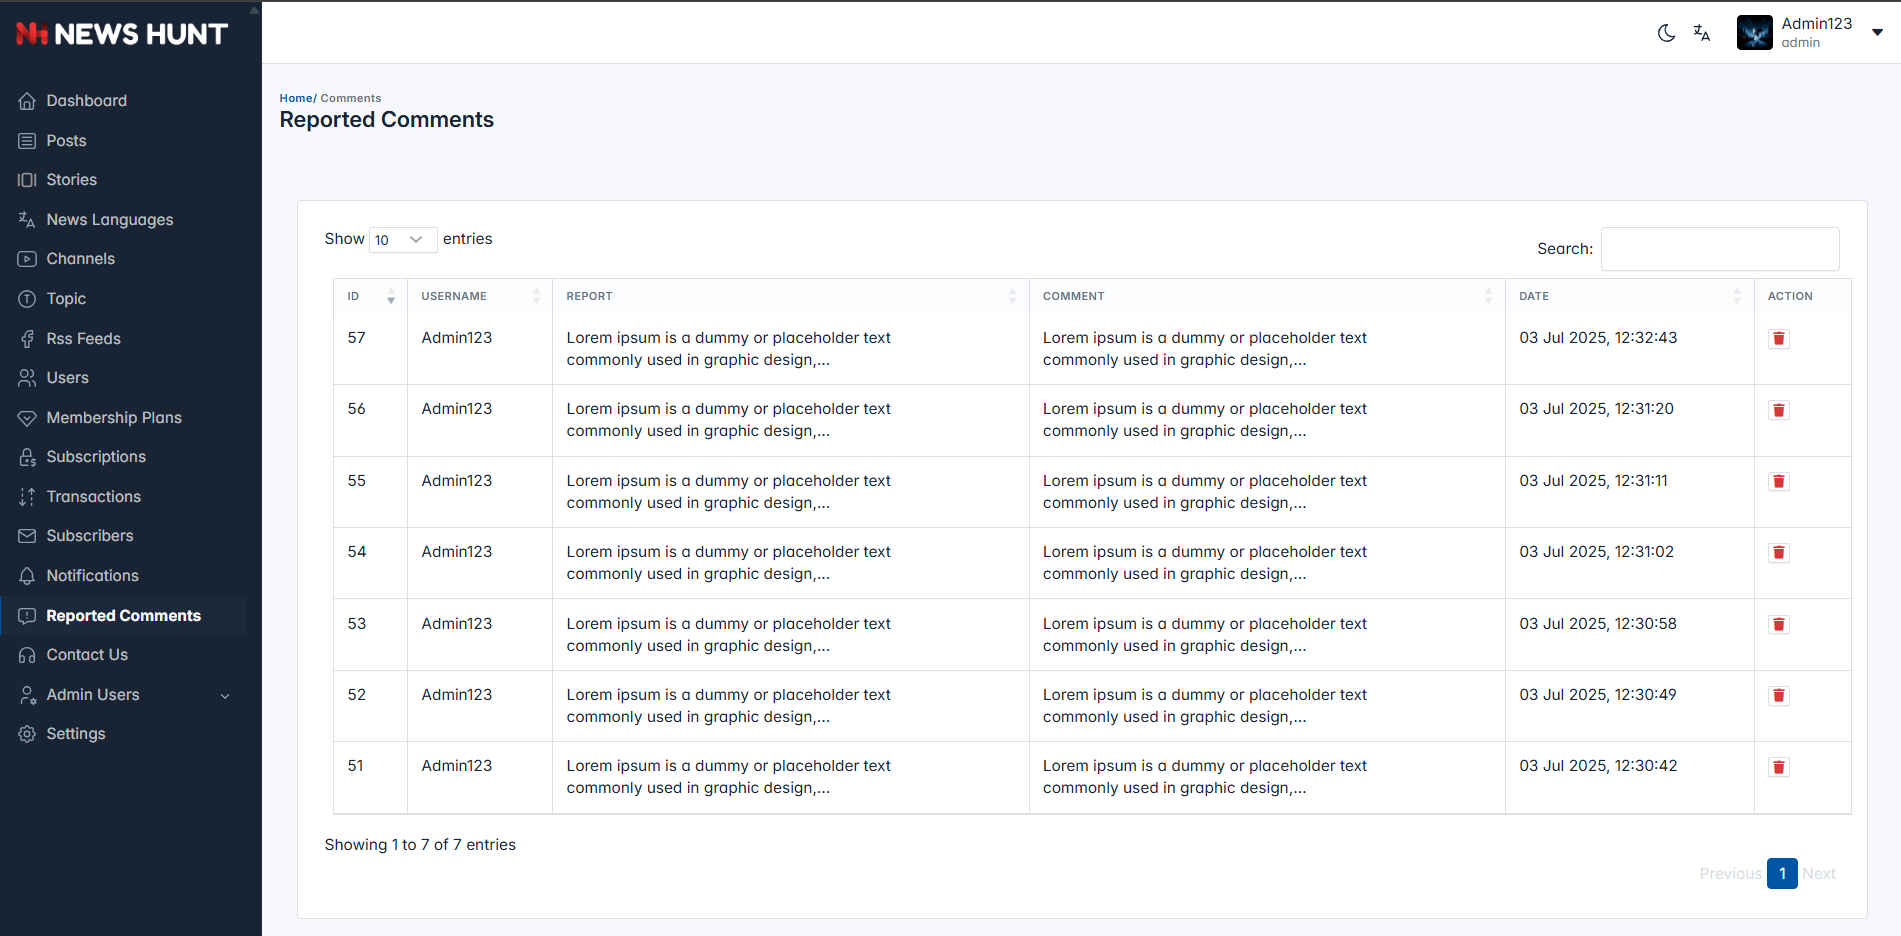
Reported comments
- Reported Comments. Here you see reported comments and you can take action on it.
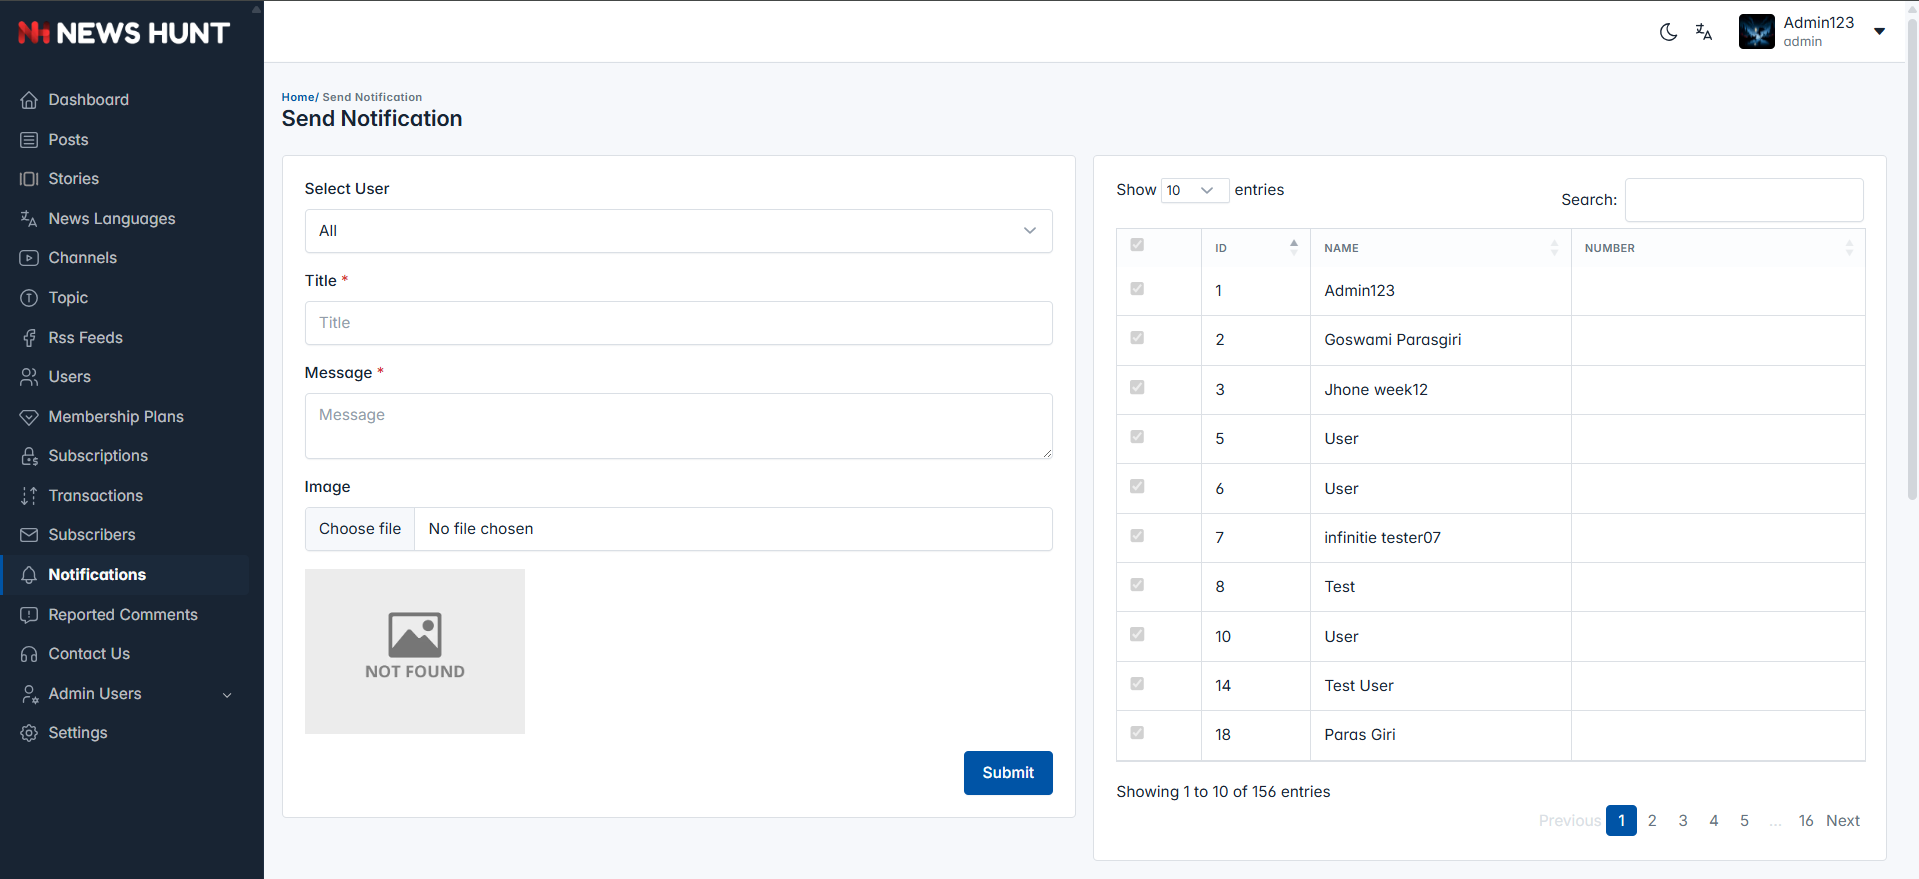
Notifications
- You can view and delete existing notifications from the list.
- Send manual notifications from the admin panel to all users or selected users individually.
- The notification includes a title, message, and an optional image.
- This system supports alert-style notifications only (no push notifications or deep linking).
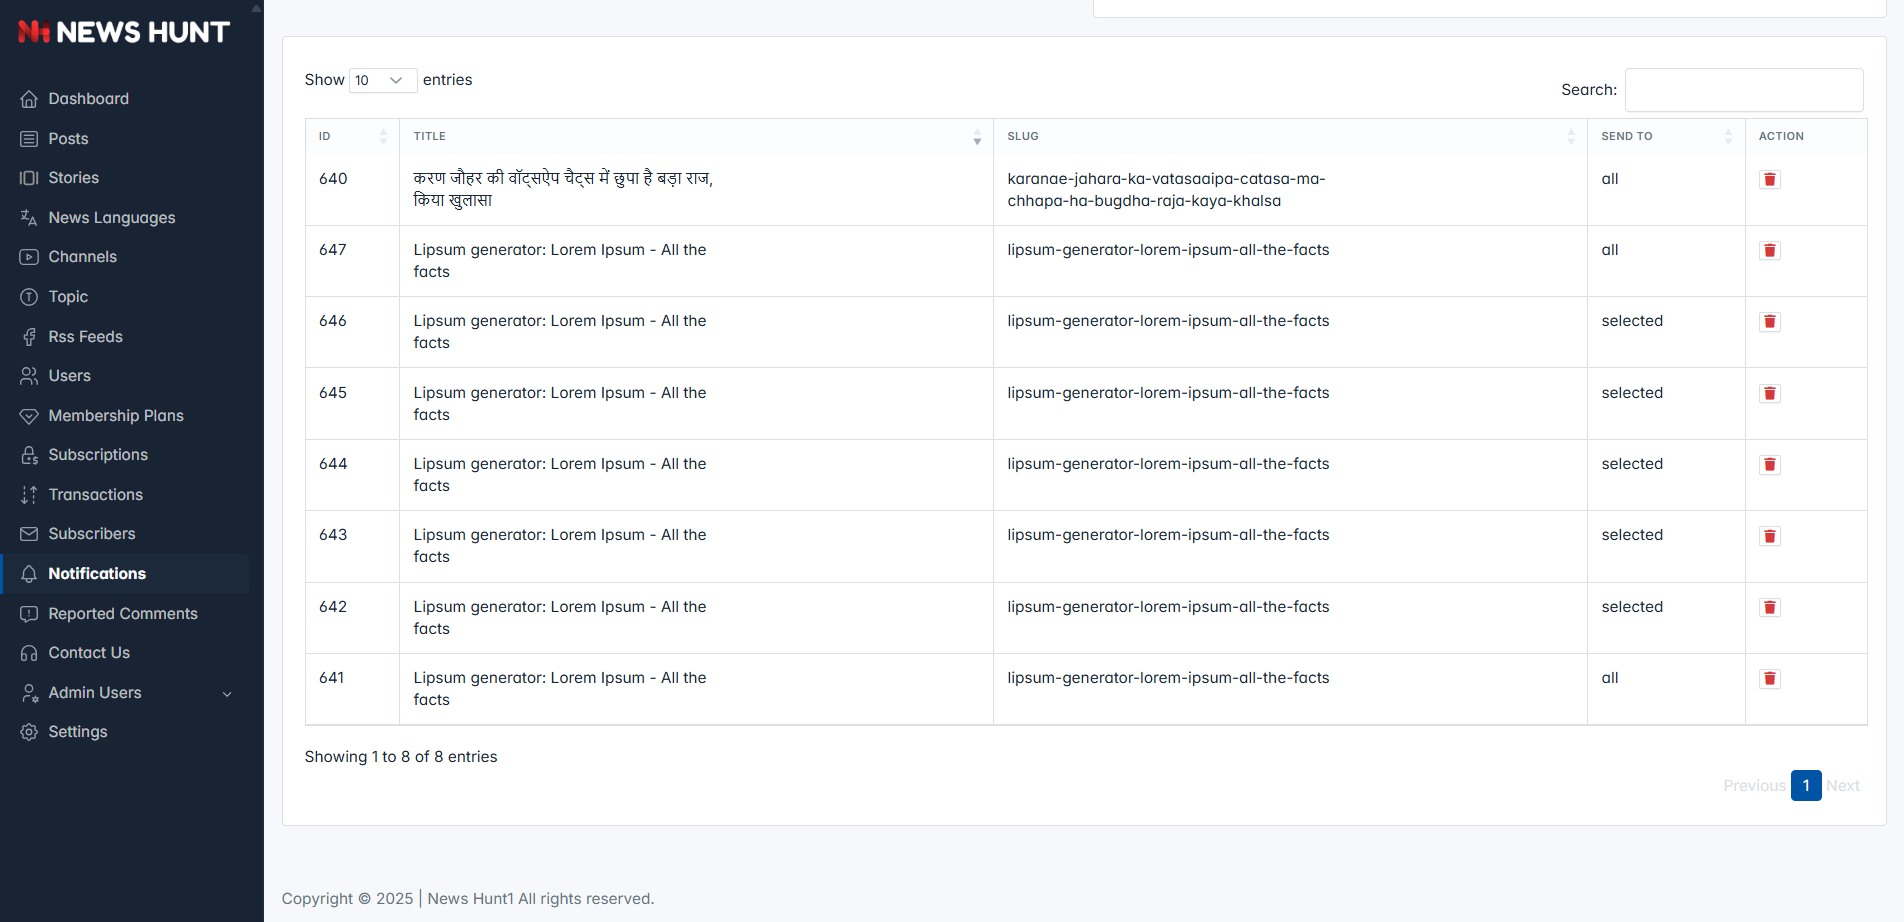
Notifications Details Table
- This page displays a list of all notifications sent by the admin.
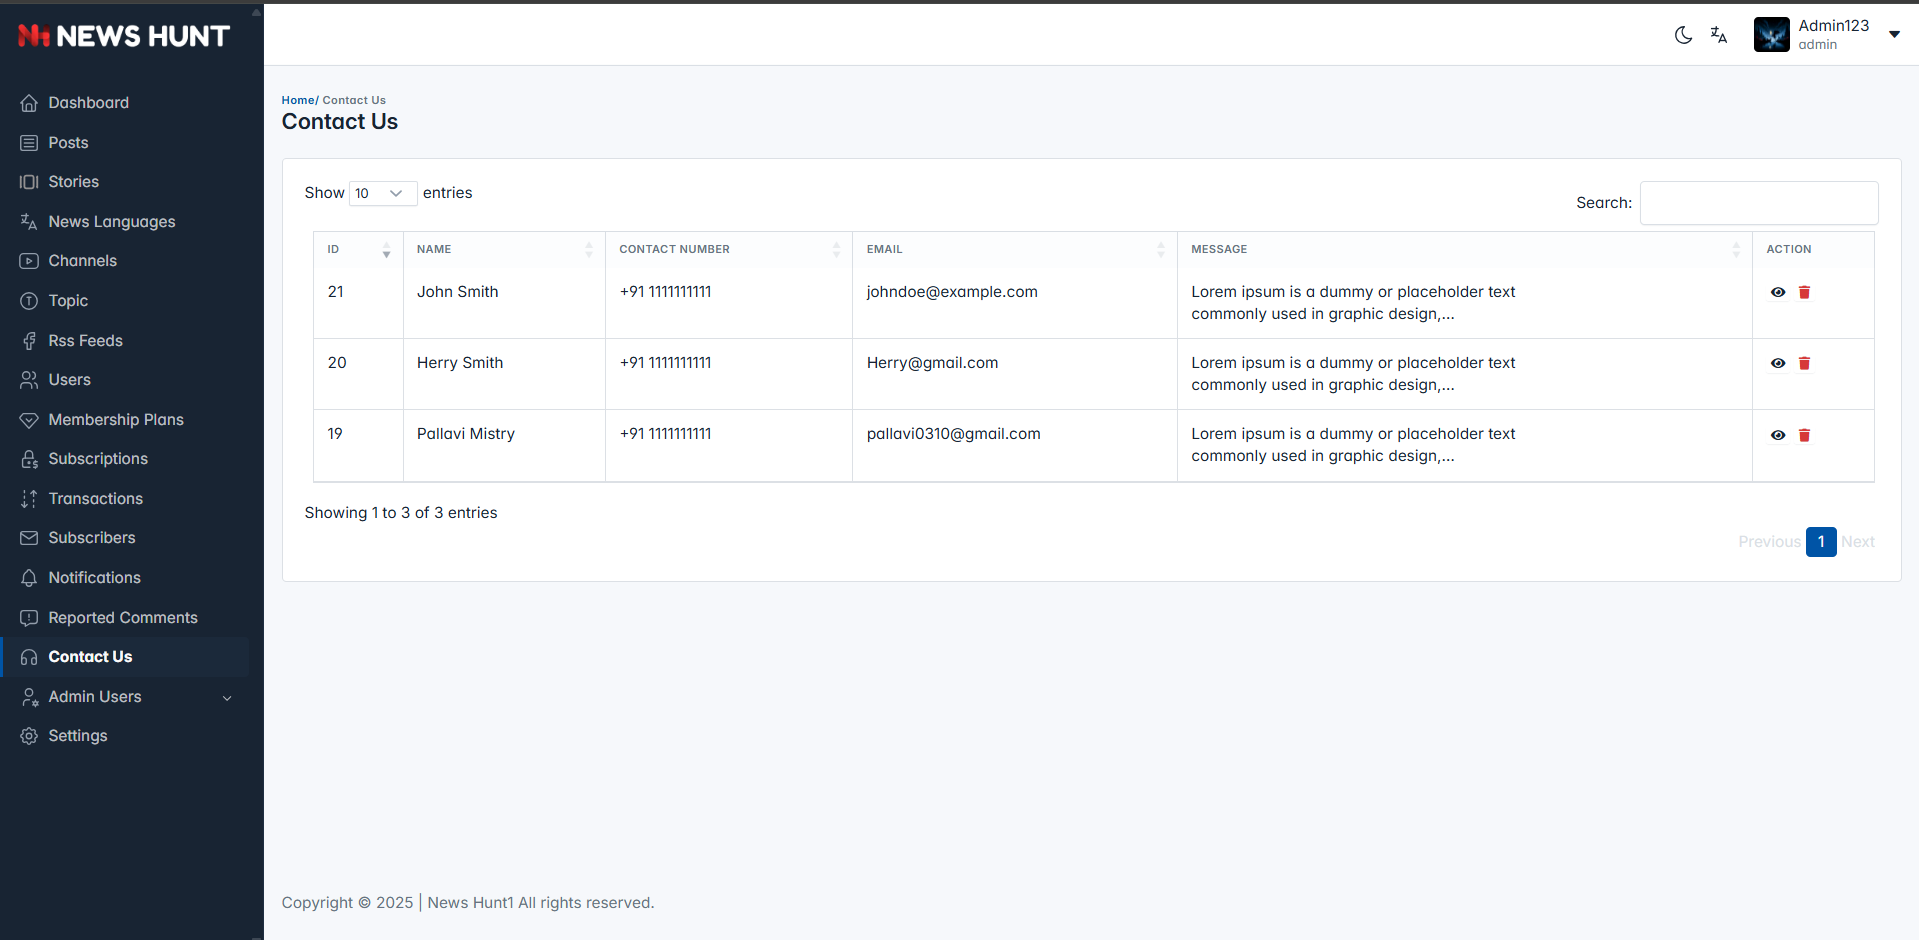
Contact us
- This page displays a list of all user-submitted contact queries from the front-end Contact Us form.
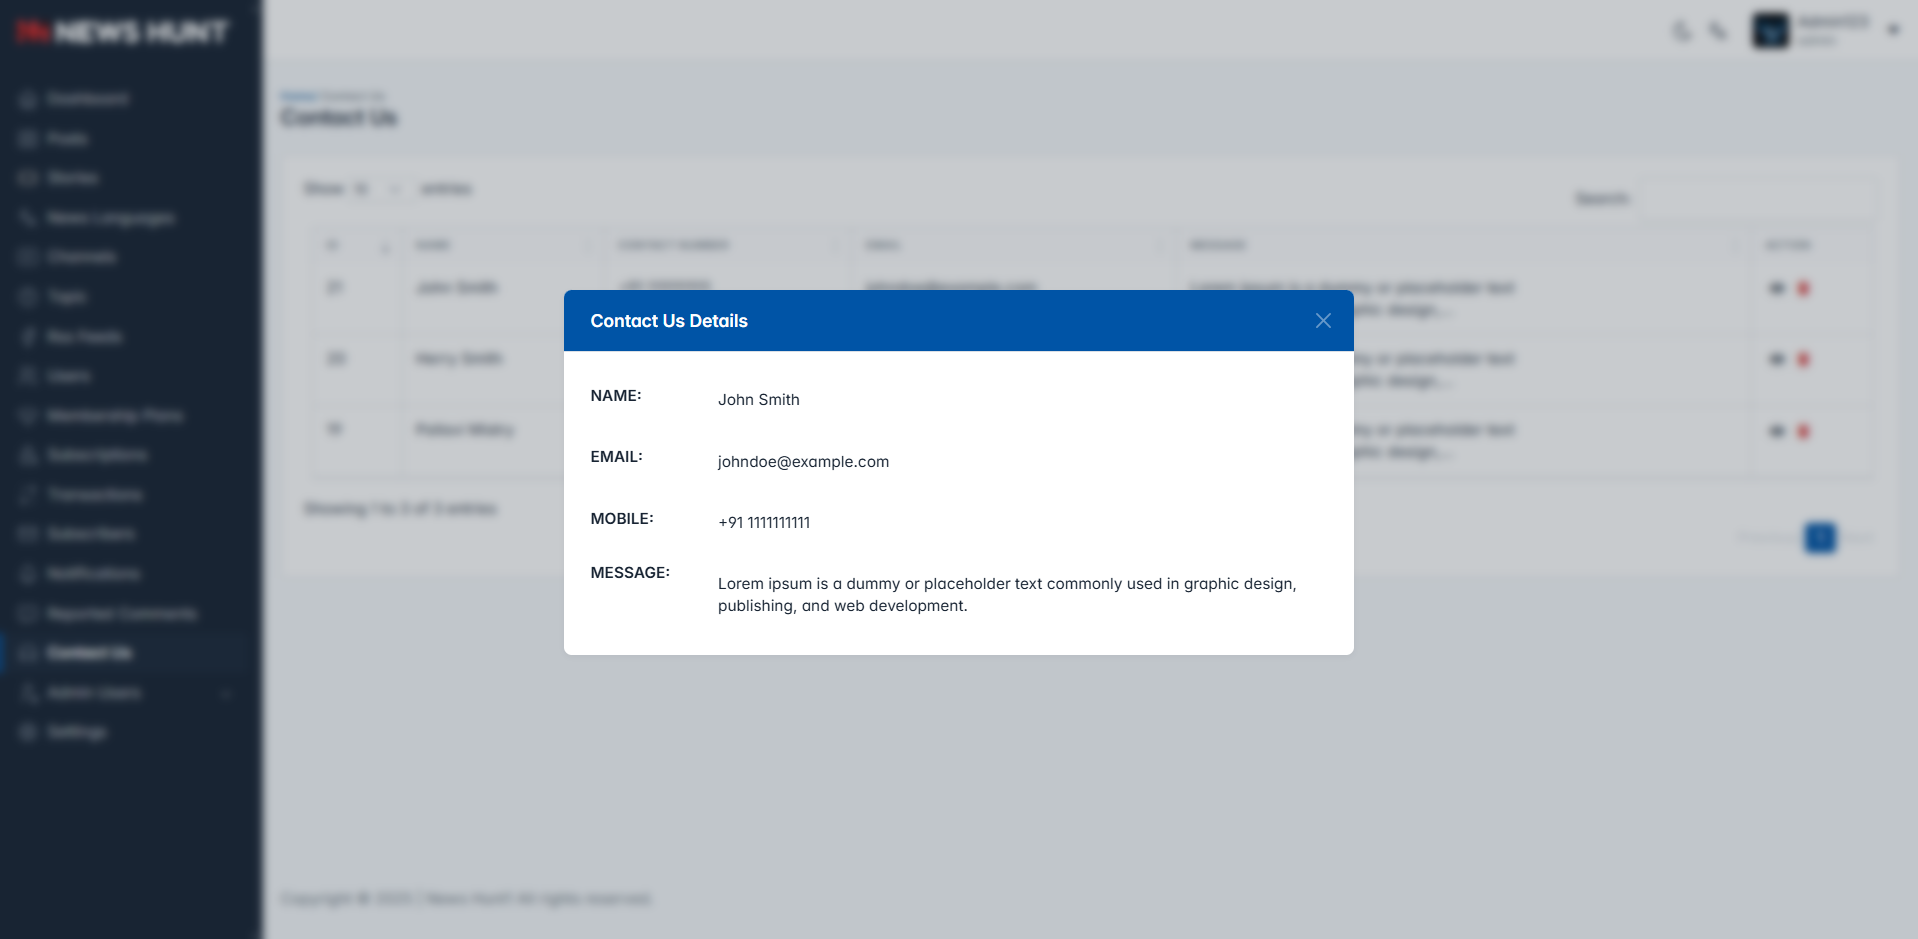
Contact Us Details
- Clicking the eye icon in the Contact Us list opens a detailed modal view.
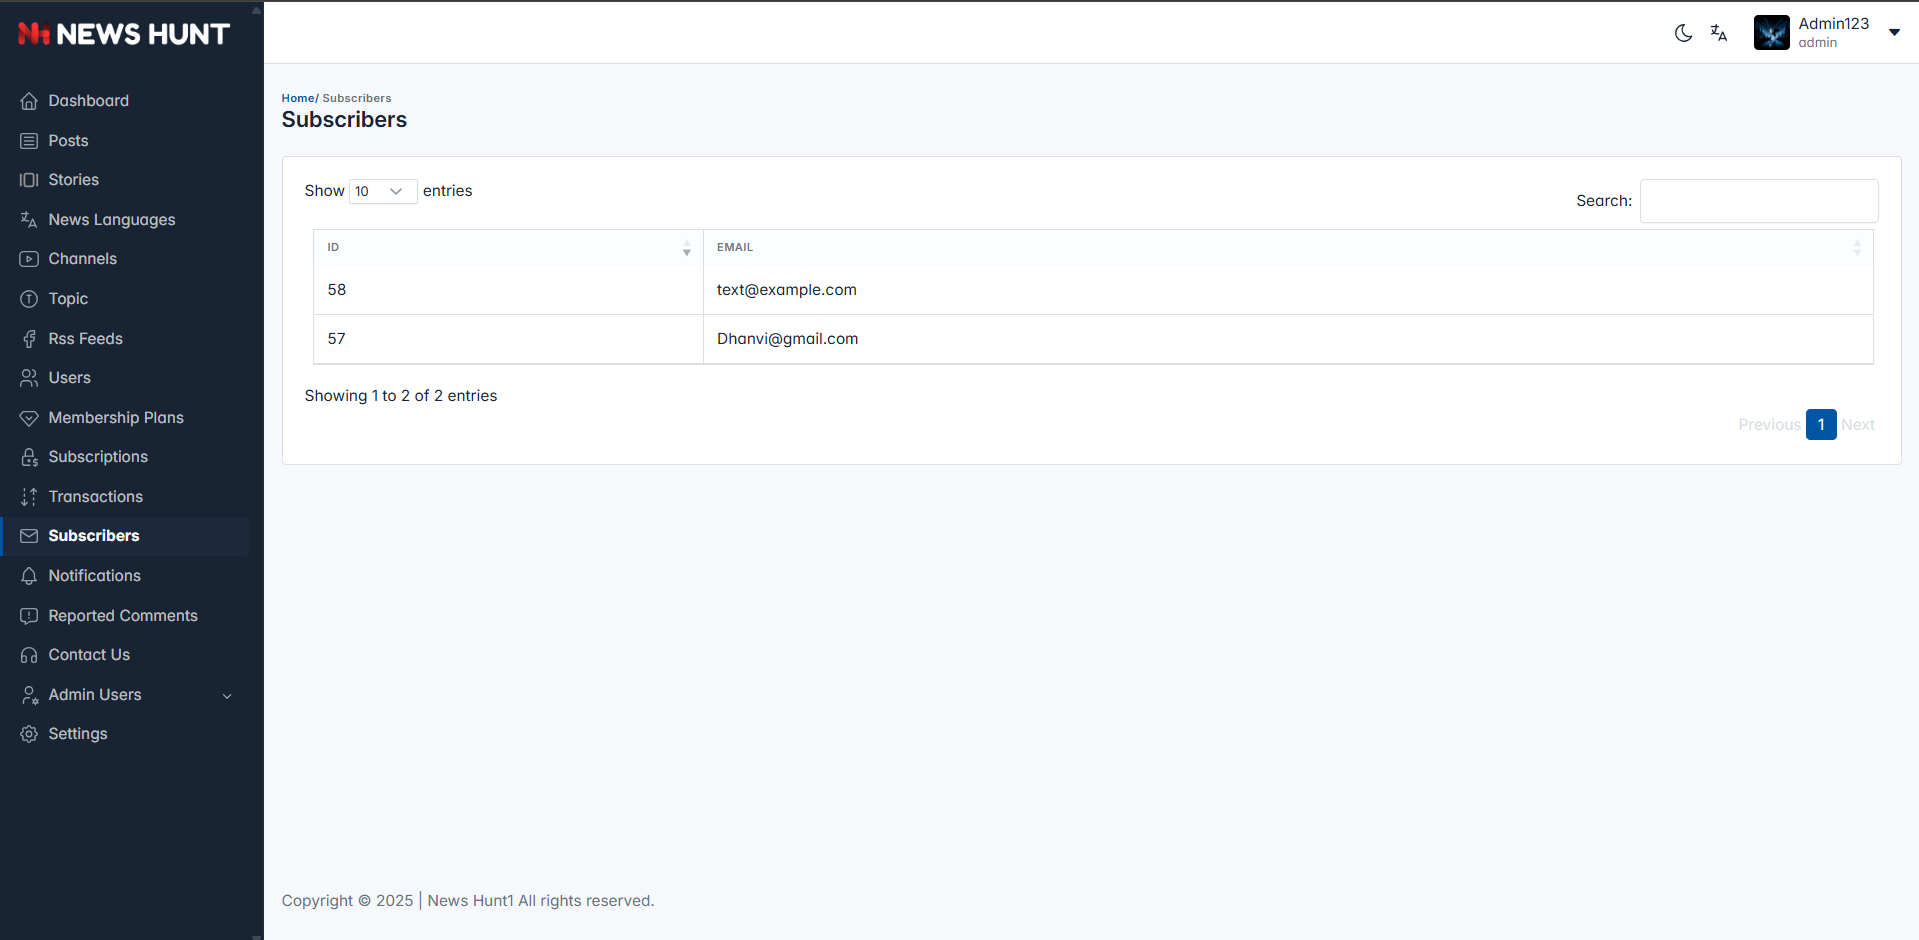
Subscribers
- This section shows a list of all users who subscribed via the frontend popup.
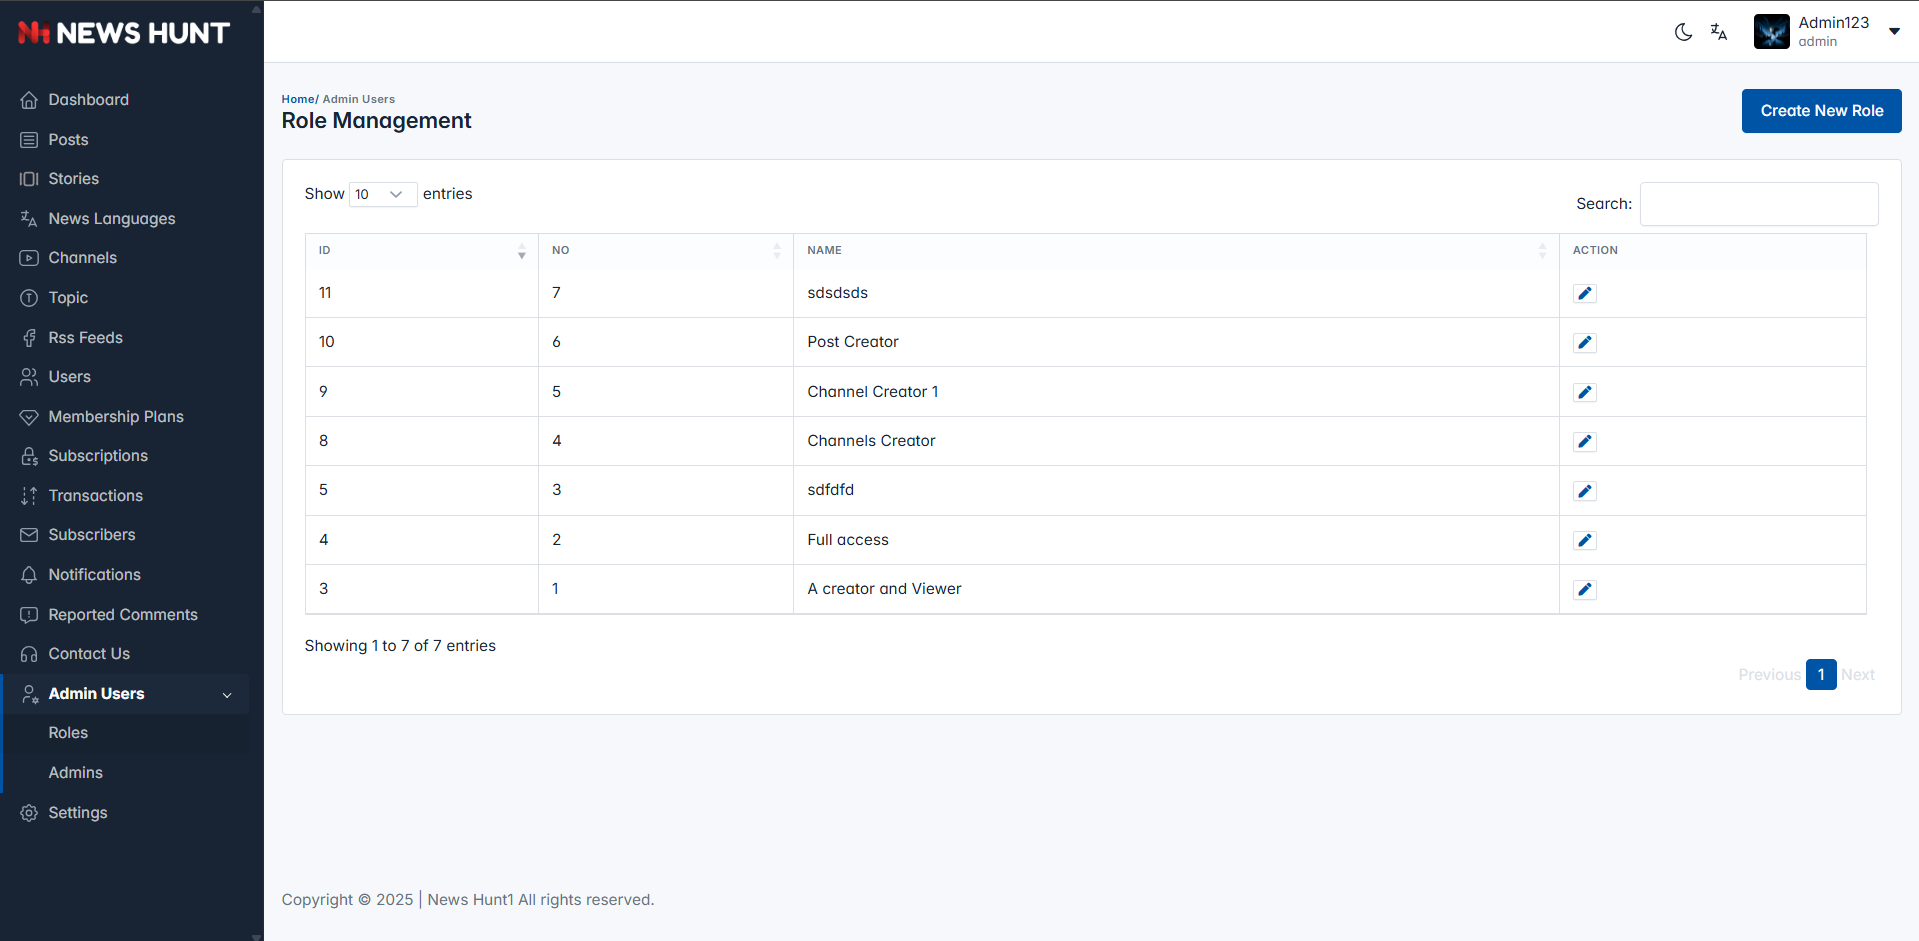
Roles
- The Role Management page displays a list of roles with their IDs, names, and action options for the NewsHunt admin interface.
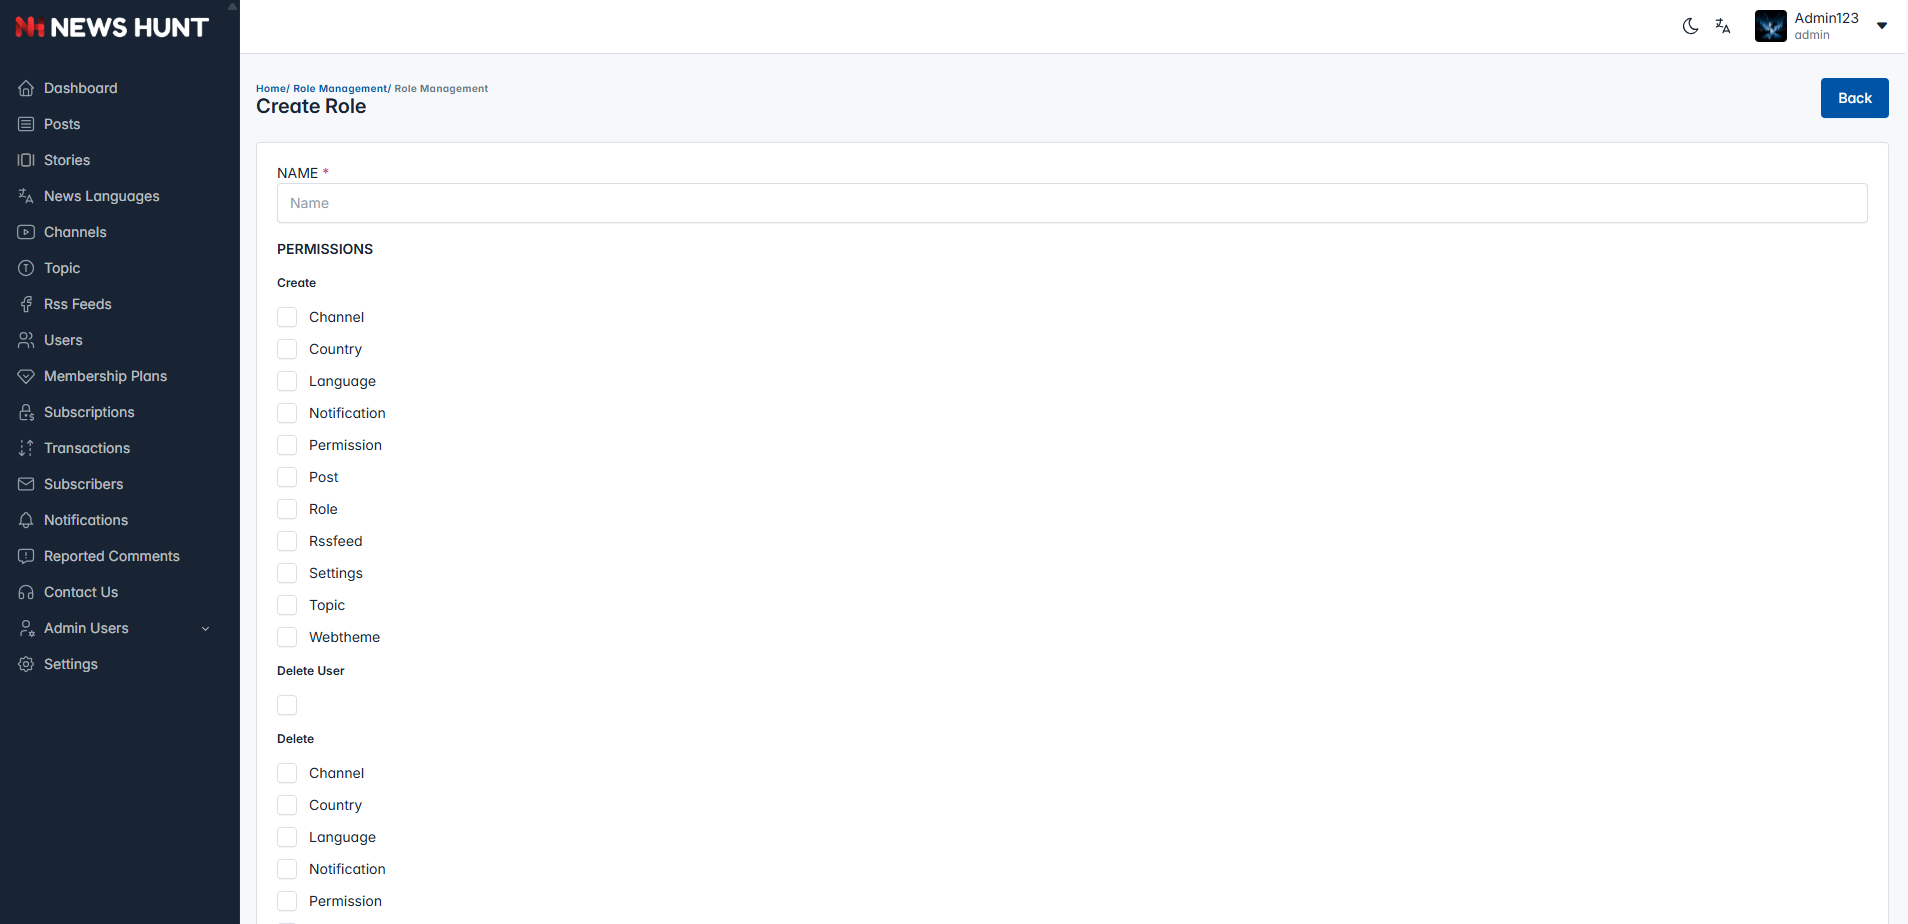
Create Roles
- The Create Role page allows the admin to define a new role by setting a name and selecting specific permissions.
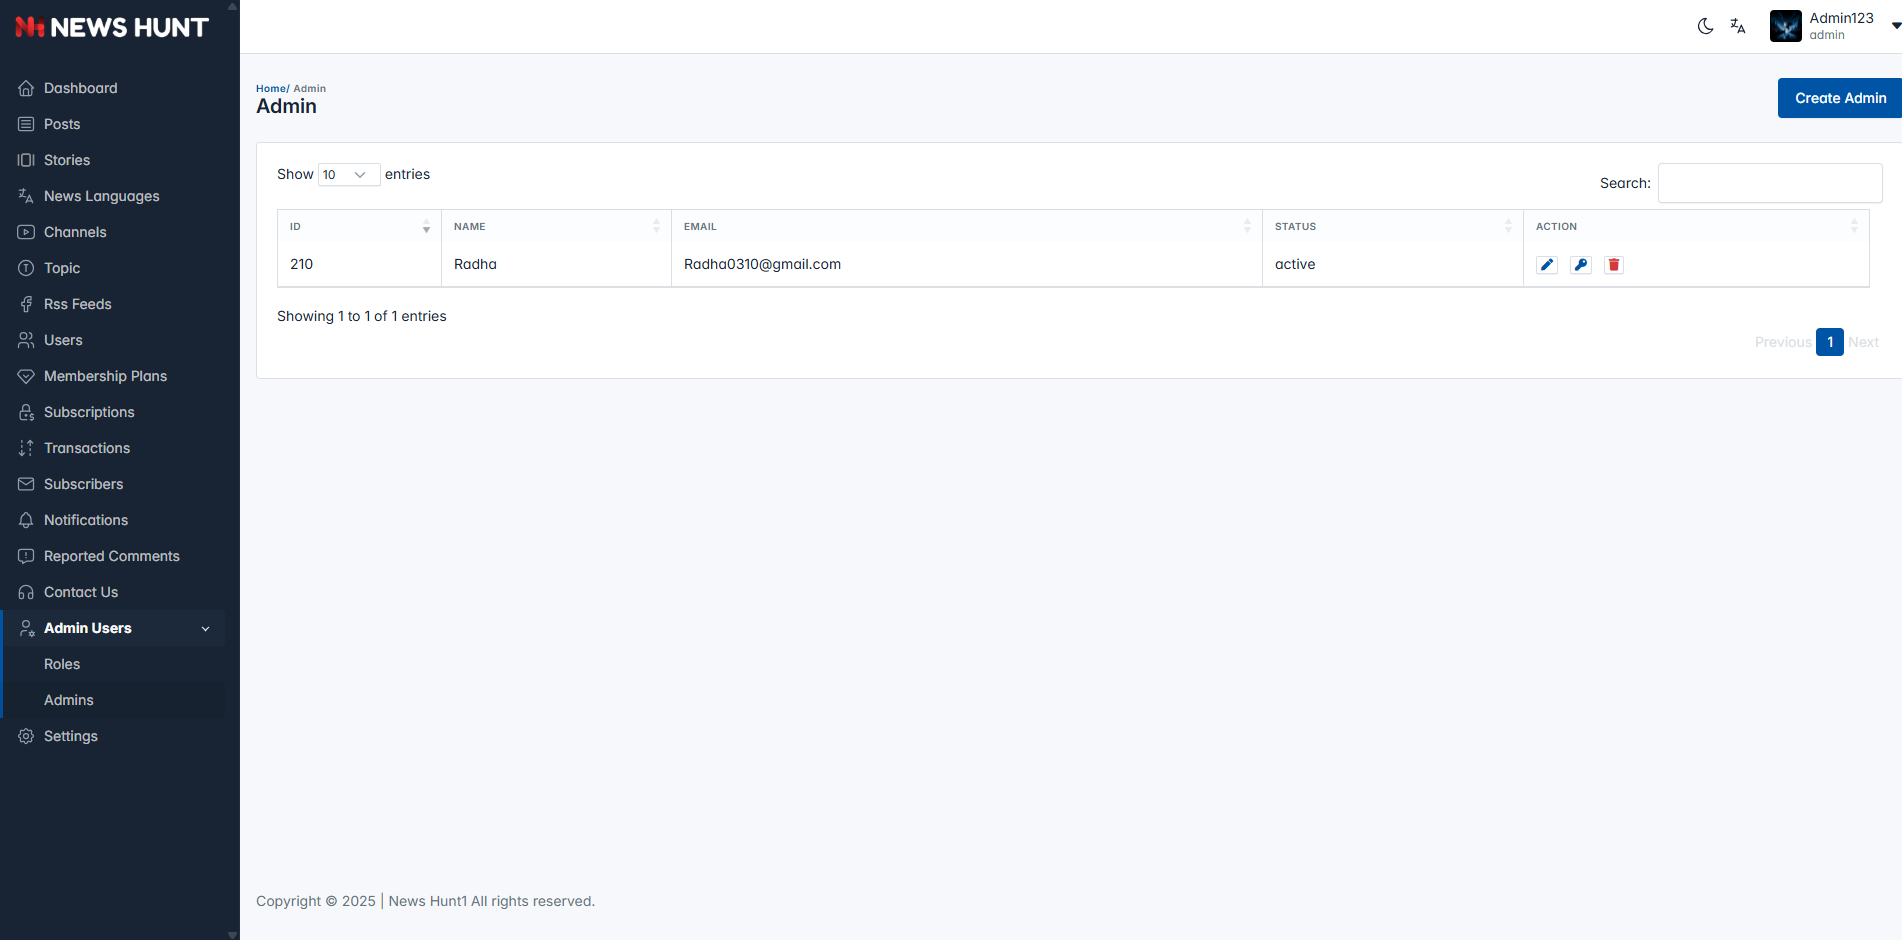
Admin
- The Admin page shows a list of administrators with their IDs, names, emails, statuses, and action options for management.
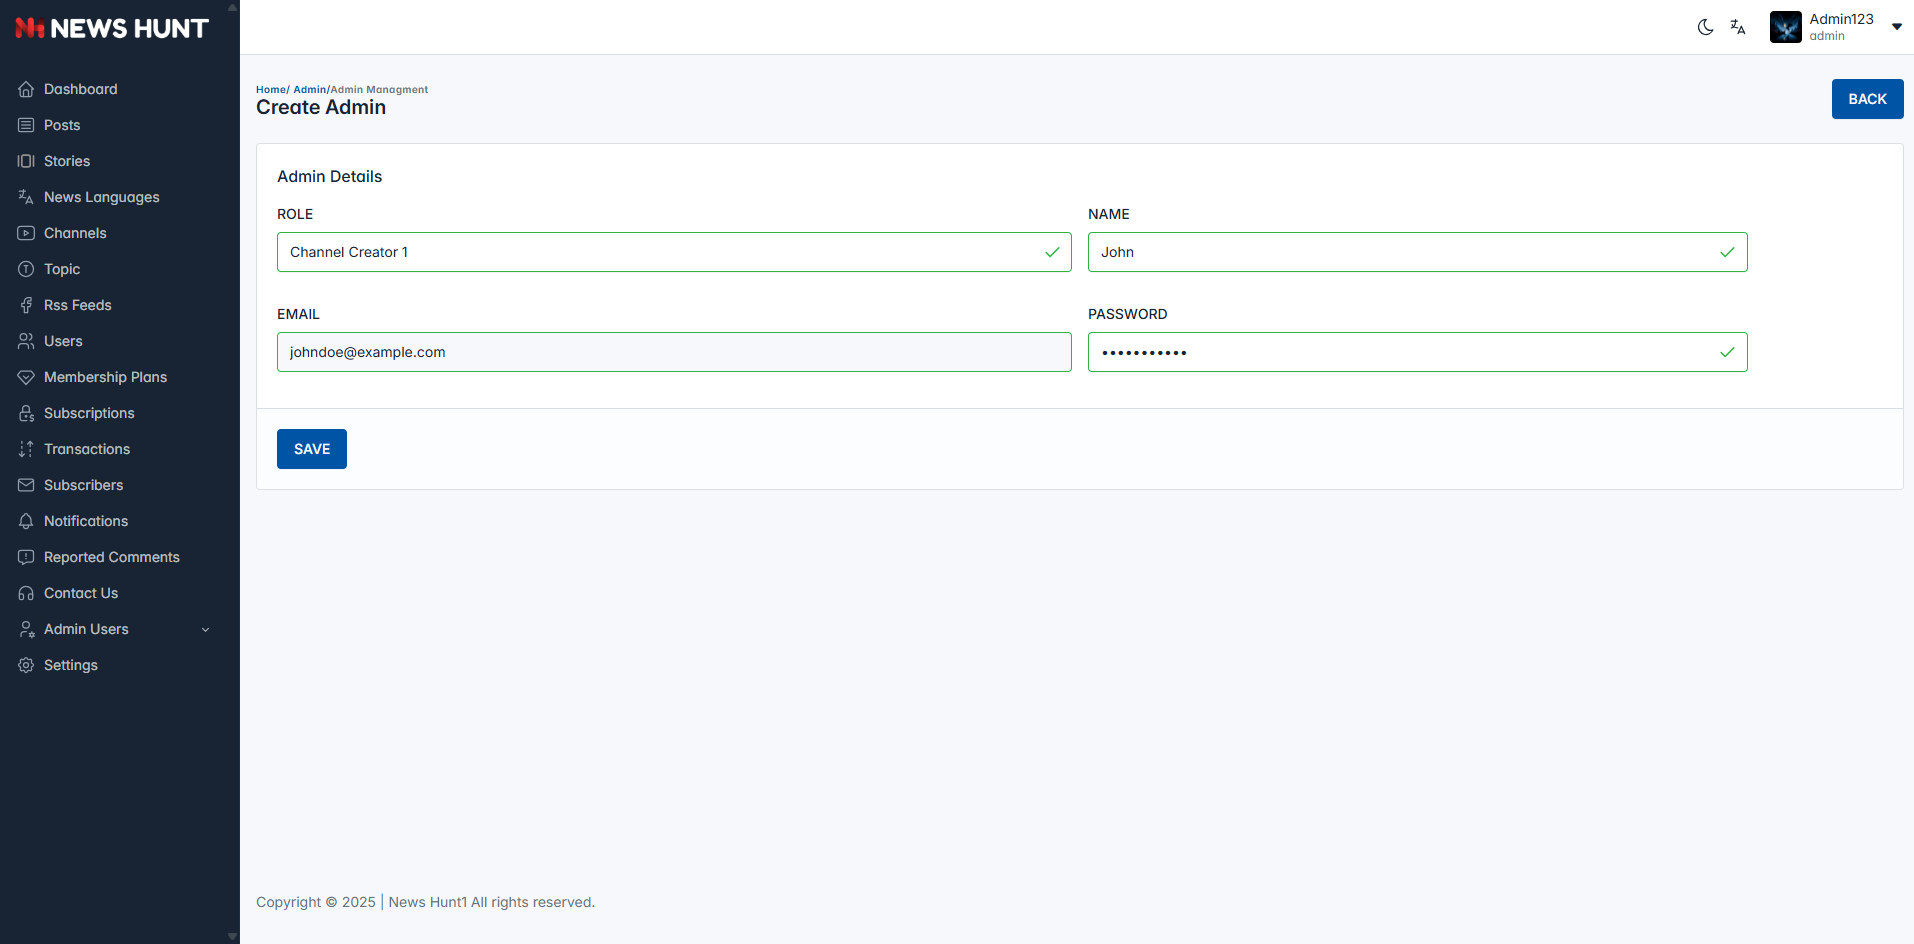
Create Admin
- The Create Admin page enables the admin to add a new administrator by specifying a role, name, email, and password.
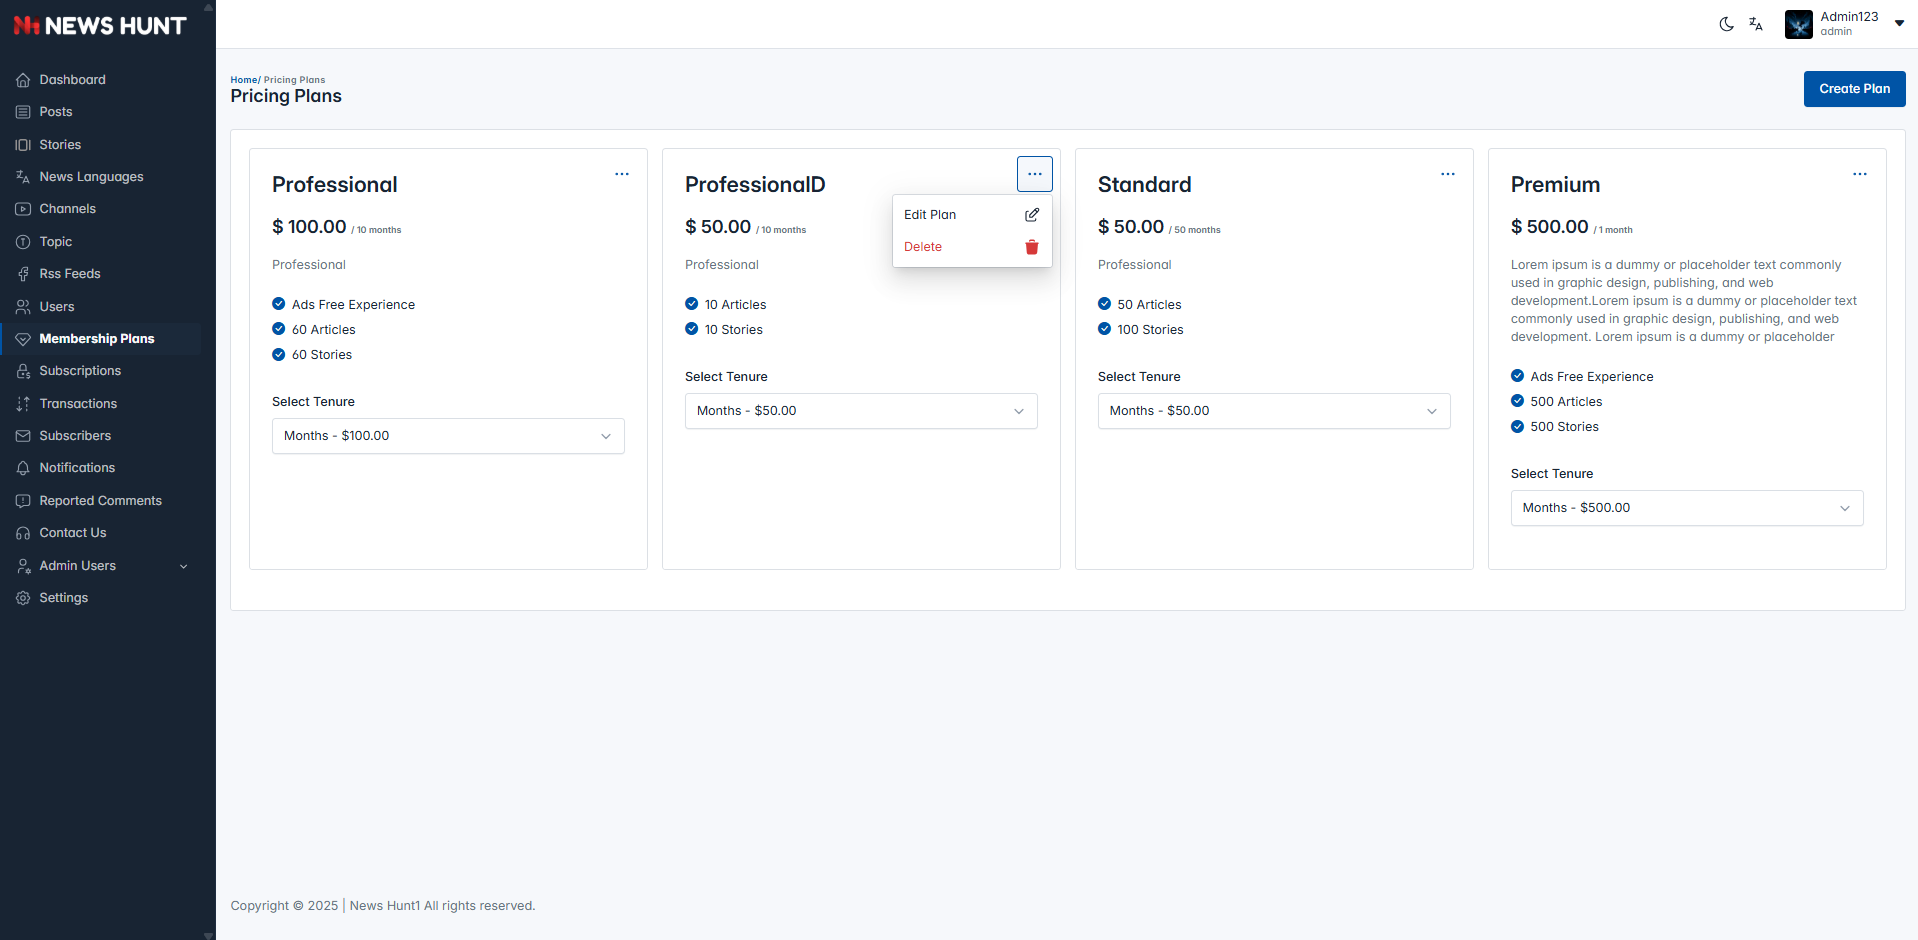
Membership
- Create membership plans, edit plans, and delete plans as per your requirements.
- Users can purchase a membership plan from the available options.
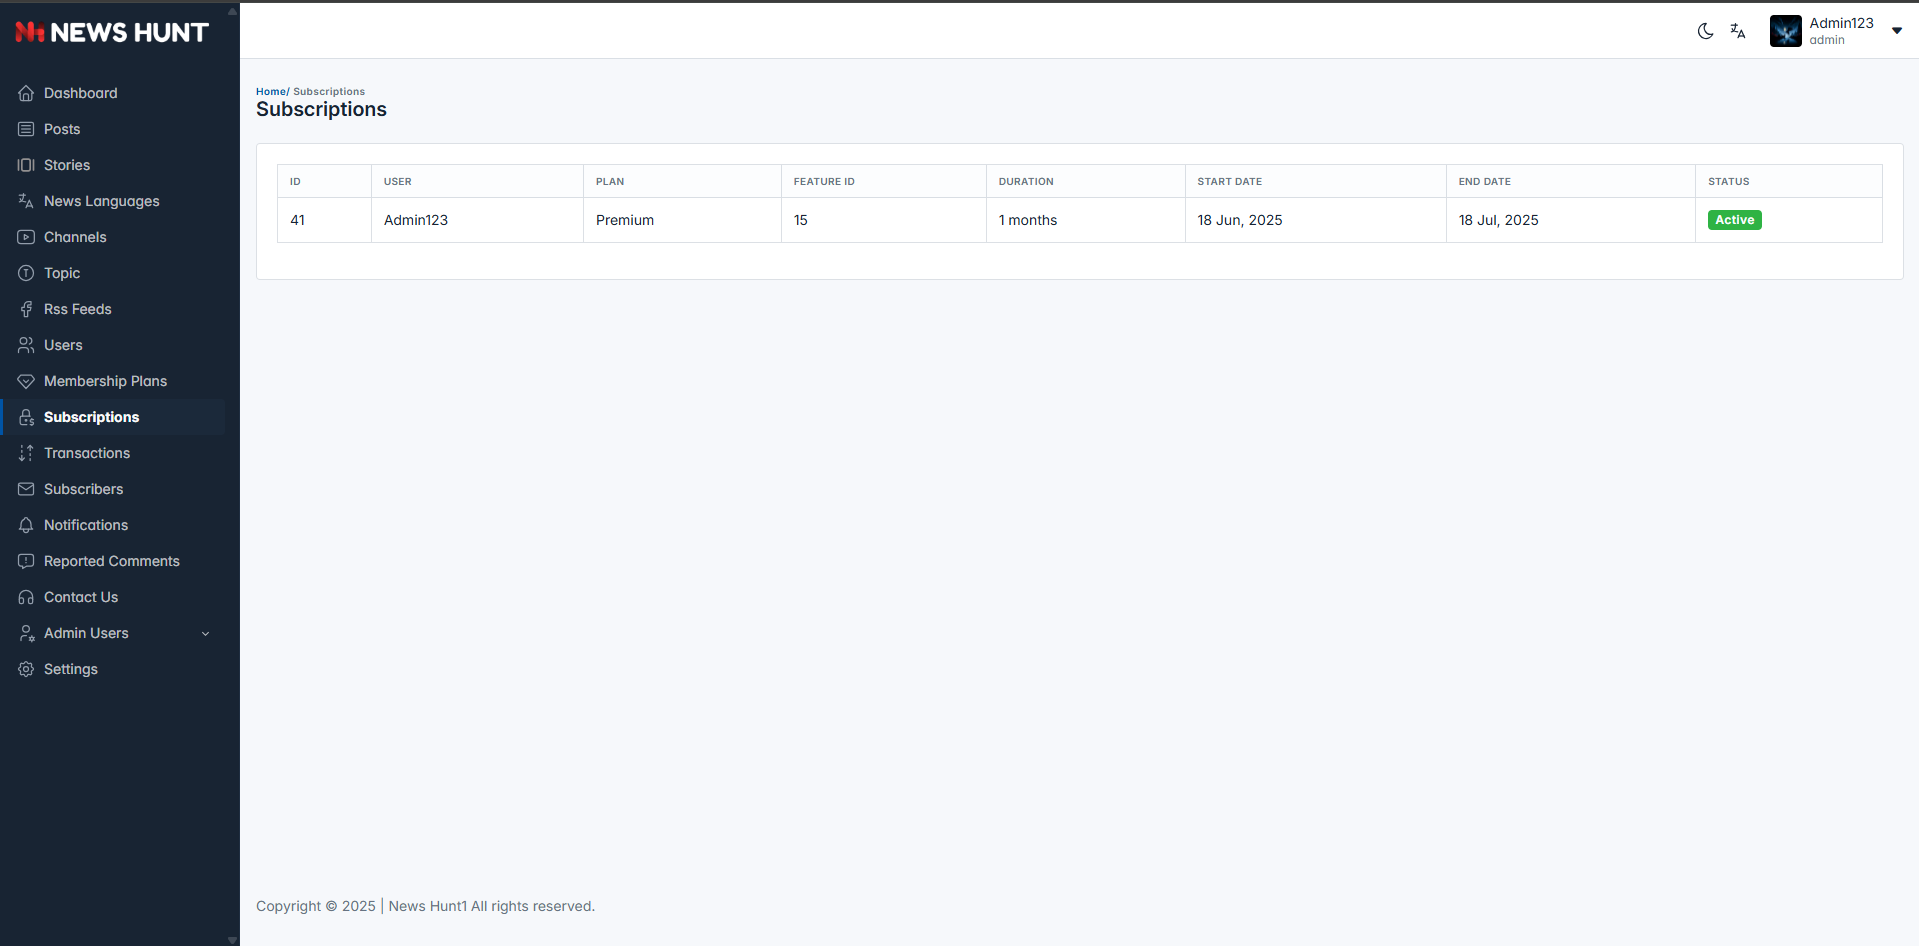
Subscription
- View subscription details for the purchased membership plans.
- Check active, expired, and upcoming subscriptions in the list.
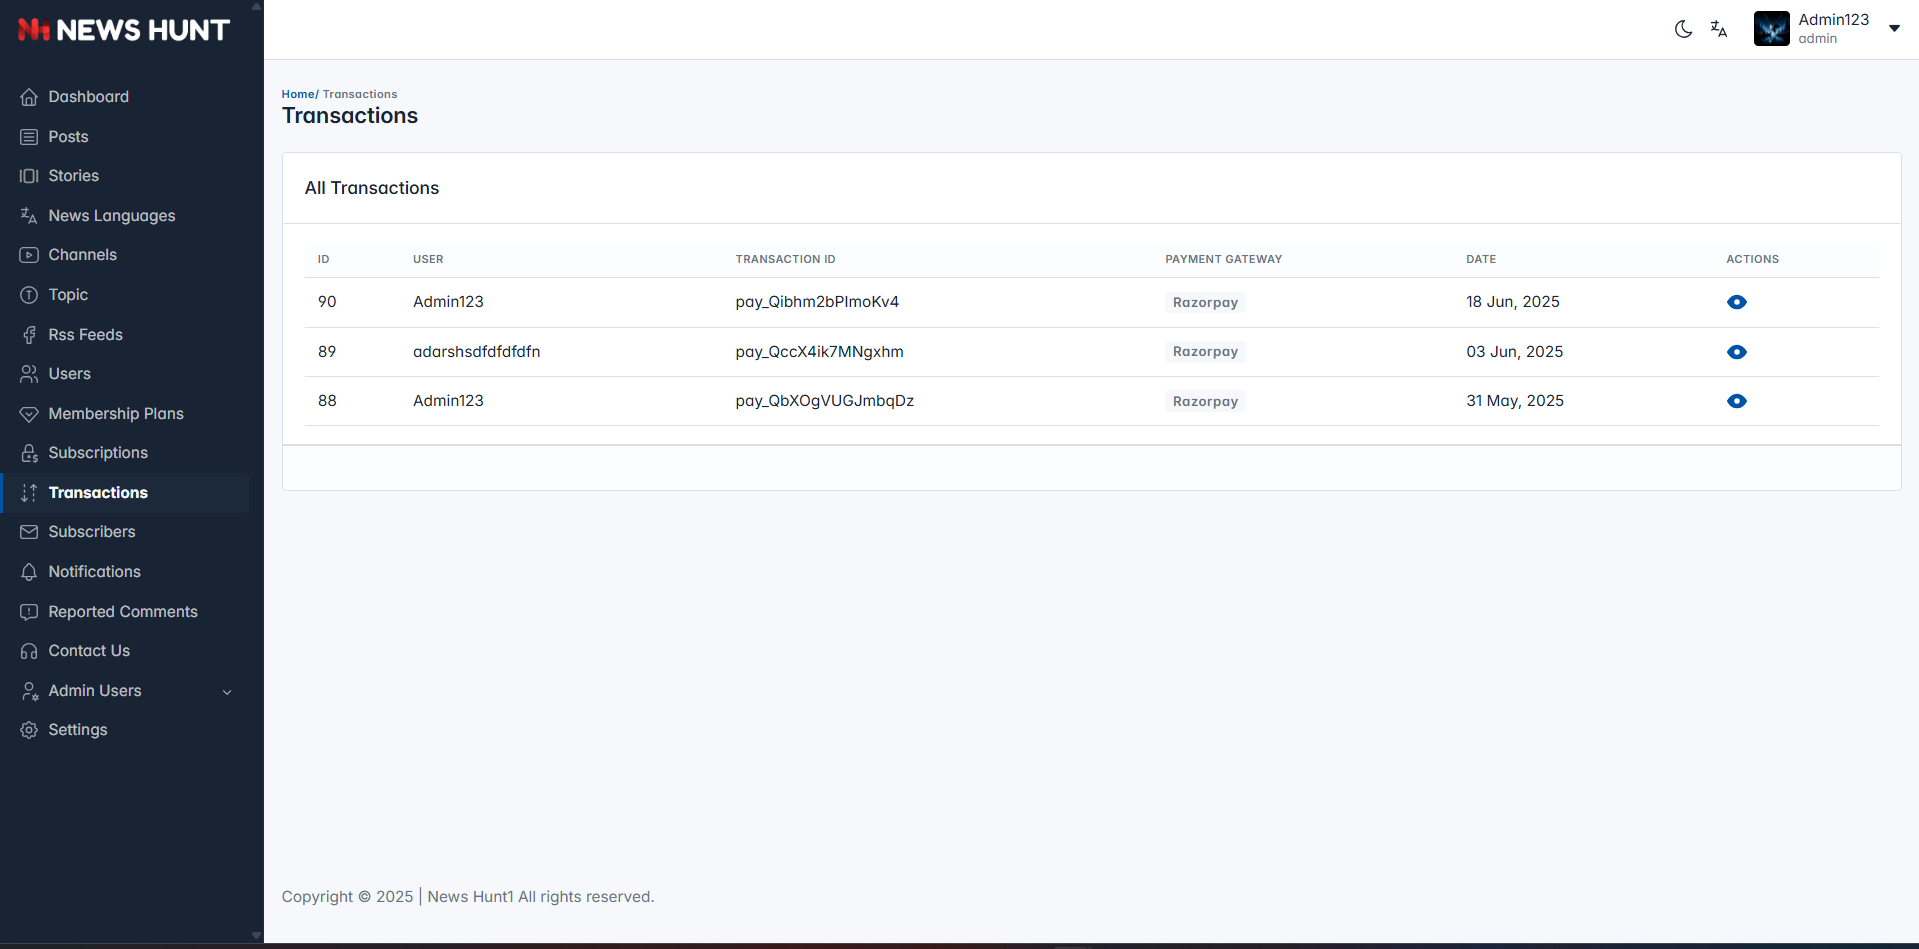
Transaction
- The Transactions page lists all transactions with details including ID, user, transaction ID, payment gateway, date, and action options.
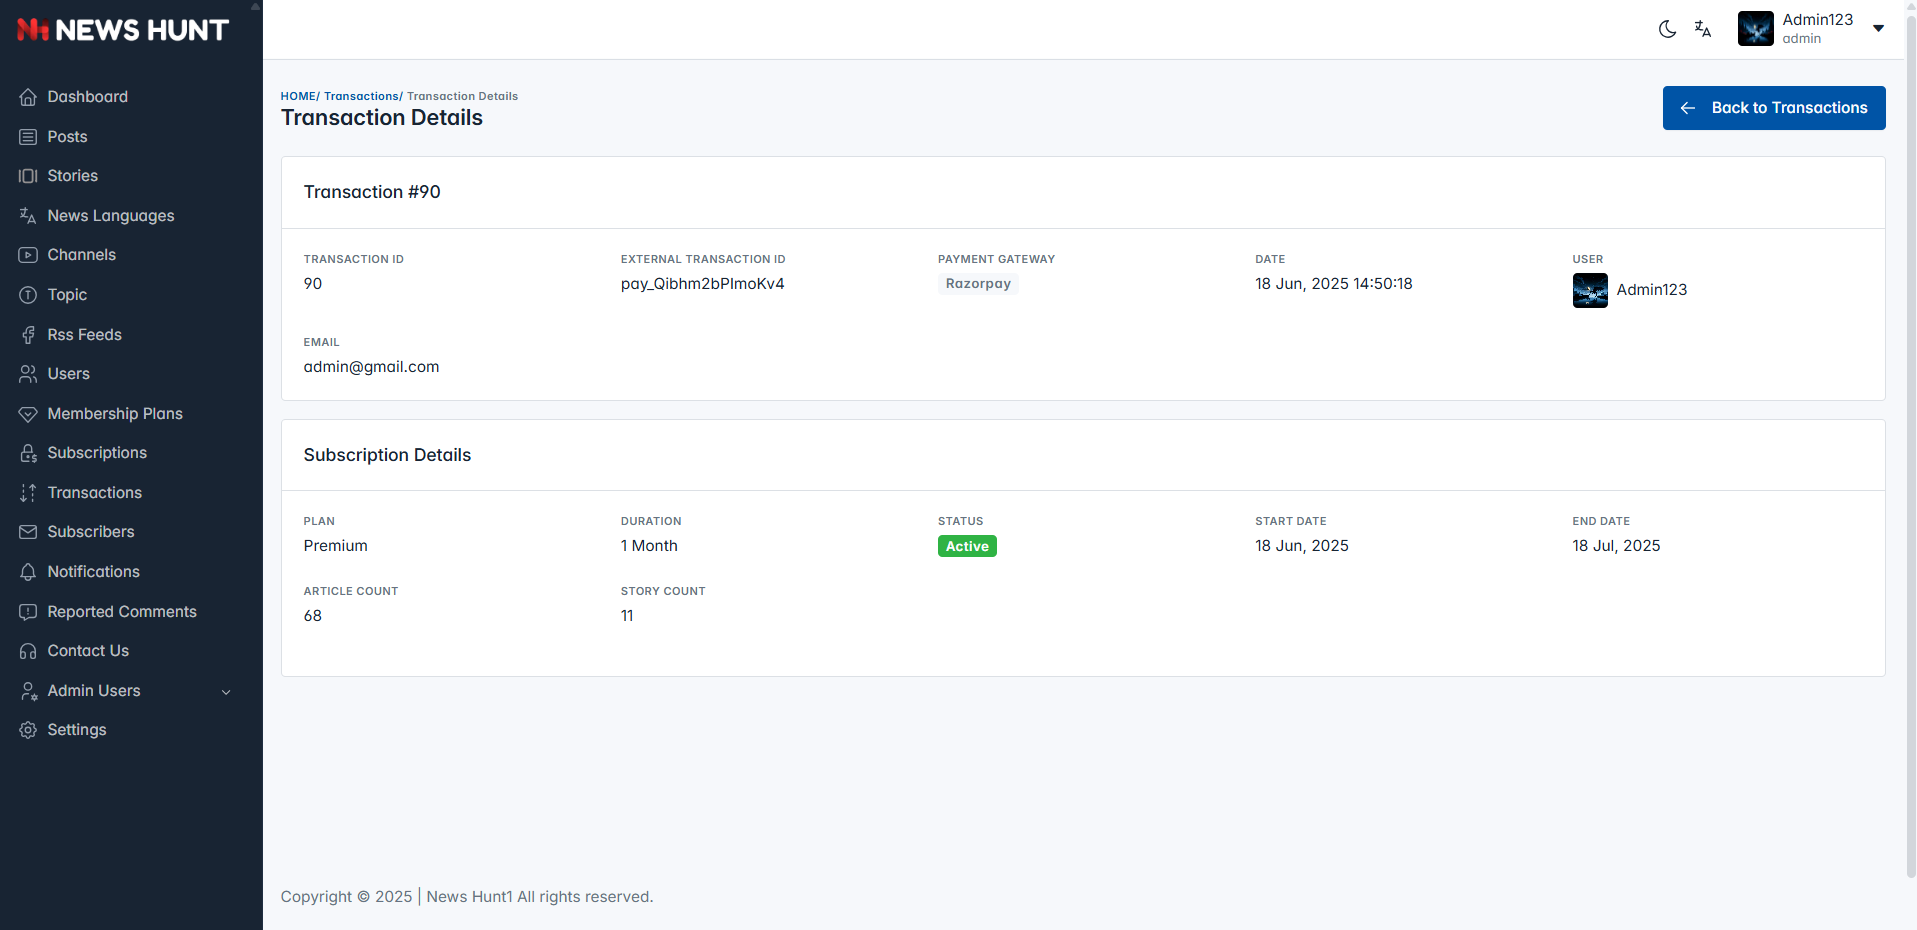
Transaction Details
- View transaction details related to a purchased membership plan.
- Each transaction record includes payment gateway details, amount, and status.
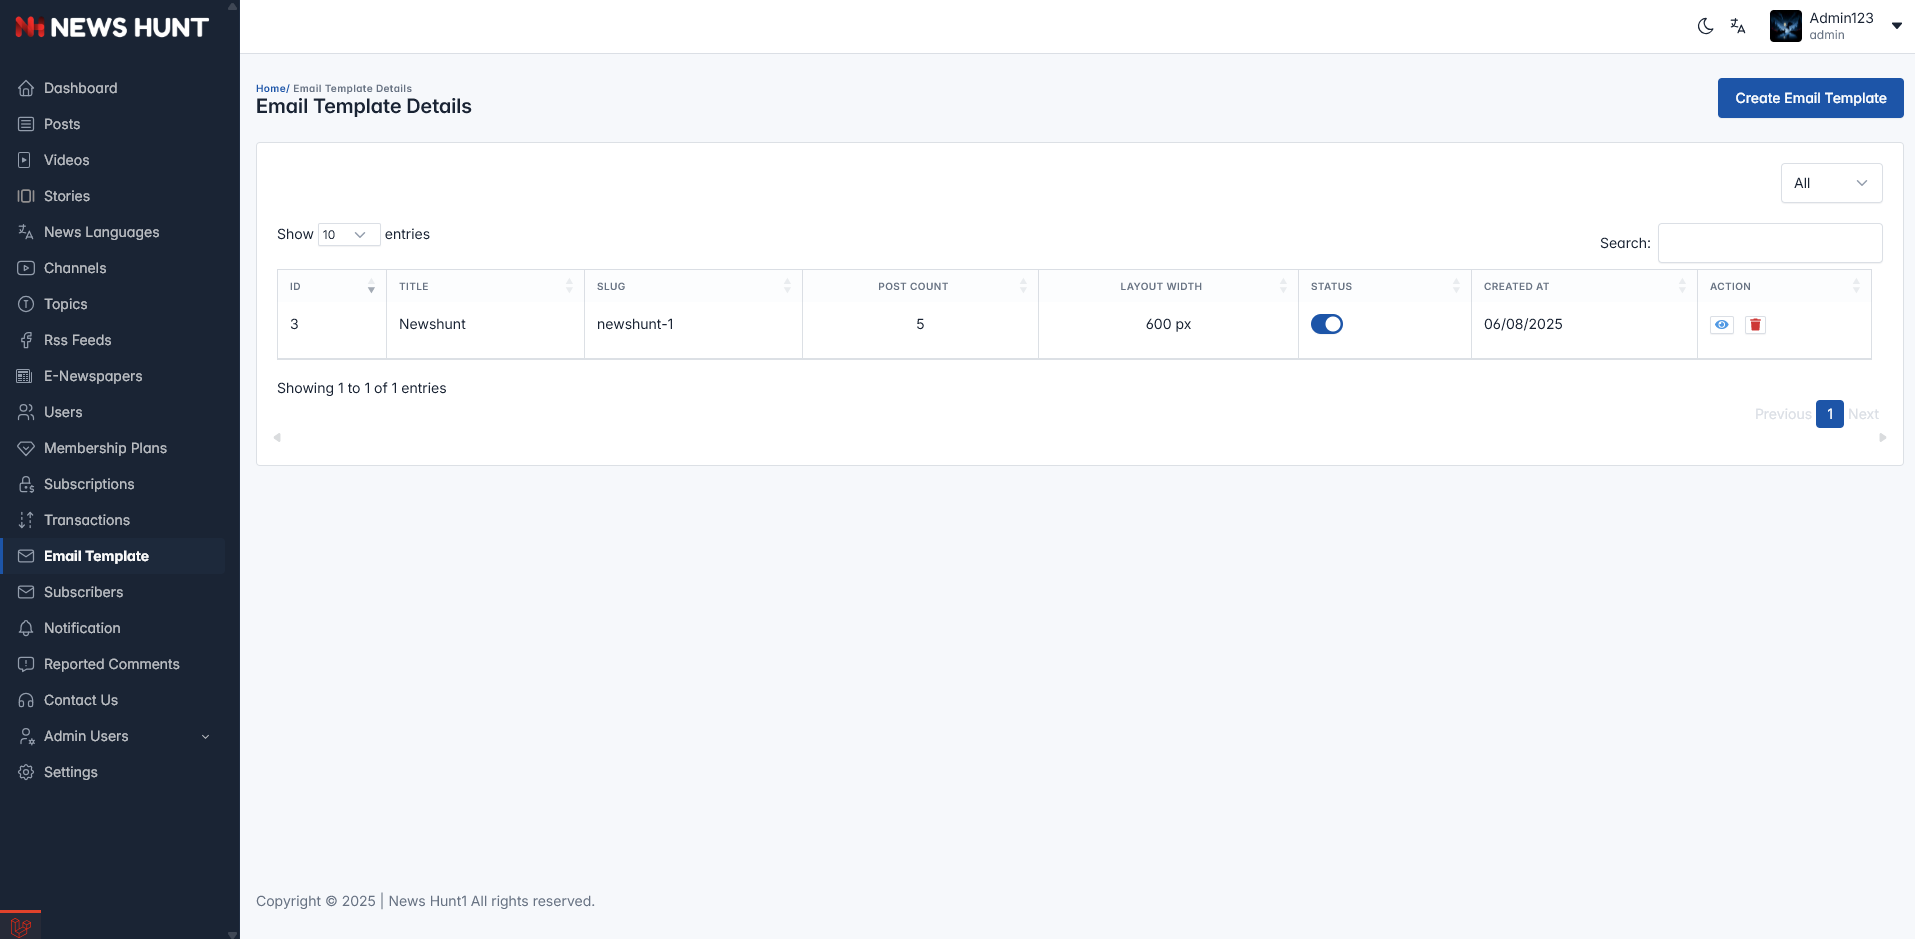
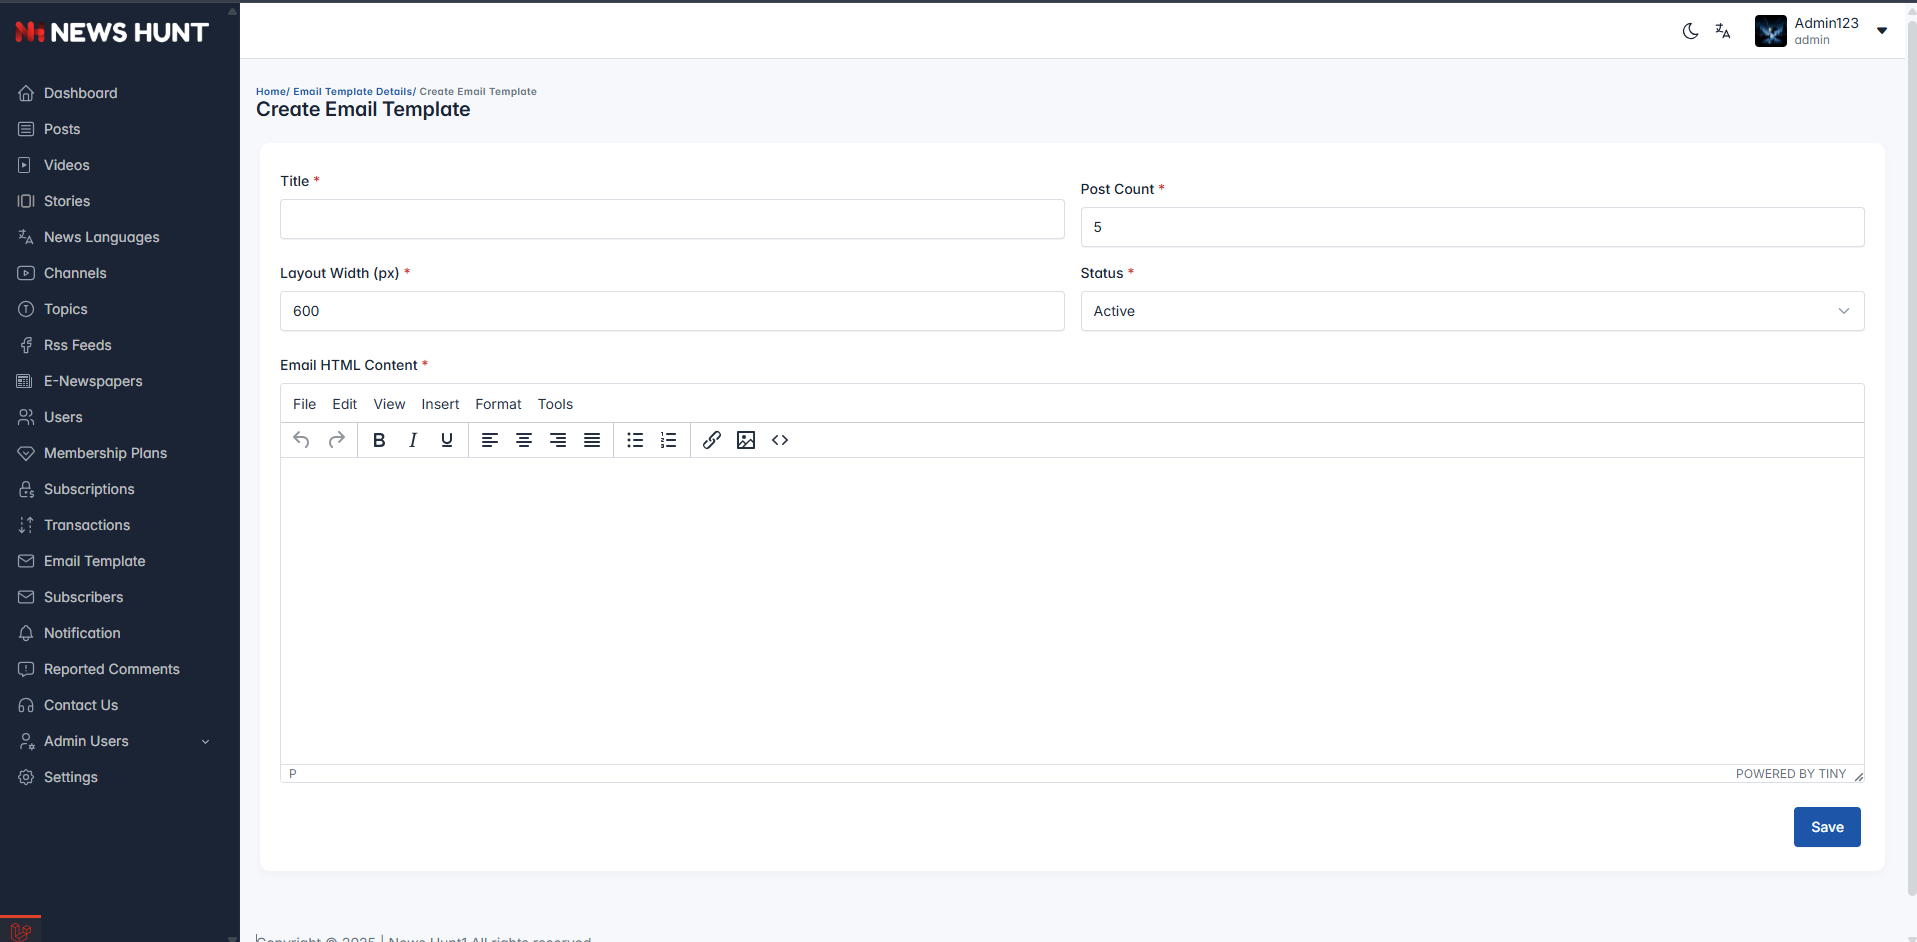
Email Template
- The Email Template page lists all Email Template.
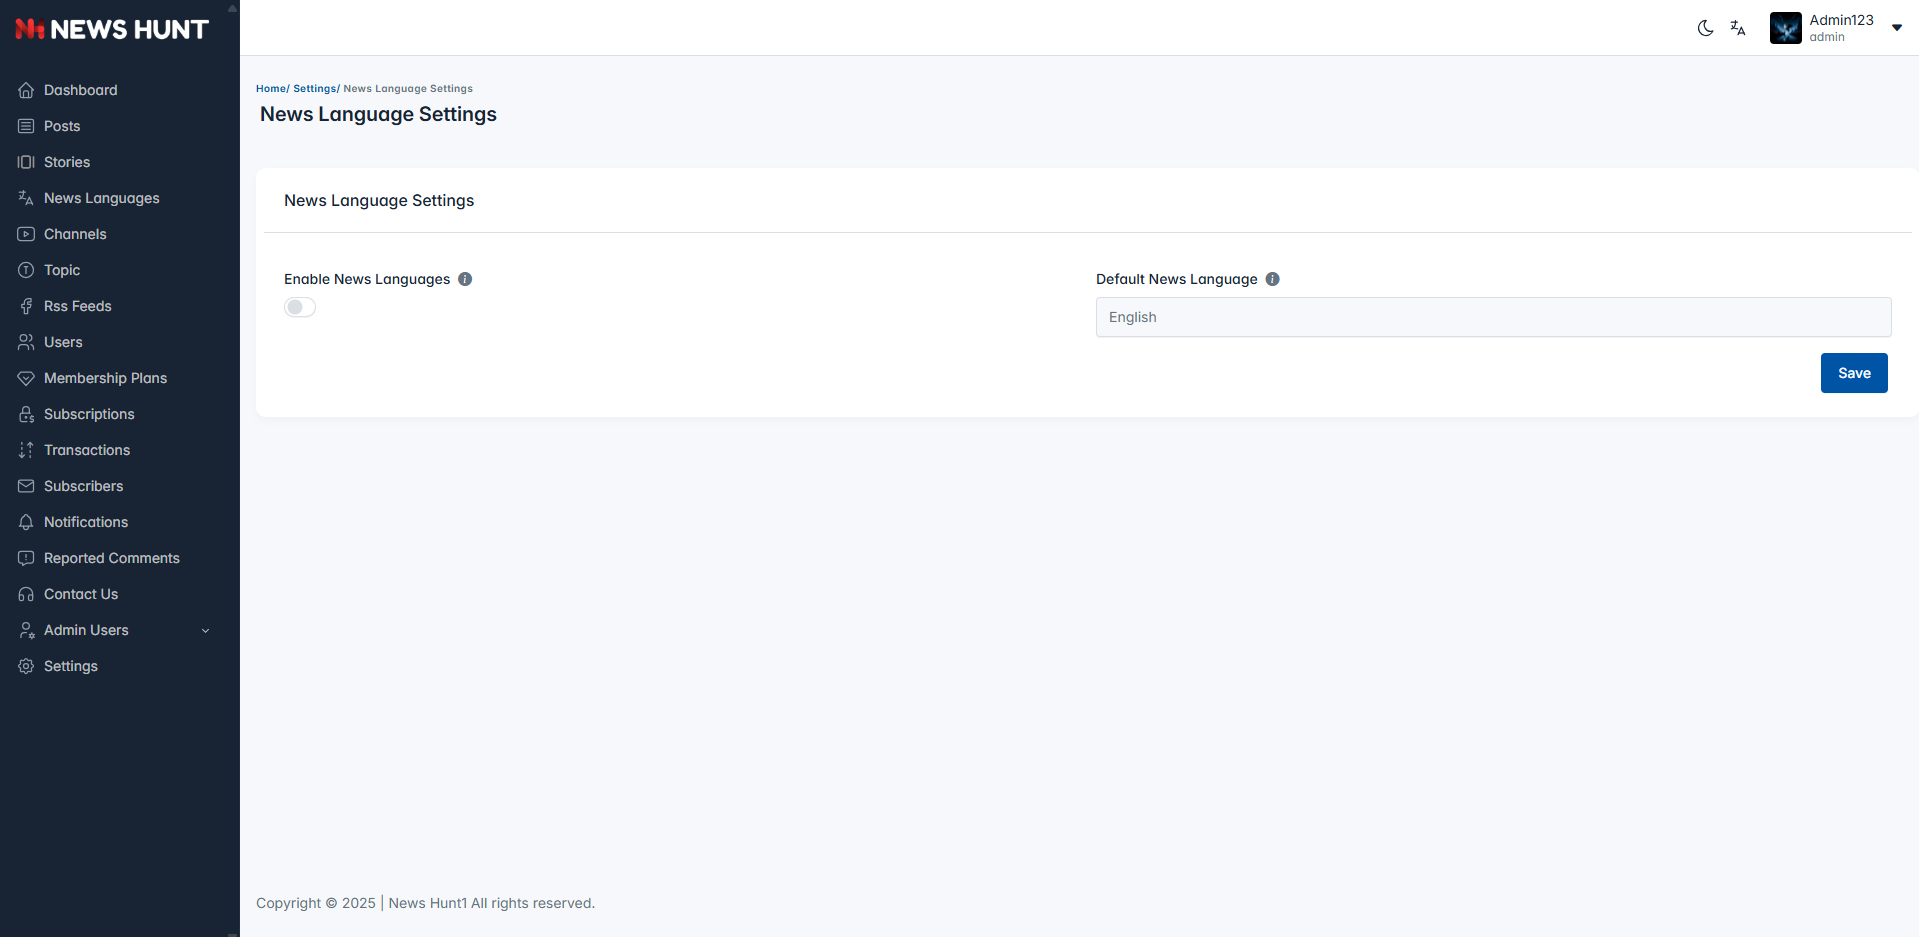
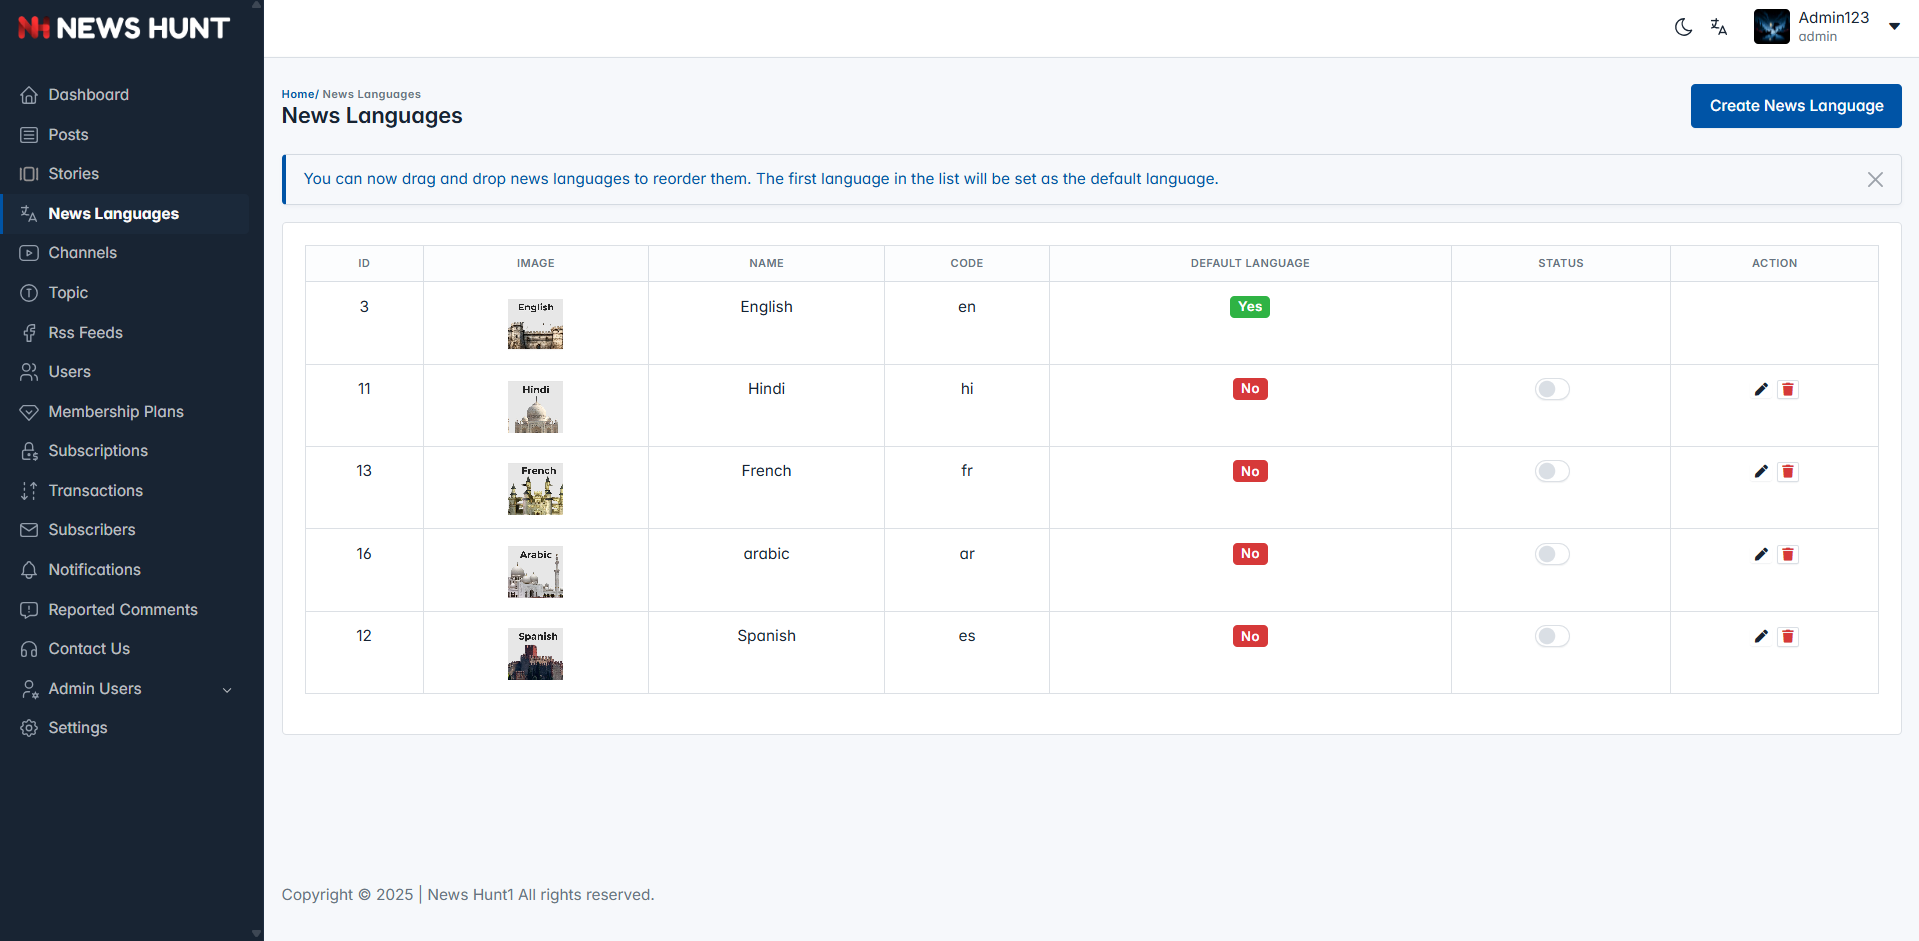
News Languages Settings
-
News Language Mode Off Behavior
- If the News Language Mode is off, the admin cannot add new languages, and news languages will not be displayed on the website, but posts and videos in the default language set by the admin will be shown.
-
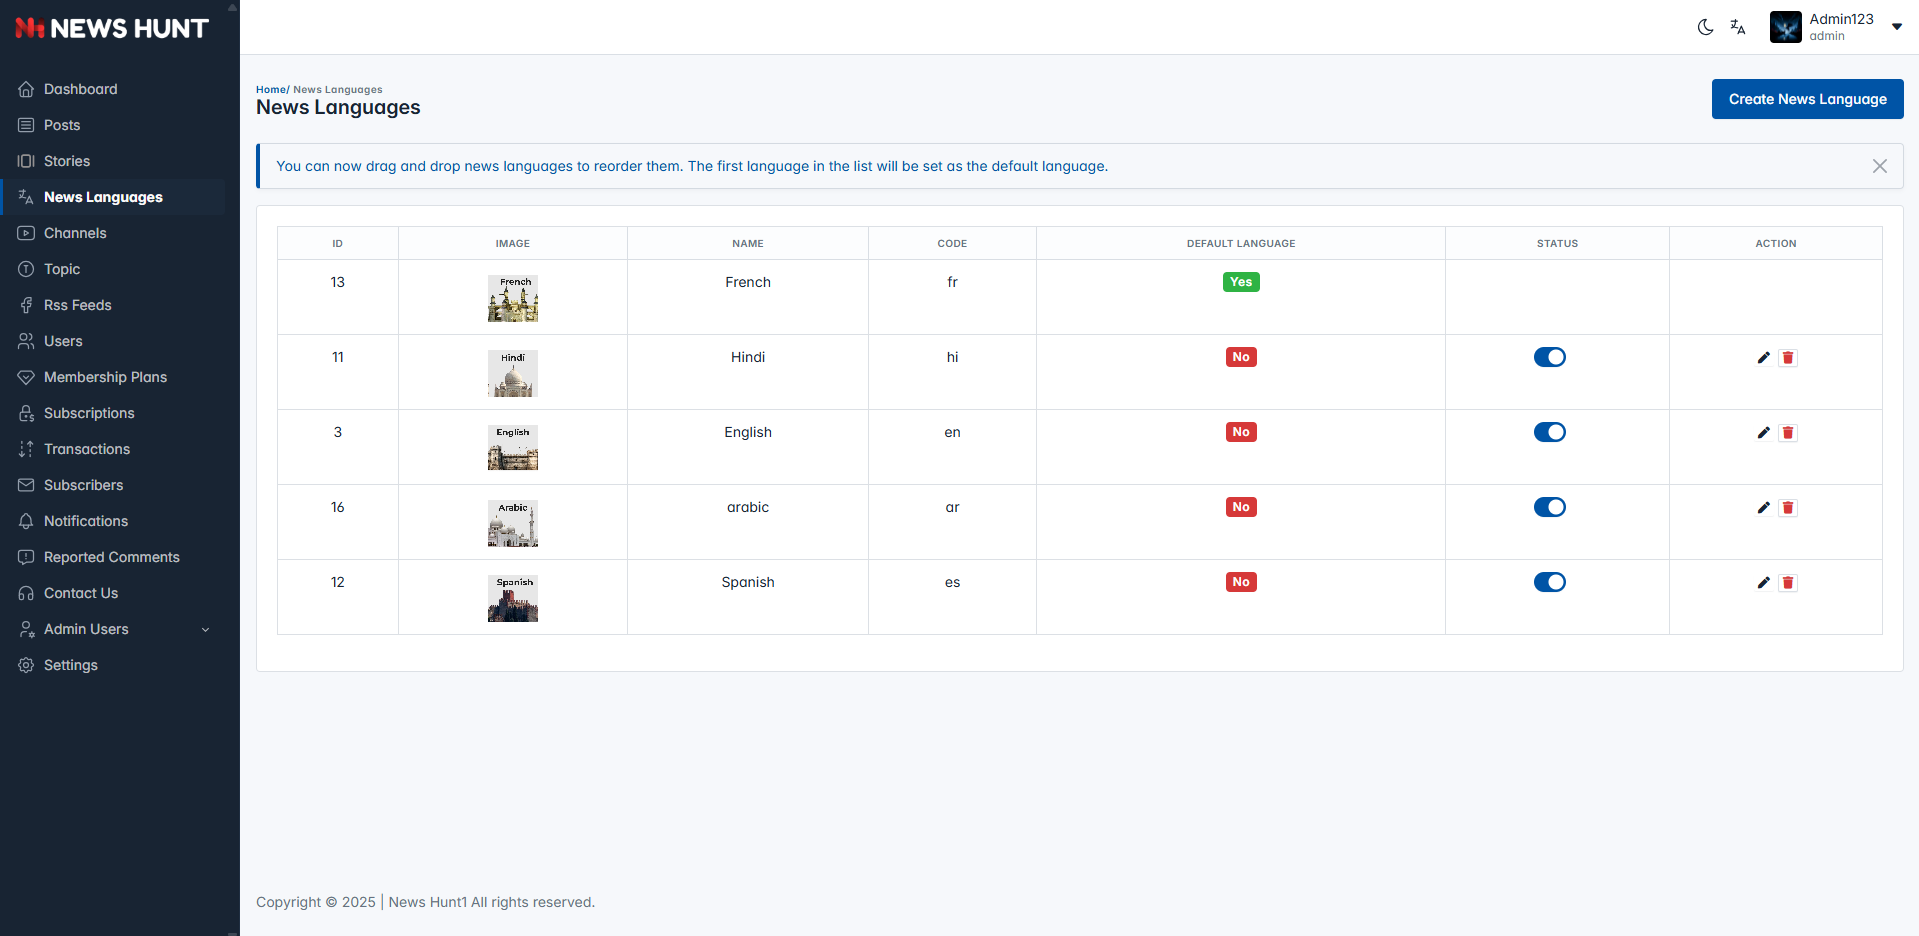
News Language Mode On with Inactive Language
- If the News Language Mode is on and a particular language is inactive, posts and videos from active languages will be displayed. If all news languages are inactive when the mode is on, posts and videos from the default language will be shown instead.
-
News Language Mode On Behavior
- If the News Language Mode is on, the admin can add new languages, and all new languages will be visible on the website.


.png)